The Barrel Arbors
This part will bring together the barrel and stop work all into complete, functioning units. Once made:
- The barrel can be broached and internal bosses reduced to fit with minimal endshake
- The arbor is fit to the finger piece (after which the stopwork can then be finished)
- The mainspring can be fit to the barrel and arbor
- The assembled arbor & barrel can then be mounted in the depth tool to mate with the center pinion and determine the final position of the barrels on the mainplate.
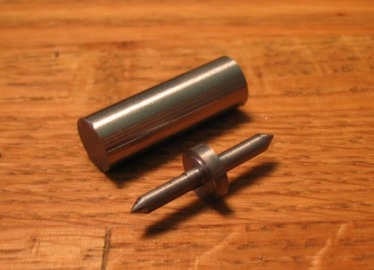
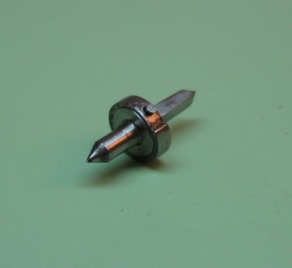
I am following Daniels' for the fabrication of the arbor. Starting with 8mm O-1 drill rod, male centers are turned and the basic dimensions turned, leaving them 0.05mm oversized for finishing between centers.
Click link below for complete dimensions in PDF format
| Barrel Arbor Blank | |
| File Size: | 129 kb |
| File Type: | |
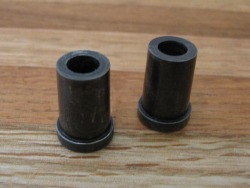
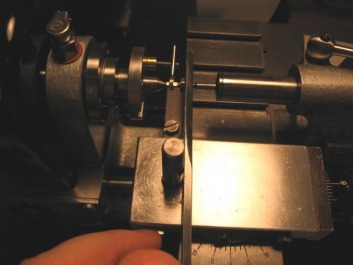
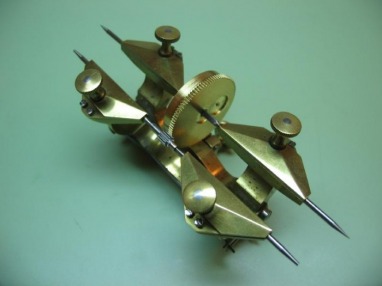
The square portion is formed using the roller filing rest. The rest is supplied by Cowells with parallel rollers, which is less than ideal for forming these squares. A slight taper is to be preferred for a tight fit, the square is filed until the finger piece begins to fit and is stopped just prior to full seating, so that the finger piece will fit well after the final polishing of the square. On a standard watchmaker's lathe the filing rest can be tipped simply by wedging something under the front. The Cowells setup is a much more rigid arrangement and tipping the rest by that method is not possible. I decided to machine replacement rollers which have a 1° taper. I made these from ½" O-1 drill rod and turned them to match the dimensions of the original rollers (except for the taper, of course), I ran a smoothing broach through the bore to give a good finish, they are then fully hardened in oil.
Machining complete
Parted and axial dimensions completed
After hardening in oil
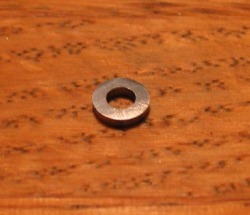
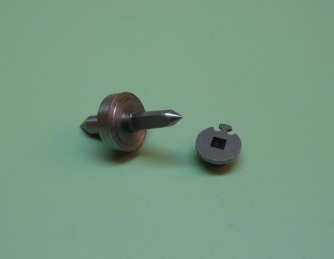
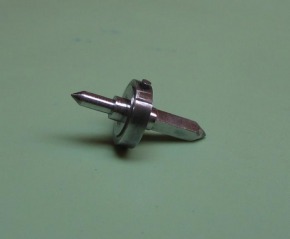
The squared side of the arbor has a pivot just below the hub diameter, this is where the arbor pivots in the base of the barrel. This is one the actual 'running' pivots of the arbor, since the arbor is actually stationary while the watch is running and the barrel rotates around it. Filing a square right next to this pivot area, even with the guides on the filing rest was a bit tricky, at least for a beginner such as myself. I ruined an arbor while filing the square, which meant making a new one from the beginning. I then came up with the idea to make a hardened steel safety ring that conceals the pivot area.
Safety ring
Arbor set up for filing the square
I intermittently used a female half center in the tailstock to double check the arbor was on center. I started with a No. 3 hand file and when the finger piece began to fit onto the square, I finished with a No. 6 hand file. It takes some patience and regular checking of ones progress to have a successful end result.
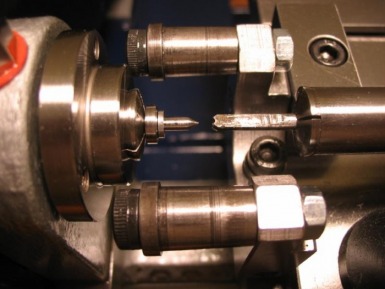
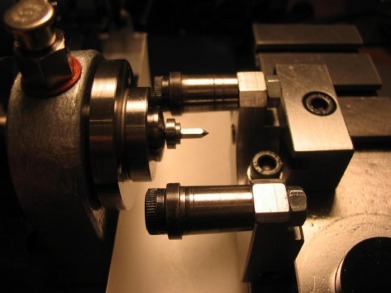
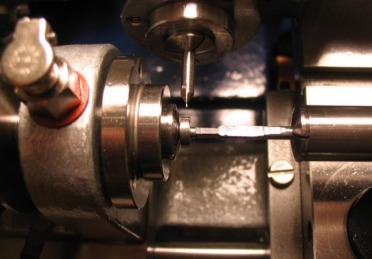
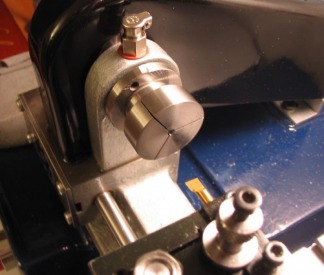
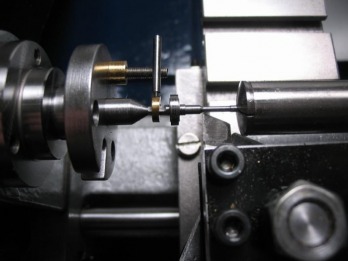
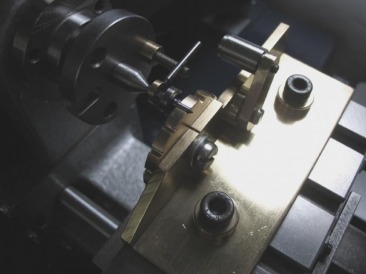
After forming the square, the off-center hole for the mainspring hook is drilled. I held the arbor in a collet in the headstock with support from a female center in the tailstock. A #000 center drill is used to start the hole, using the milling attachment, with the headstock locked. A 1.0 mm drill was then used to drill the hole about 0.5 mm, then the vertical slide was adjusted about 1.0 mm down, so that the tension on the hook from the mainspring will draw the arbor in the correct direction. The hole was drilled to a depth of about 4.5 mm, with slow progression, especially at first. I used a HSS drill after breaking a couple carbide drills trying to do this. The slightest side tension on a carbide drill causes it to break, the HSS has some forgiveness while continuing the hole off center.
The setup, showing the center drill.
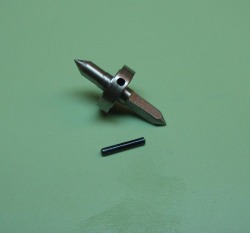
The hole formed. Also in the photo is the steel pin that will form the hook, made from drill rod and harden and tempered blue.
After drilling the hole, a snail is formed on the edge of the hub to accommodate the mainspring as it would wrap around the circumference of the arbor hub. I formed this with needle files and checked the depth with a 0.010" feeler gauge.
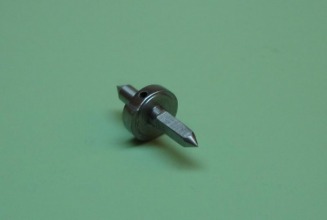
At this point the arbor can be hardened and tempered, then the pivot areas polished (at least those that are in contact with the barrel, the actual pivots are turned later, after depthing. The hook pin can be staked into position and filed down to size. Still a little rough looking from the hardening...
The arbor, having an odd shape, is tempered in a small crucible which is filled with sand. This can be heated over an alcohol lamp to slowly bring the part up to temperature.
The pivots are polished between centers with a mild steel polisher with emery mixed with oil followed by a brass polisher with Simichrome. Daniels demonstrates using a post that fits the T-rest as a guide for the polisher. I used the compound slide mounting post for the tool rest.
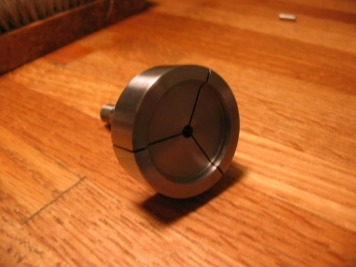
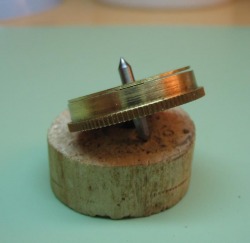
Fitting the arbor to the barrel, requires a little broaching of the holes in the barrel to fit the arbor and then the inner bosses need to be turned down to give the proper end-shake (specified as 0.05 mm). To hold the barrel, I bought a Sherline pot chuck blank (#2103 1.25") and bored recesses to hold the barrel and barrel cover.
Unable to close the barrel, prior to turning down the inner bosses.
After fitting the arbor and mounting the assembled barrel on the depthing tool with the center pinion, just to see the interaction. Another one of those feel good moments, where it seems as though the watch is actually coming together...
The arbors can now be turned between centers to their final diameters. A carrier chuck is used, and a small dog was made to fit the arbor. A very small female center was made to fit in a collet in the tailstock. A very sharp cutter is needed.
The arbors can now be finished and burnished using the newly made Jacot attachment. More on that in the Toolmaking section. The top pivot surface is finished as well as both barrel pivot surfaces and the pivot on the finger piece was finished at this stage as well. This made good use of the various diameters on the burnishing drums.
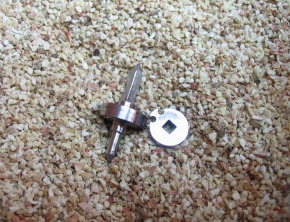
A finished arbor, after burnishing. Also shown, an arbor and its finger piece after washing in benzine and drying in the saw dust box.
Once the barrels are fit to the movement plate and bridge, and it is certain that no more modifications will be needed, the centers on the arbors can be sawed off and the arbor shortened to fit, and the ends rounded and polished.
