Adventures in Watchmaking  

  • Home
  • Machines & Tools
    • Cowells 90CW >
      • Lathe Maintenance
      • Other Lathe Attachments
      • Auxiliary Motor
    • Cameron 164-A >
      • Drill bits
    • Hand-I-Hack Model C
    • Watchmaker's Tools
  • Toolmaking
    • Bench Block
    • Bluing tools
    • Compass
    • Counterbores
    • Depthing Tool
    • Eyeglass
    • Filing Machine
    • Fingerplate
    • Grooving Tool
    • Hairspring Vibrating Tool
    • Lathe Tools >
      • Adjustable Cross Slide Mount
      • Between Centers Turning >
        • Dogs
      • Bump-centering Tool
      • Cement Chucks
      • Dividing Head Riser
      • Dividing plates
      • Endmill Holder
      • Faceplate Clamps
      • Fly-Cutter Holder
      • Four-way Toolpost
      • Jacot Attachment
      • Quick Change Clamp
      • Collet Holding Block
      • QCTP Toolholders
      • Saw Arbor
      • Steady-Rest Bearings
      • Tailstock Centers
      • Tailstock Die Holder
      • The 'Turns'
      • Wobble Stick
      • Wood Faceplate
    • Mini Vise
    • Sharpening Tools >
      • Graver Honing Jig
      • Lapping Tool
      • Screwhead Polisher
      • Tool Honing Jig
      • Tool Insert Honing Jig
    • Screwdriver
    • Spring Clamp
    • Wheel Crossing Jig
  • Pocket Watch
    • Barrel and Cover
    • Geneva Stop-Work
    • Ratchet Wheels >
      • Clickwork
    • Center Wheel
    • Barrel Arbor
    • Mainplate
    • Keyworks
    • Mainspring
    • Motion Work I
    • Motion Work II
    • Third Wheel
    • Fourth Wheel
    • Third Wheel Potences
    • Tourbillon Bridge
    • Tourbillon Carriage
    • Balance
    • Escapement >
      • Escape Wheel Tooling
    • Cam Wheel
    • Cam
    • Casemaking >
      • Bezel Forming Tool
      • Band & Bezels
      • Caseback
      • Chain
      • Crystal
      • Case Hinge
      • Pendant
  • Regulator Clock
    • Barrel
    • Maintaining Ratchet
    • Pillars
  • Timer
    • Plates, pillars, bridges & strut
    • Pendulum & Pallet
    • Mainwheel and pinion
    • Weights
  • Other Projects
    • Brass Box
    • Center Drill Stand
    • Choker
    • Faceted Ring
    • Gerstner Toolbox
    • Incense Holder
    • Telegraph Key
  • Horological References
    • Bibliography
    • Videography
  • Guestbook
  • Contact
Picture

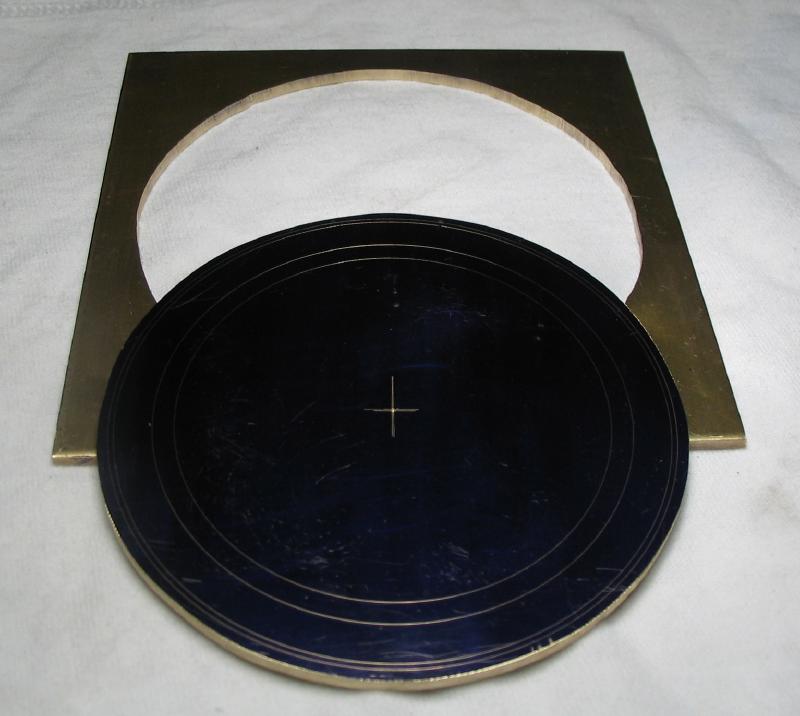
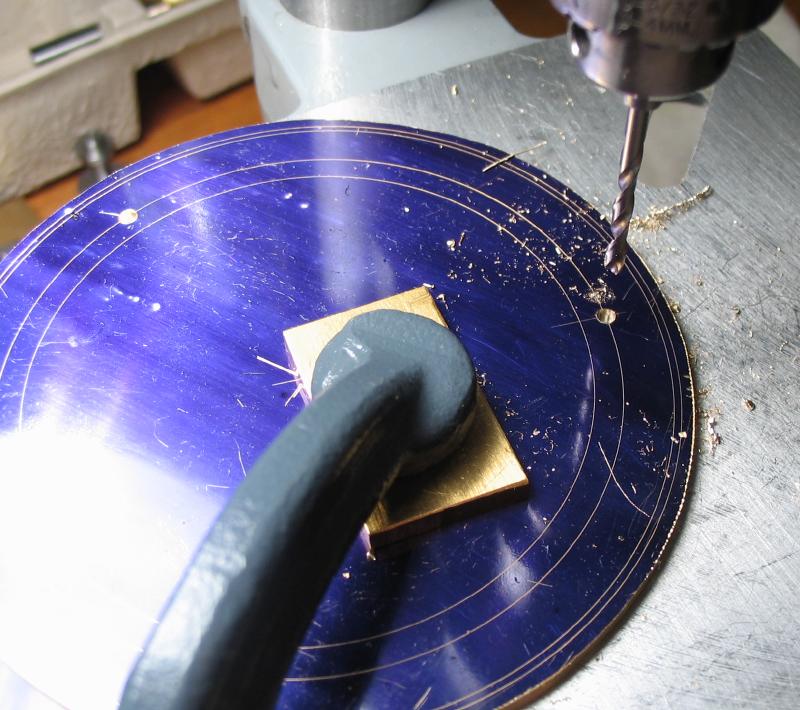
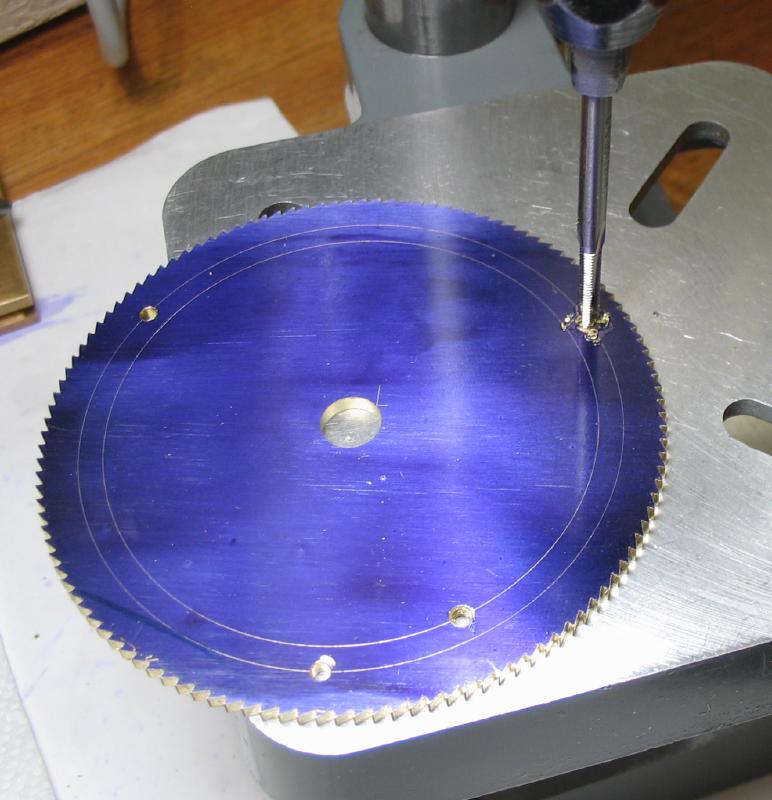
The maintaining ratchet was started from 3/32" thick brass plate (free machining 360 type).  The diameters of the wheel and for screw positions to attach the work to a wood faceplate were scribed and the work roughly sawed out with a jewelers saw.  Three positions were marked out, 120 degrees apart, center punched and drilled #44.  Although tempted to use a different size hole (i.e. screw), but one of these holes will be needed later.

Picture
Picture

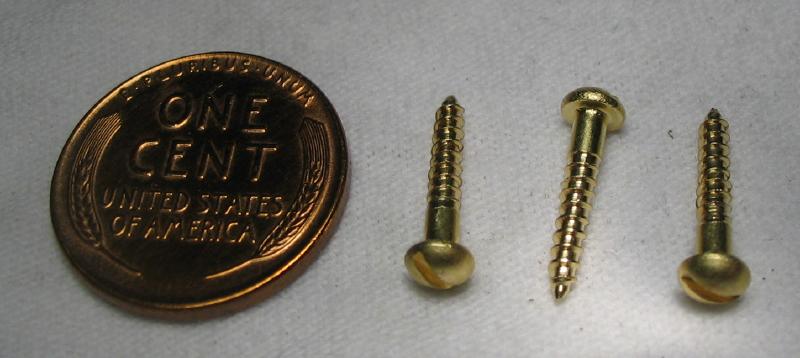
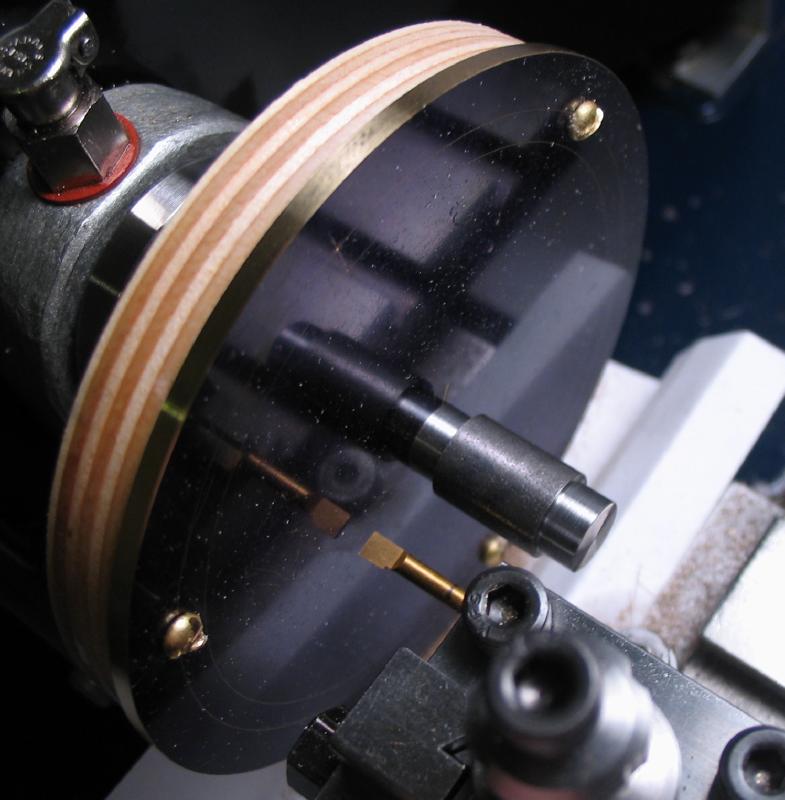
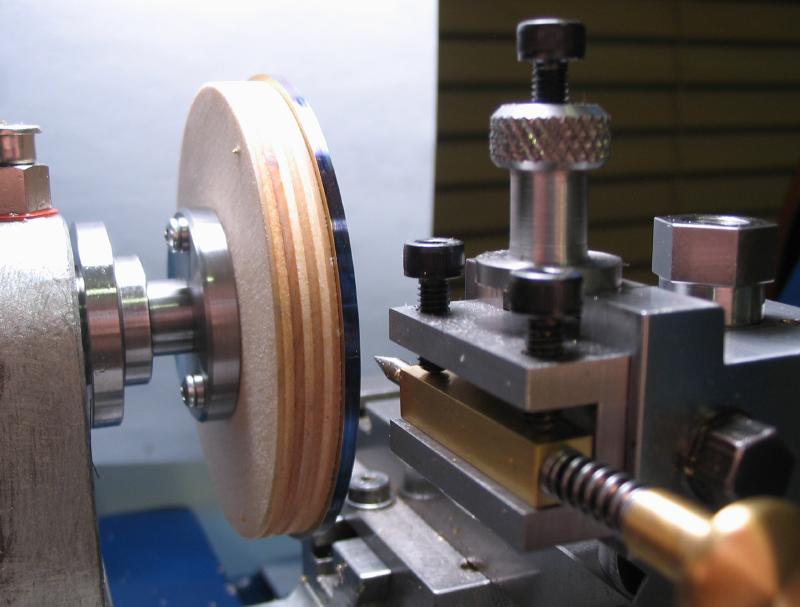
The wood faceplate was turned true and three pilot holes were drilled on the same radius and indexed 120 degrees.  Three #4 brass wood screws were used to attach the wheel blank and checked with the tailstock center.

Picture
Picture
Picture

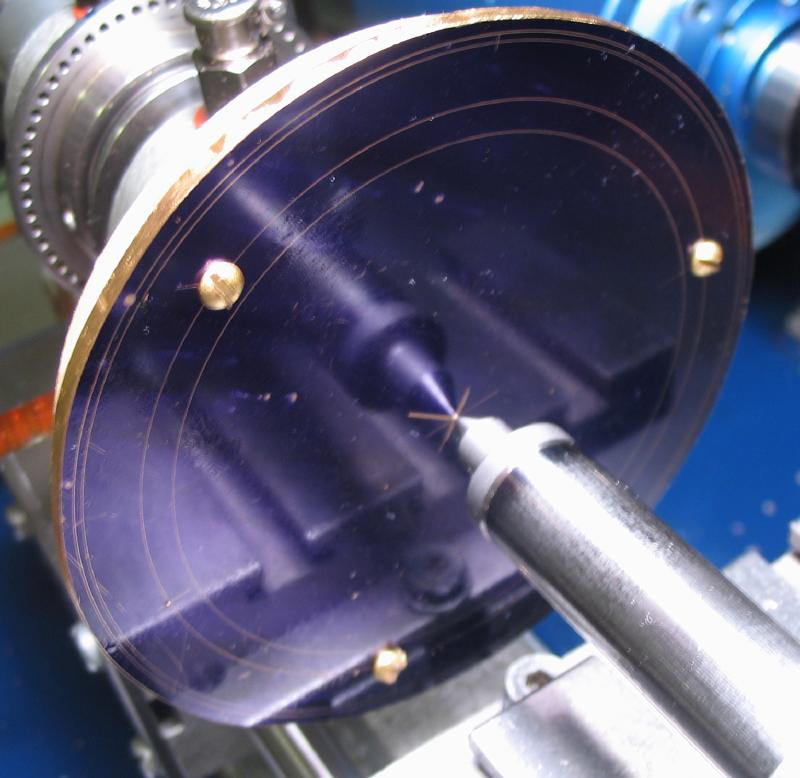
The blank was drilled and bored to be about 0.1mm under the barrel arbor diameter, and I had made a plug gauge from steel rod to test fit between the last few boring passes.

Picture
Picture
Picture

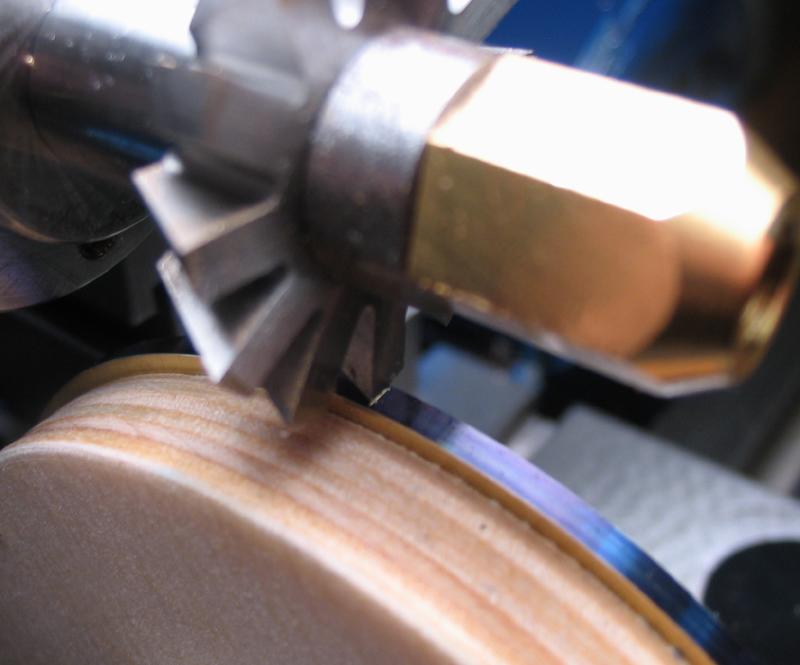
A 60 degree ratchet tooth cutter (PP Thornton) was used and Mr. Wilding recommends that it be offset 1/8" which keeps the angle of the tooth under 5 degrees.  I found the equation in Perkins, i.e. the offset is equal to the tan of the tooth angle times the radius of the wheel.  So, in this case, an offset of 1/8" ÷ 1-19/32" = tan 4.5°   

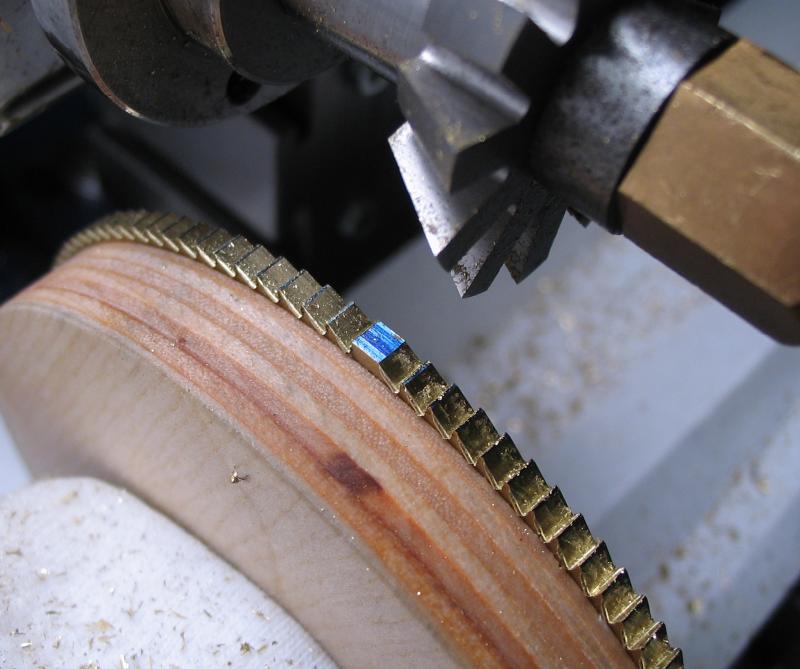
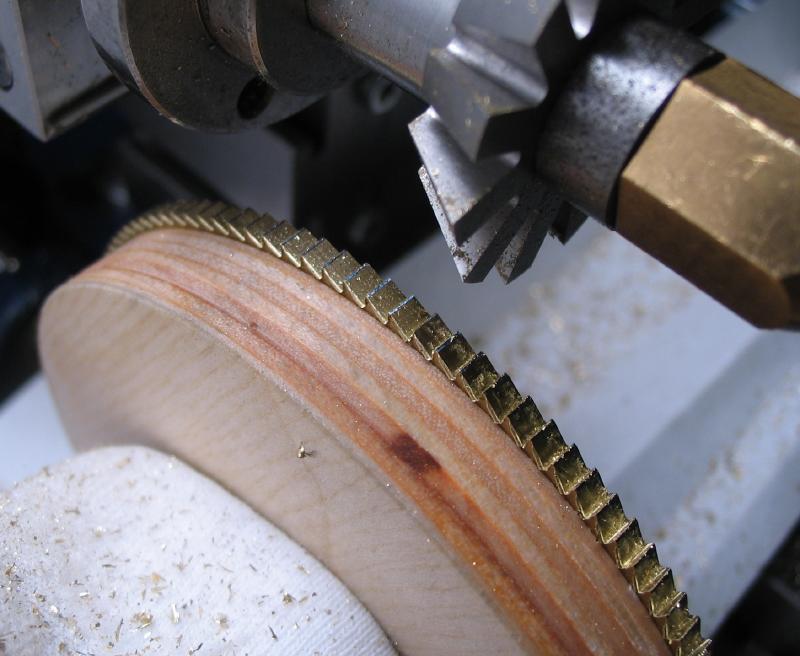
The cutter needed to be elevated to near maximum height.  This required mounting the milling spindle in the top T-slot of the vertical slide and as a consequence could not be lowered sufficiently to set the offset with a micrometer.  Instead, a scribe was set up on center height and a mark made on the edge with the headstock locked and then indexed 90 degrees to put it at 12 o'clock.  The cutter was aligned with the mark before setting the offset with the cross and locking the jib screws.  Two adjacent teeth were cut and the cutter lowered until a small tip remained and the other 118 spaces milled.  After about an hour of milling, a photo before the last cut is shown, this is the moment were one discovers whether it is ruined or not. 


Picture
Picture
Picture
Picture
Picture
Picture

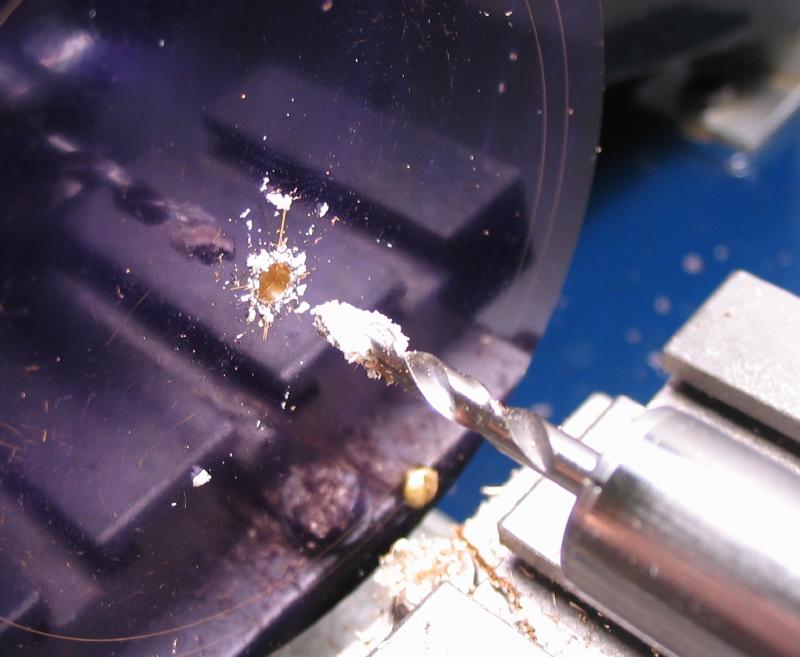
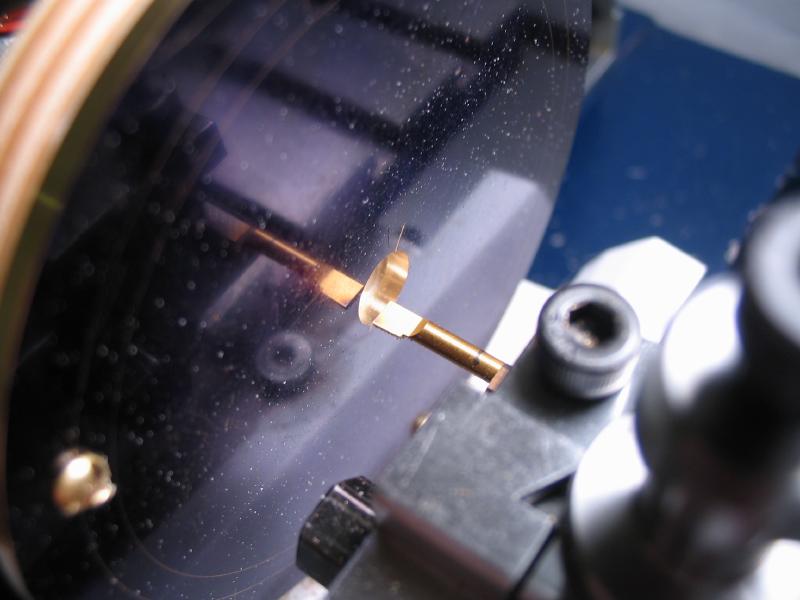
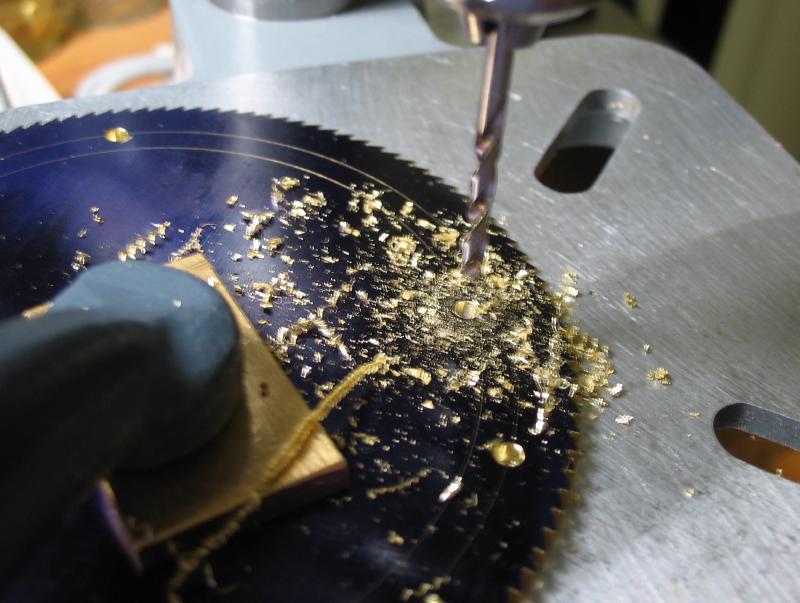
One of the mounting screw holes was chosen for tapping #6-40 and another location was drilled and tapped that is 90 degrees and a shorter radius away.  These will be for securing pins later.
 
Picture
Picture

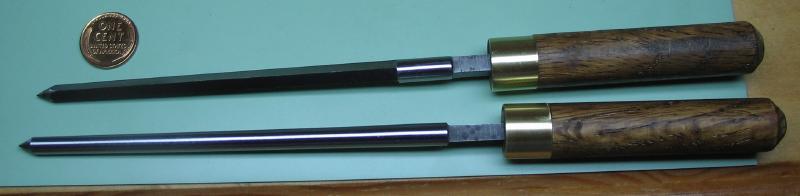
Roughly 1/4" diameter cutting and smoothing broaches.  I took this opportunity to fit the broaches with handles turned from oak dowel and brass tubing.

Picture
Powered by Create your own unique website with customizable templates.