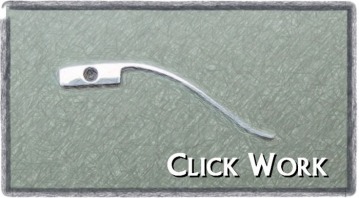
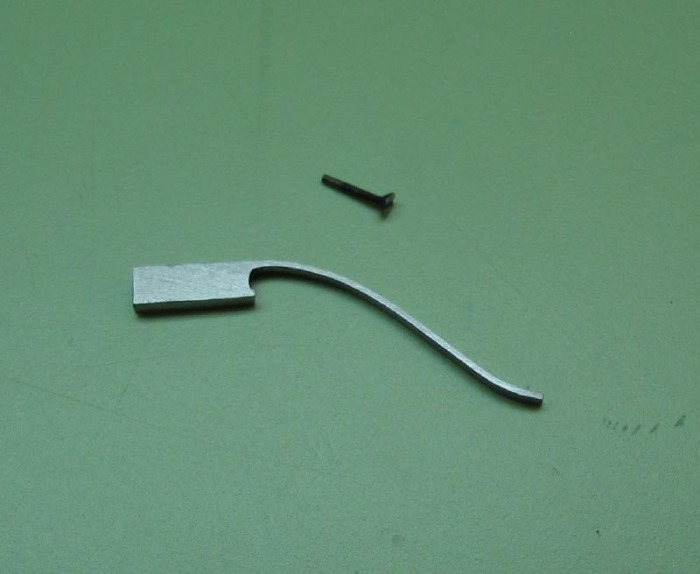
Click Pawl
This watch will use a simple ratchet pawl and spring for the "click" mechanism. These are made from 1/16" O-1 gauge plate using a piercing saw and needle files. I experimented with the W.O. Smith technique of grinding out with aluminum oxide cut-off wheels. I had to make a saw-table to fit the T-rest mount (see Toolmaking section). However, I found myself too nervous about the grinding dust on the lathe bed and bearings.
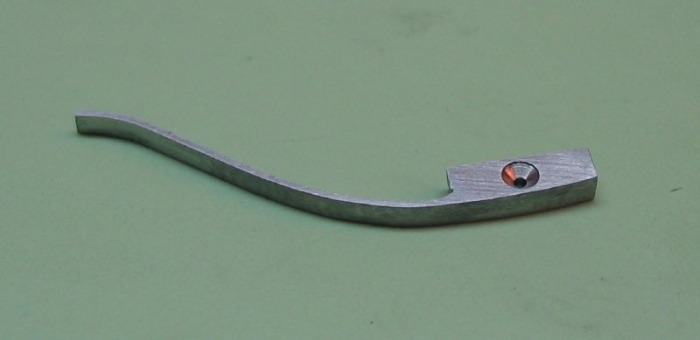
The click pawl is cut out and mounted on a arbor with superglue and the hole and countersink for the retaining screw are formed. Of course, a retaining screw needs to be made as well.
The click pawl is cut out and mounted on a arbor with superglue and the hole and countersink for the retaining screw are formed. Of course, a retaining screw needs to be made as well.
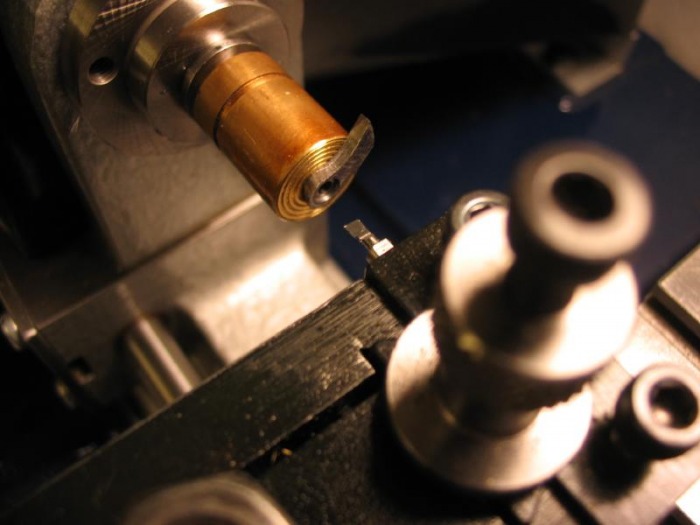


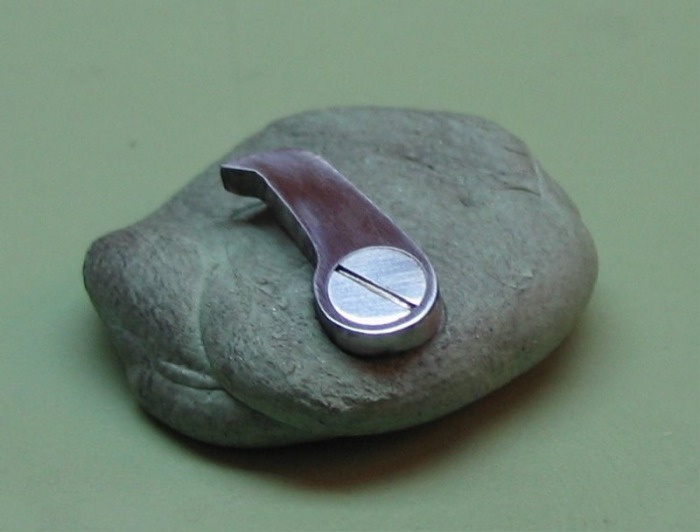
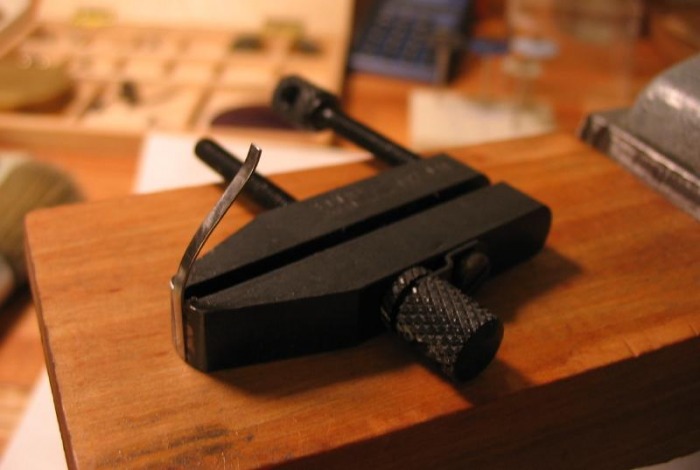
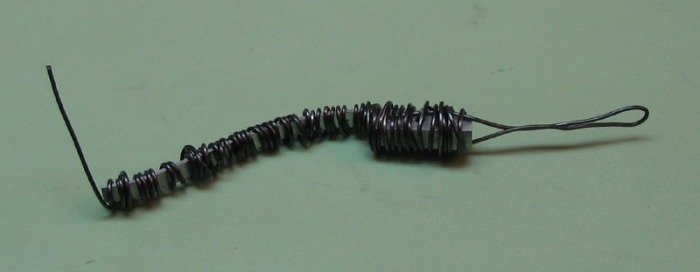
The click was wrapped in iron wire, hardened in oil, polished, tempered on a brass plate, and then repolished. Looking at the photo, it may need a little more work on that finish, it was about 4 AM and my visual acuity begins to wane at those hours...

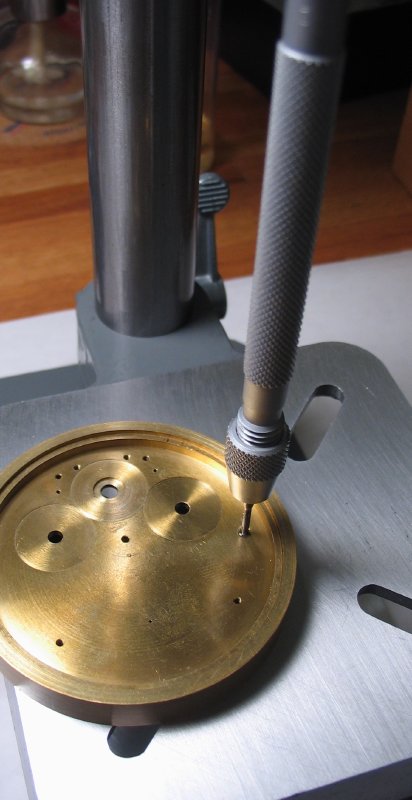
The position was laid out on the mainplate, and center punched. The position was drilled (1.25mm) and tapped 1.50mm.

Chamfer

Drill
Tap
Click Spring
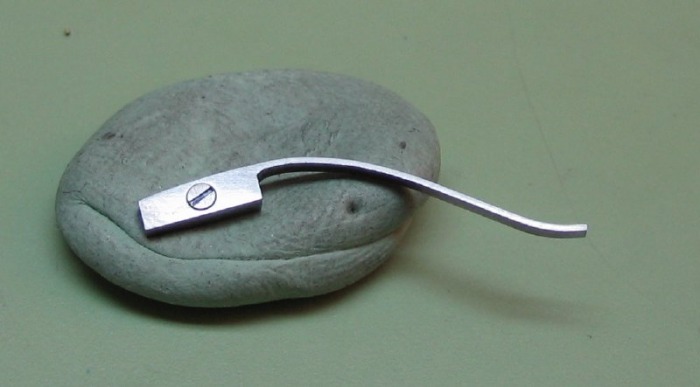
The click spring is simply sawed out with a piercing saw and filed to shape.
Also shown is a angle head screw which was made with 0.6mm threads.
Also shown is a angle head screw which was made with 0.6mm threads.
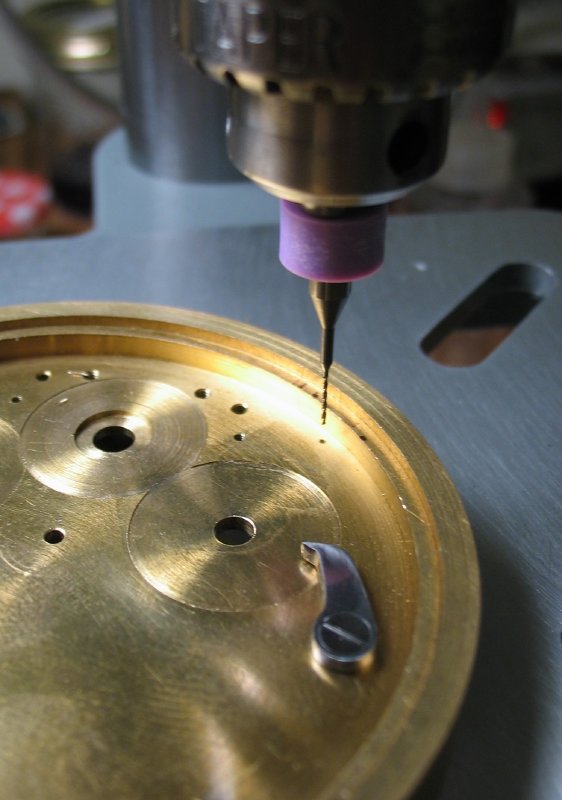
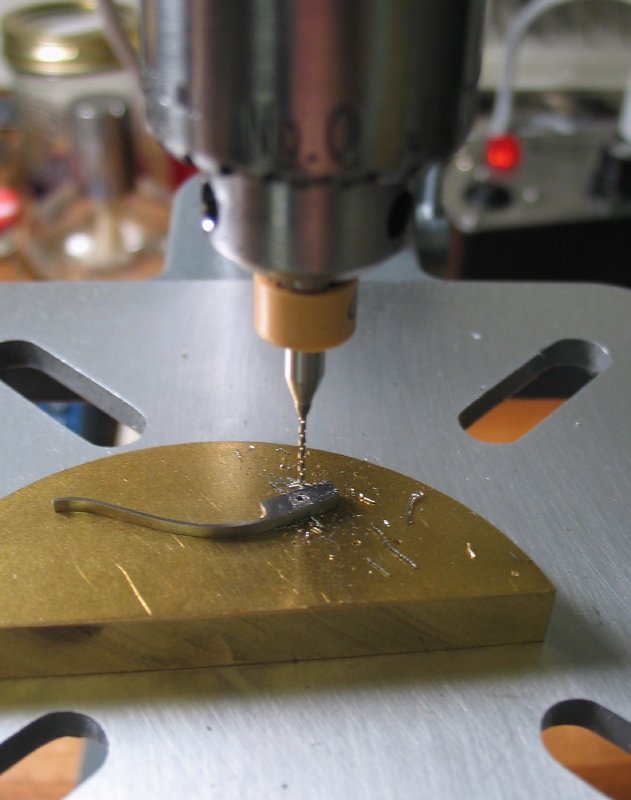
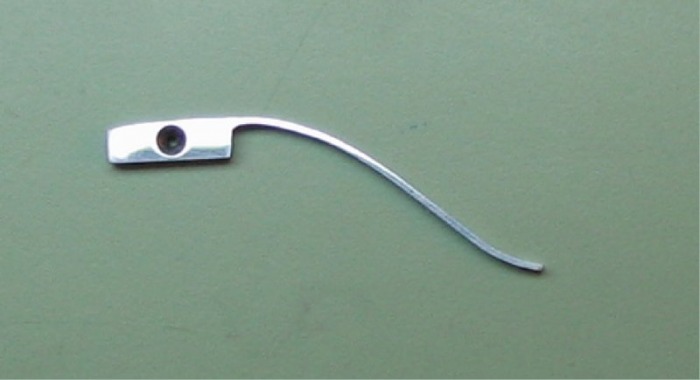
The click spring was then rounded off to mate with the internal diameter of the mainplate. The screw hole was then marked, chamfered, drilled, and then countersunk to accept and pass the 0.6mm screw with countersunk head. Chamfering and countersinking was done with jewelers' setting burs (90 degree). This was the first "real" job for the Cameron drill press. I used the cutoff from the barrel bridge to use a sacrificial base for the drill to pass into, this prevents the drill catching the work or producing burrs (i.e. an 'exit-wound'). The Cameron makes drilling jobs like these a pleasure...

Chamfer mark
Drilling
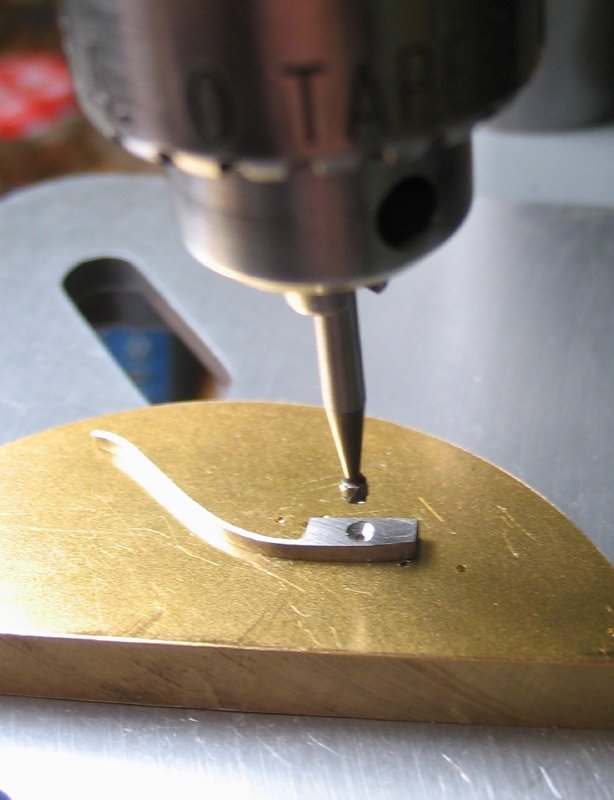
Countersink
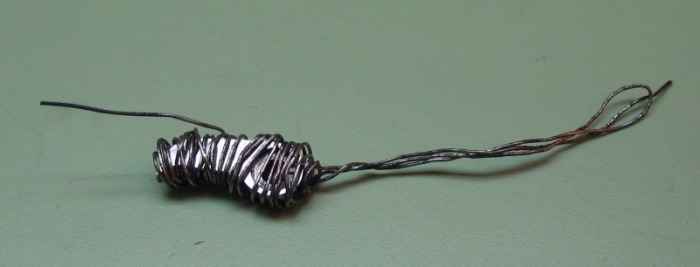
The spring was then wrapped in iron wire, hardened in oil, repolished, tempered on a brass plate, and then repolished. The iron wire was wrapped fairly snug in an attempt to prevent any distortion during the heating and rapid cooling.

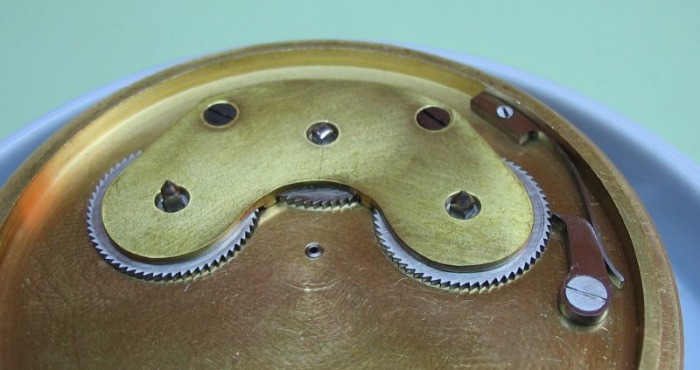
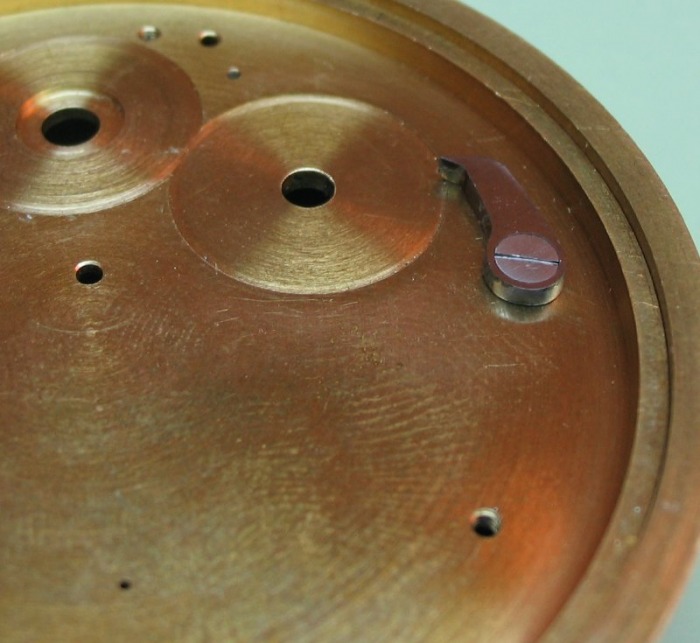
The position was determined by testing the interaction with the click pawl, and once the position was found satisfactory, it was drilled (0.48mm) and tapped 0.60mm for the screw. Once the click and spring were attached to the mainplate, it was quite pleasing (or perhaps a great relief) to install the ratchet wheels and test the winding with the key, and find it very smooth with a nice click.