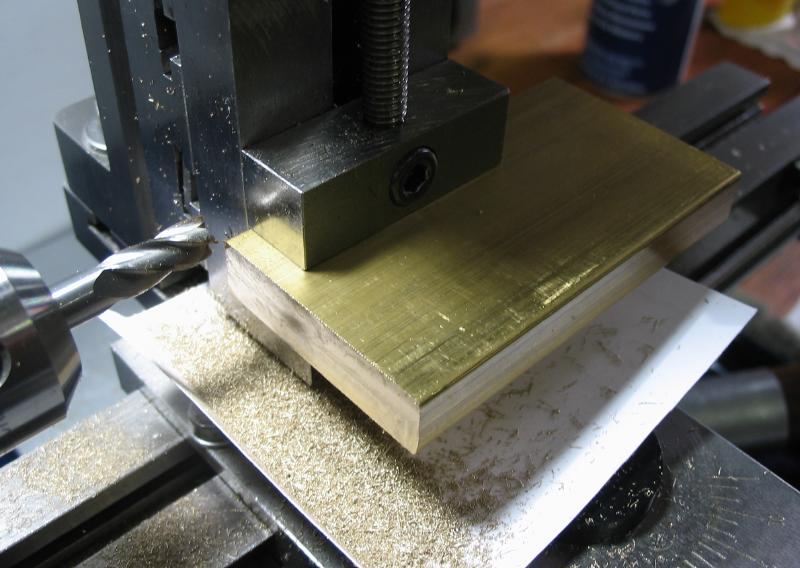
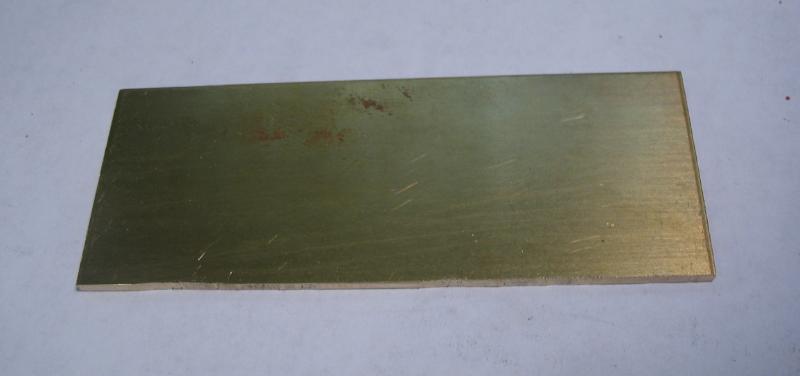
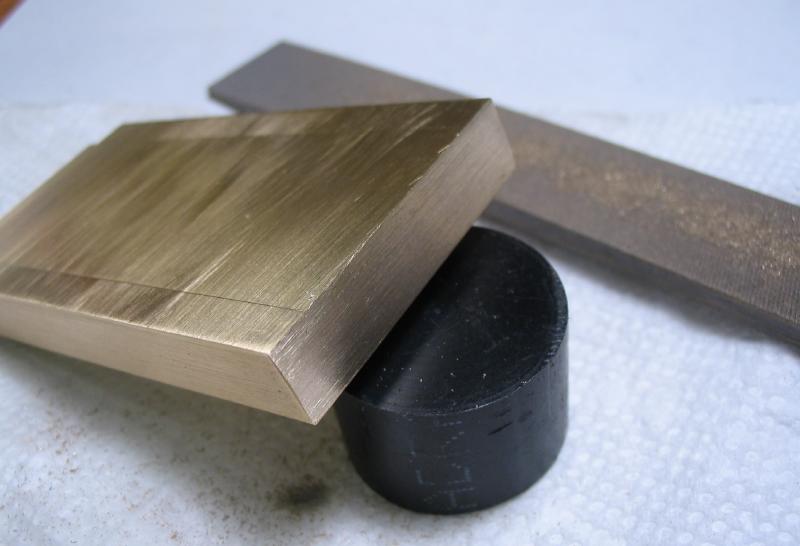
A pocket-sized box was envisioned for a roughly 70mm length of 3/8" x 1.5" brass bar. The ends and broad faces flatten with either an endmill or fly-cutter, and the sides then roughly flatten with a hand file.
|

|
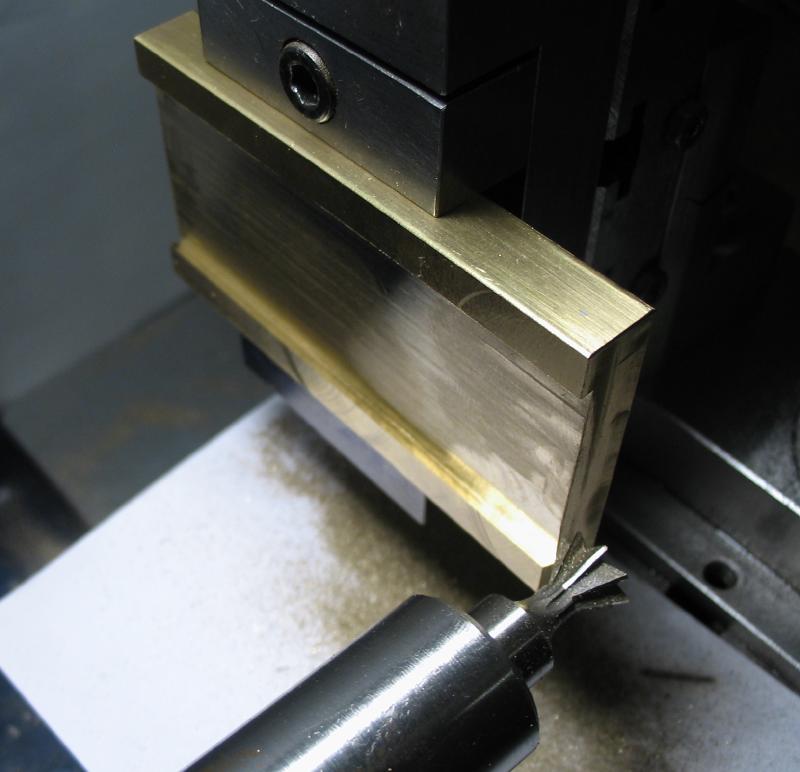
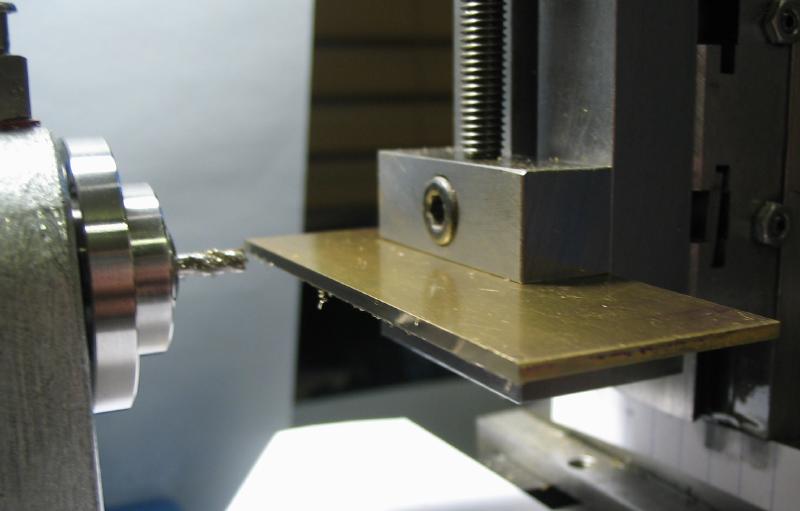
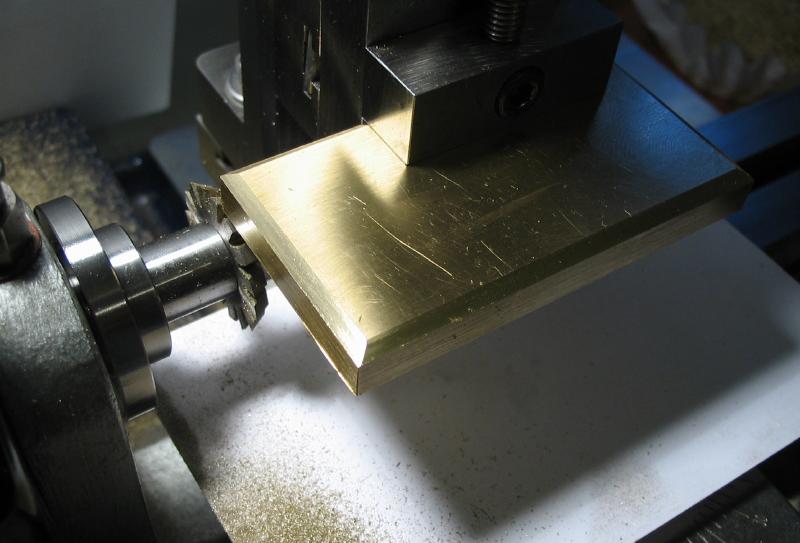
A channel was milled that is about 27mm wide and 1.7mm deep.

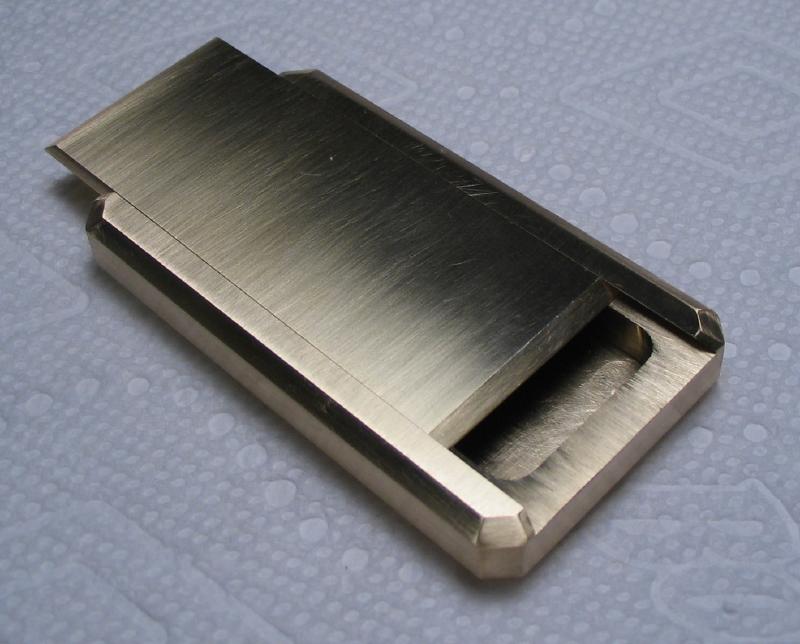
The walls of the channel were milled with a 30° dovetail cutter (60° included angle) for a matching lid, which was afterward and shown below.
|

|
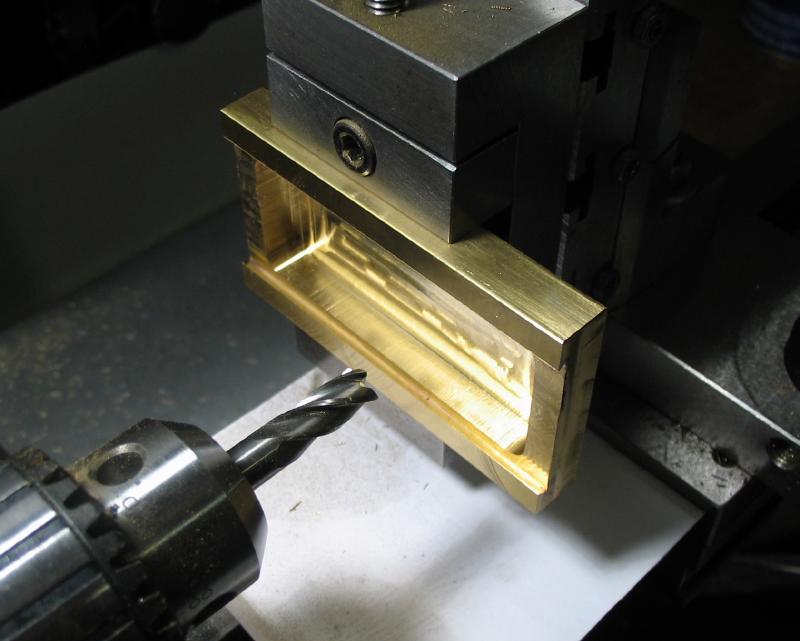
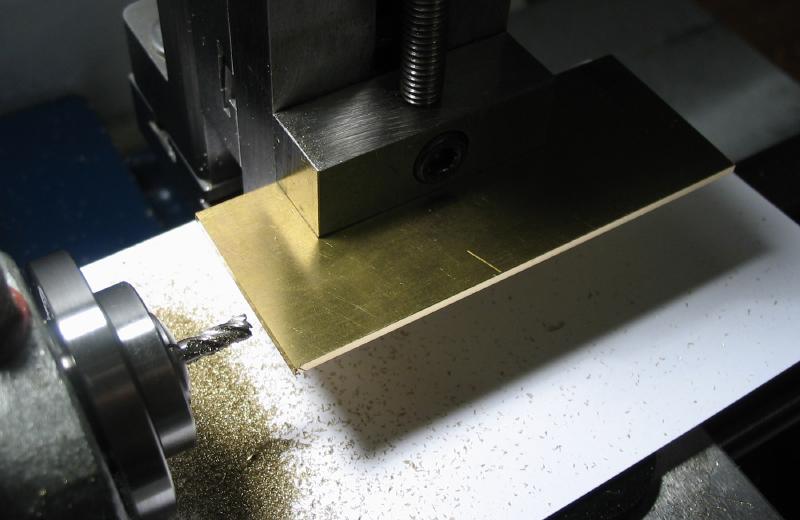
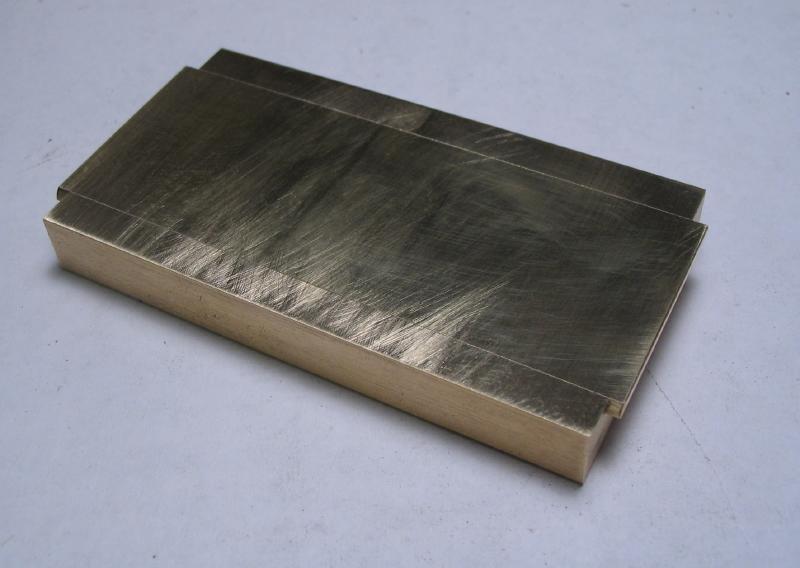
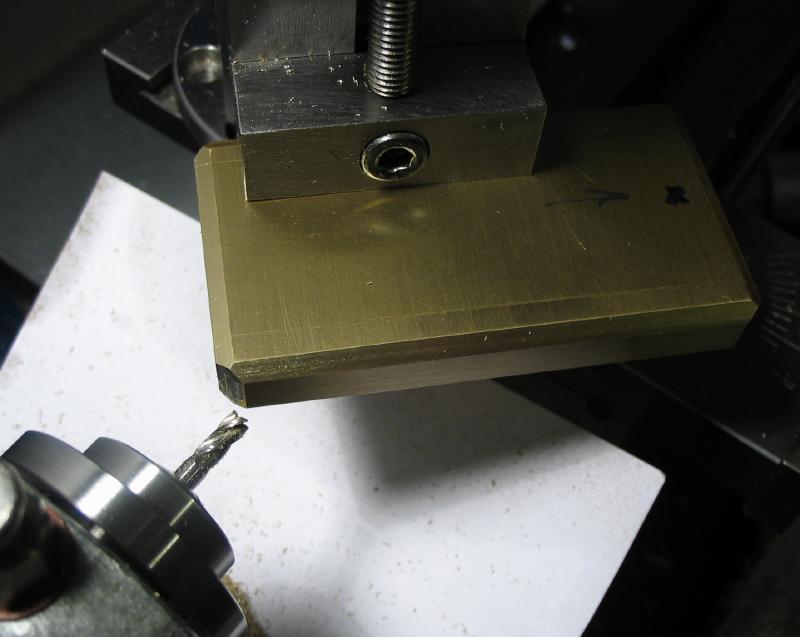
A pocket was milled out using a 1/4" endmill. The depth was roughly 5.5mm, although I was measuring the thickness of the remaining brass and left at about 1.6mm to match the 1/16" thick lid.
The lid was started from 3" x 1/16" brass sheet (grade 353 and free machining). A section oversize in width (about 30mm) was sawed off and then milled on the edges to square things up. It is oversize in length as well, but this will be advantageous when fitting to the base.
|
|
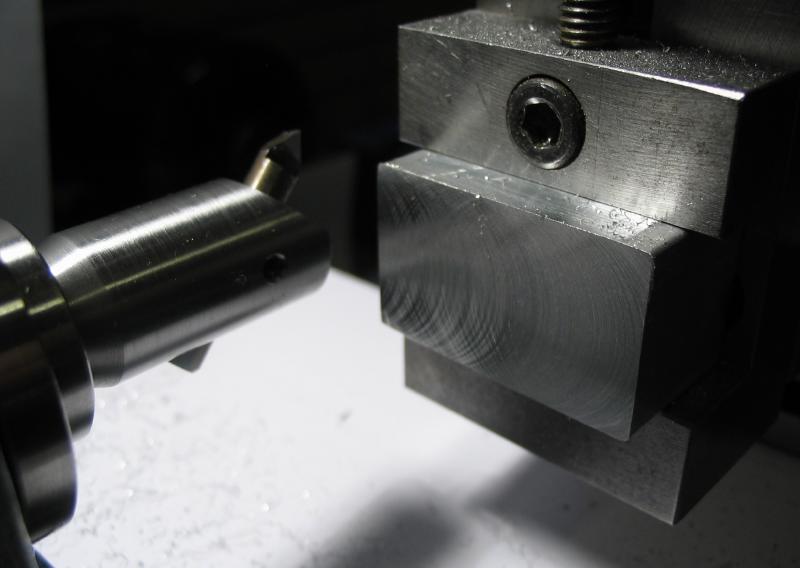
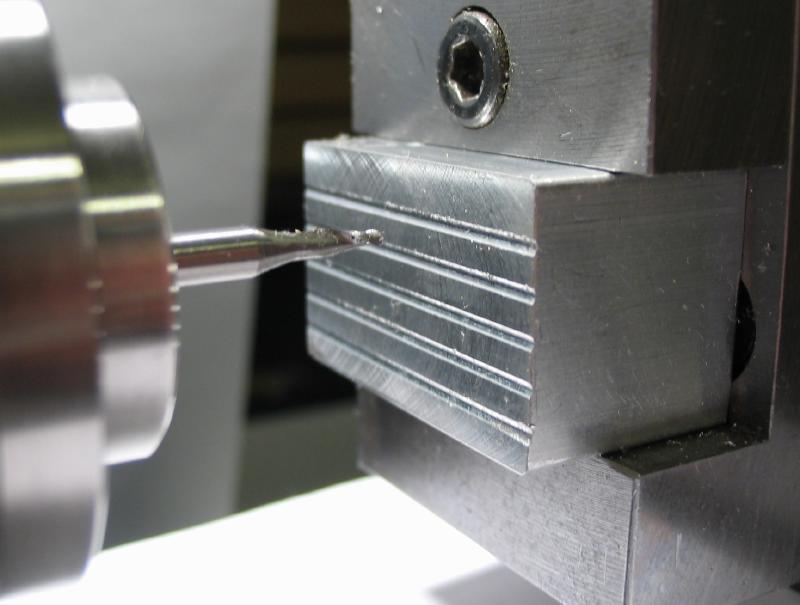
In order to hold the sheet for milling the matching dovetails, a small piece of aluminum bar was machined flat and the work cemented onto its face. The face of the aluminum was grooved with a small ball-endmill, and this is for retaining the adhesive (i.e., cyanoacrylate 'super glue'). The super glue was applied and the lathe bed used to square the sheet and it was pressed into contact with the aluminum block. The matching dovetails were then milled with the same cutter. The base could be tried while still mounted on the lathe and I discontinued milling once a very tight starting fit was found.
|
|

|

|
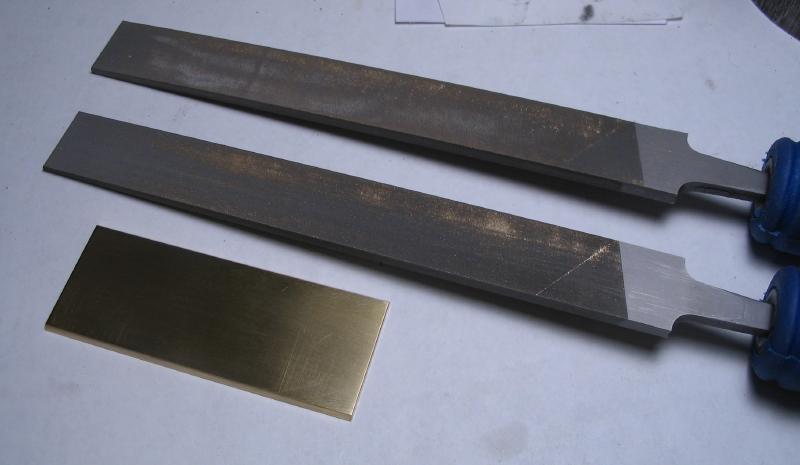
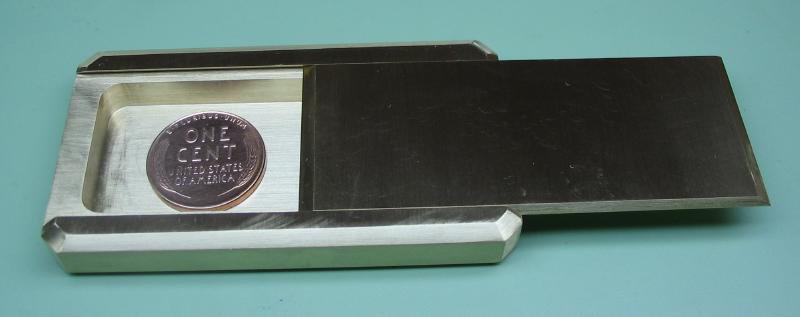
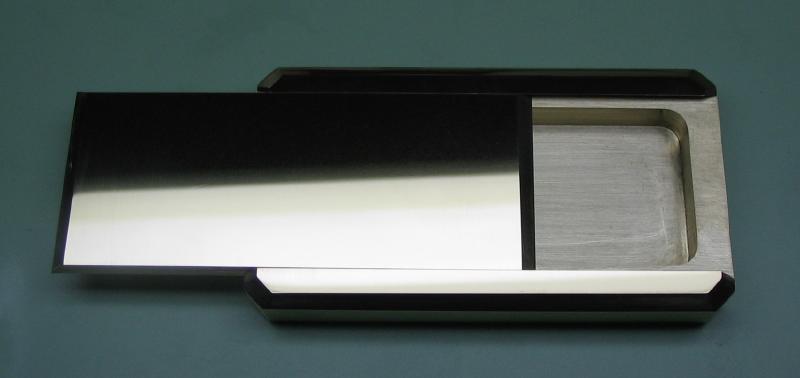
The final fit was obtained by filing with No 4 and 6 hand files until the lid could be fully closed with a very tight closed position. I think there is an ever so slight taper to the dovetail of the lid or I simply got very lucky here, and when inserting the lid in one direction it tightens as it closes. I choose a very snug position that had overhang on both ends. The excess height of the base was reduced and made flush with the lid, starting with a No. 0 file and smoothing with a No 2, which will do for now.
|

|
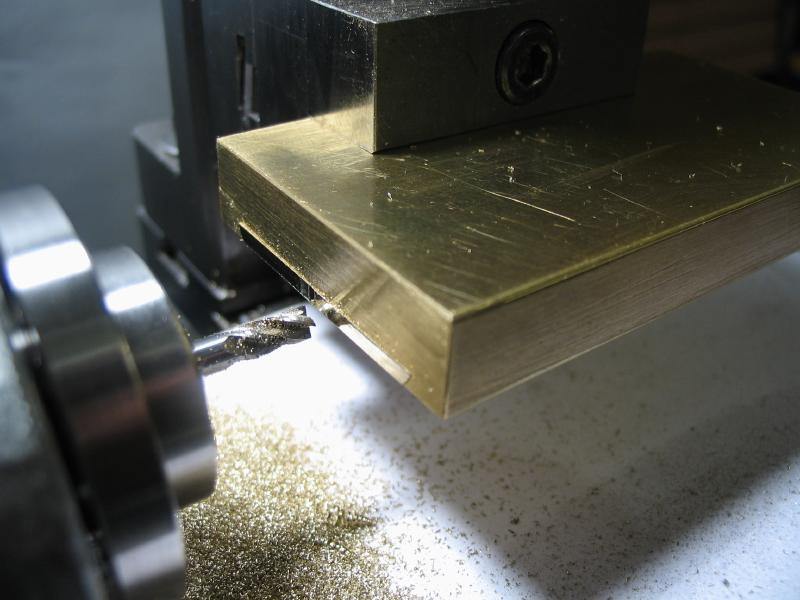
The excess length of lid was reduced by milling and then finished with a file.
|
|
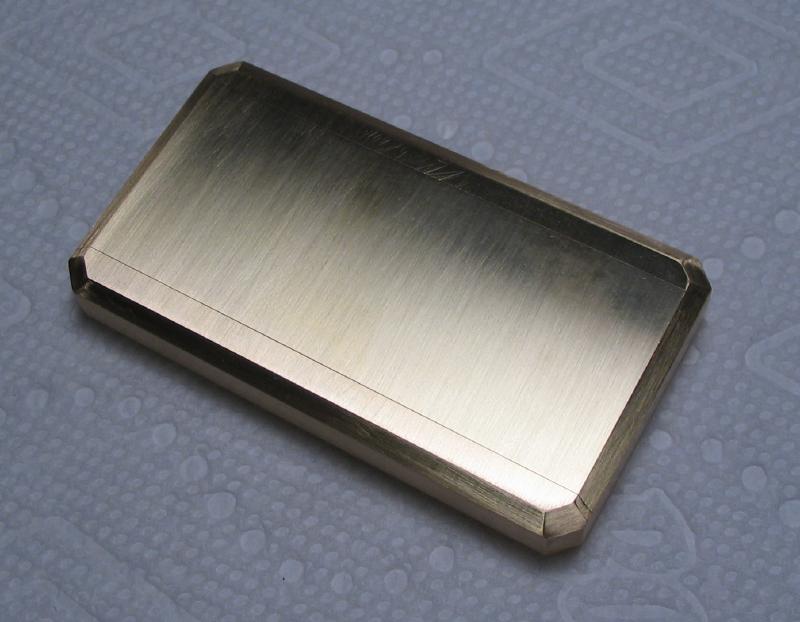
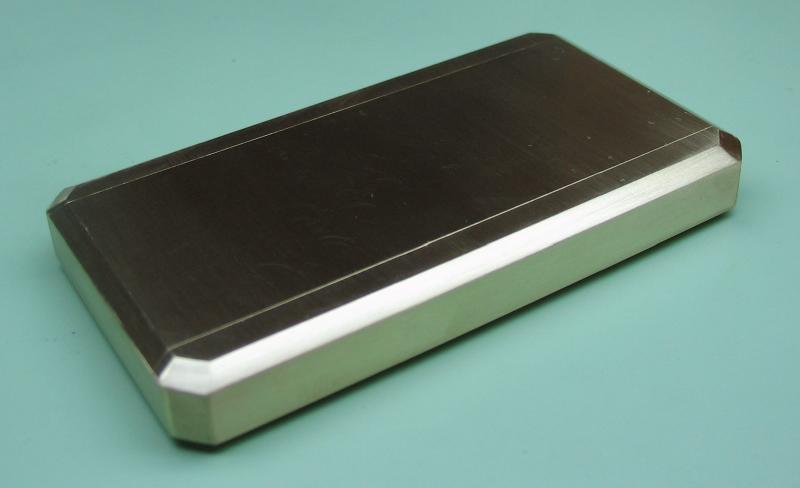
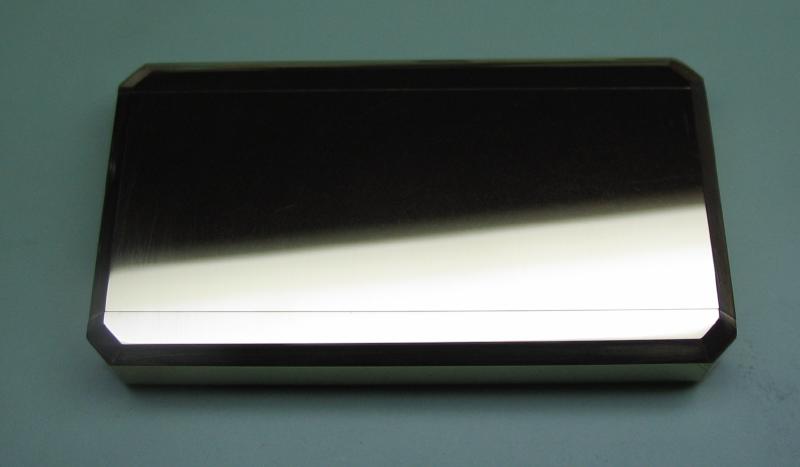
The top and bottom edges were beveled with a 60 degree single angle cutter.

|
|
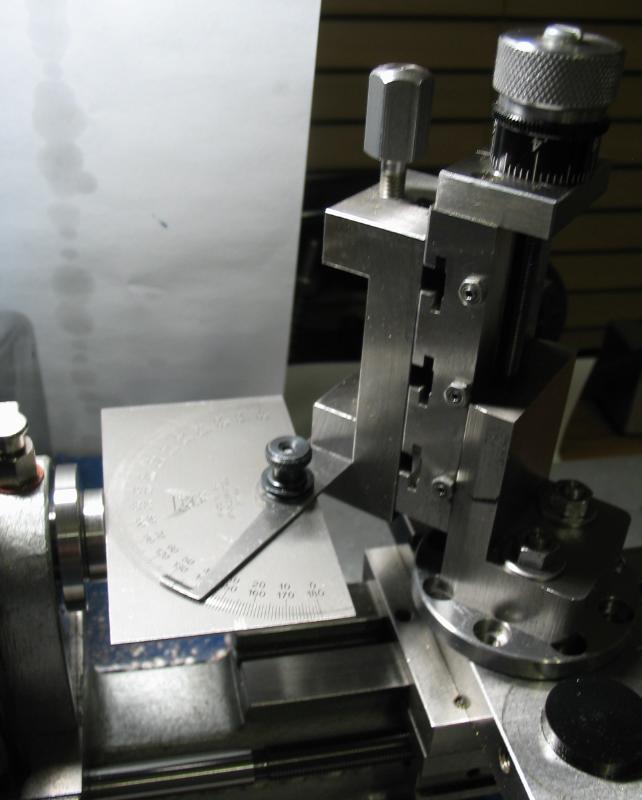
The corners were removed with an endmill and holding the work at 45 degree angles with the cross slide adapter (one of the setups using a protractor is shown). The 60 degree mill was also applied to the corners to match the bevel of the edges.
|
|

|
Tool marks and major scratches were removed with hand files, and then rubbed on 400 grit emery paper to smooth the surfaces and remove the sharp edges. The surfaces were then rubbed on or with 800 paper and the outside faces continued with 1500 and 2000 grit paper (result of 400 and 1500 shown).
|
|

|
|
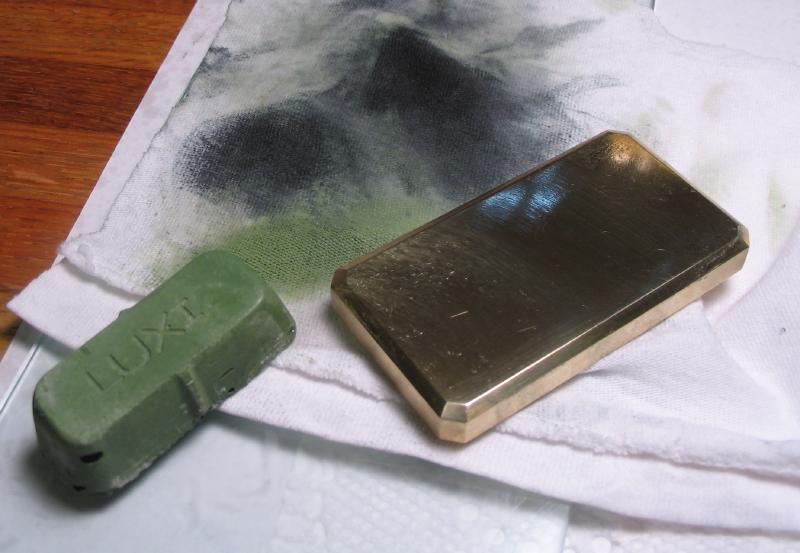
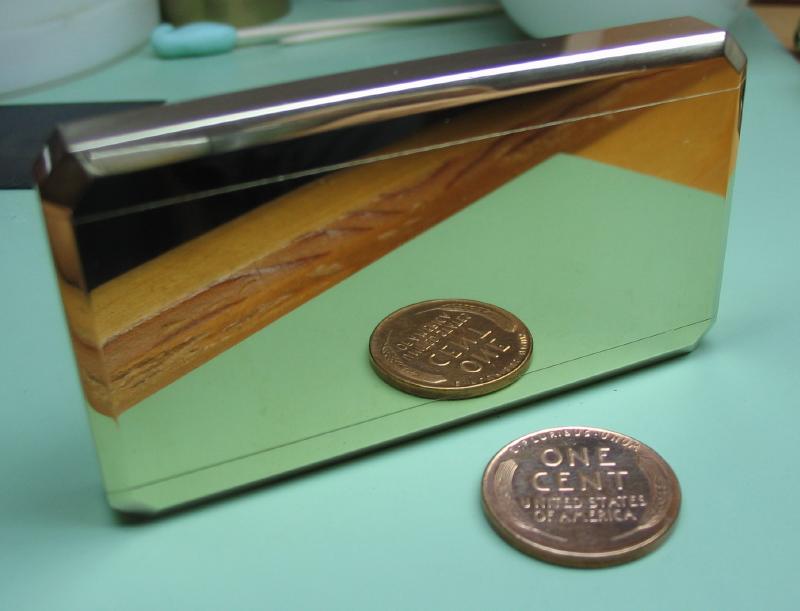
The outside of the box was rubbed by hand with a cotton rag (a strip of old t-shirt) that was charged with Luxi red-color polishing compound. This is generally equivalent to 'jeweler's rouge' and left a nice mirrored finish, however, there is still some fine scratches remaining and I may need to go back to a sightly coarser compound.
This photo is out-of-focus, however the reflection on the surface was clear enough that the camera auto-focused on the Horia insignia.
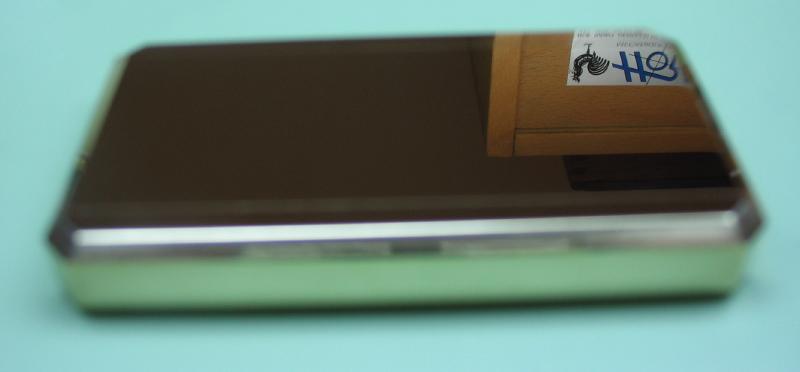
From other vantage points a fine grain can be detected.
|
|
Green-color compound followed with red again; the polish improved a bit.
|
|
