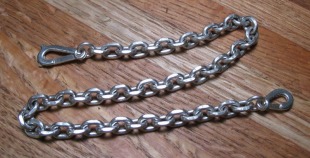
The Chain
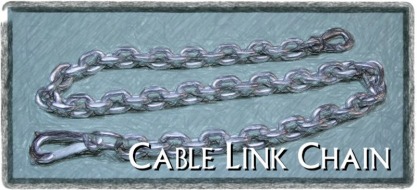
A useful book for getting started in working with silver and gold is Alan Revere's textbook titled "Professional Goldmsithing." It contains basic information on the tools and methods used in goldsmithing and a series of progressively more difficult projects, which also demonstrate many of the fundamental techniques needed in the craft. One of these projects is the production of a cable link chain, which I chose for my watch.
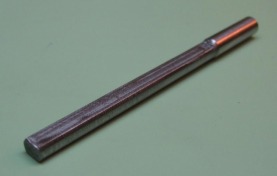
The chain is started by making the links from wire. The oval shape is roughly formed by wrapping the (12 gauge) 2mm wire around an oval length of steel rod. The desired starting oval dimensions are 3mm x 4.5mm. Oval steel rod is not available, as far as I could find, so it needed to be made. Machining a perfect oval did not seem readily possible, so a length of 5mm steel rod was turned to 4.5mm and then flats milled onto either side using the milling spindle and a small end mill bit. The rod was milled to a width of 3mm. This shape is close enough for the initial forming.
The chain is started by making the links from wire. The oval shape is roughly formed by wrapping the (12 gauge) 2mm wire around an oval length of steel rod. The desired starting oval dimensions are 3mm x 4.5mm. Oval steel rod is not available, as far as I could find, so it needed to be made. Machining a perfect oval did not seem readily possible, so a length of 5mm steel rod was turned to 4.5mm and then flats milled onto either side using the milling spindle and a small end mill bit. The rod was milled to a width of 3mm. This shape is close enough for the initial forming.
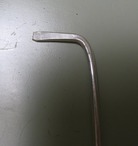
A one foot length of 12 gauge silver wire was cut off and the end bend at 90 degrees and hammered to a taper. The wire is bent with bow closing pliers. The taper assists in holding it in the hand vise and the coiling process. The end was hammered on the bench block with a traditional goldsmith's hammer.
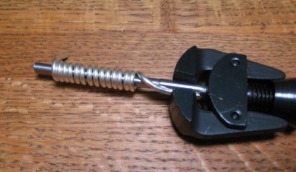
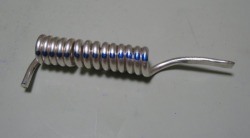
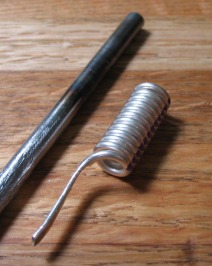
The forming rod and wire is held in a Lowell pattern hand vise and the other end of the wire held in the bench vise. The wire is then wound onto the rod to form a coil.
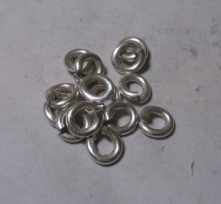
The edge of the coil is marked, since it will likely be distorted while removing from the oval rod. The coil is removed, which is a little tricky, and cut along the markings with the piercing saw to make a series of open, oval rings. I used a 6/0 saw blade, since the thinner the cut the better the solder joint that will result.
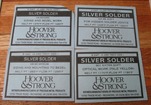
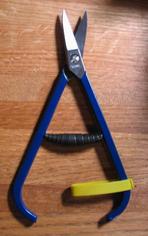
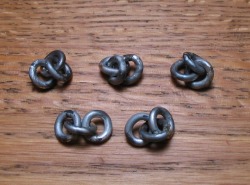
Half of the rings can be soldered closed, and the remaining rings used to connect the closed rings together. They are then soldered closed themselves, thus forming a chain. I am using Hoover & Strong hard solder, since this is a joint needing strength and is highly visible. Solder can be purchased in various alloys that melt at various temperatures, they are ranked as hard (highest temperature) to medium to soft to extra-soft (lowest melting temperature). This allows one to make multiple separate solder joints in proximity to each other, without melting the previous joint. The solder plate is nipped into small chips, referred to as pallions in the trade.
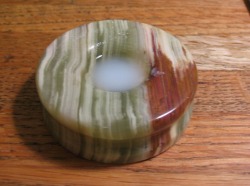
The soldering process requires flux to facilitate the flow of molten solder into the joint. The traditional choice of flux is borax (i.e. sodium borate) mixed with water and applied with a small brush. I am using Handy-Flux, a proprietary flux blend, made by Lucas-Milhaupt. It is actually composed of boric acid (15-30%), potassium fluoride (15-30%), and potassium tetraborate tetrahydrate (15-30%). A photo of the Handy Flux and water slurry is shown, I use a small agate egg-stand as a mixing well. The photo is immediately after mixing, as the water evaporates a little, a more desirable thin paste develops.
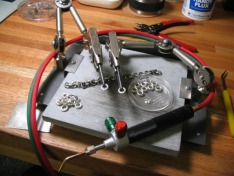
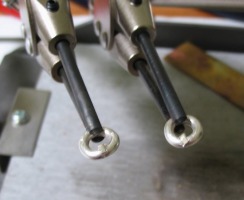
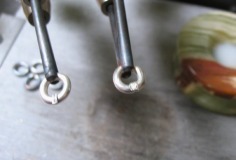
The silver rings were placed into a third hand clamp and the joint coated in flux. Essentially the solder will flow to wherever the flux was applied. A chip of solder is placed onto the joint and the work is finally brought up to temperature. The part itself is heated which will melt the solder when the correct temperature is reached. If the solder is heated directly, it will likely not bind to the silver. When first heating the work, the water from the flux slurry will fizzle away and if heated too quickly it will cause the solder chip to jump out of position. A solder pick can be used to hold it in place until the flux has calcified.
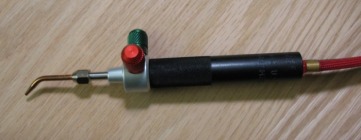
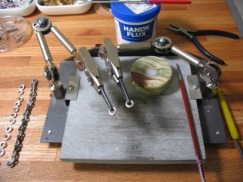
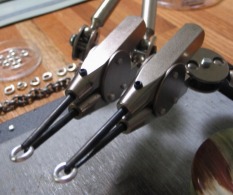
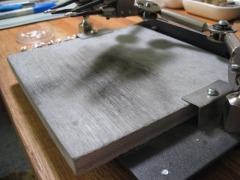
I am using a Smith micro torch which uses propane and oxygen, and it easily brings things up to the required temperature (~ 1500 degrees F). The soldering station is made by GRS (Glendo). It is a nice setup, the third hands work very nicely, and the soldering board comes in handy for various heating jobs. Their products are very well made, and it is reflected in the price.
| Handy Flux MSDS | |
| File Size: | 25 kb |
| File Type: | |
| Smith Micro Torch | |
| File Size: | 268 kb |
| File Type: | |
A foot of wire yielded about 14 links. A total of 52 links were made, using about 1¼ ounces of sterling silver wire. Determining how much chain to make was a bit of a guess. Once the desired length of rough chain has been made, it must then be finished by drawing through a square holed drawplate, in progressively smaller holes. This forms the final shape of the links. First the chain must be annealed to return the silver to a more malleable condition. The coiling and bending work-hardens the silver and the drawing process needs the silver to be as soft as possible. The silver is heated to a dark red color and then plunged into water.
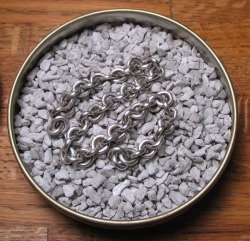
An annealing pan was made from an old pipe tobacco tin and crushed pumice was used as the substrate. Pumice is a traditional material to use for this type of procedure, and being a volcanic rock, I imagine it is suited to the high temperatures, and it reflects the heat.
I was only able to find one source of drawplates of the required size for this job. It is an Italian made plate, and very heavy duty. It was much larger and heavier than I imagined it would be. The size range is 5 to 8mm in 0.1mm increments.
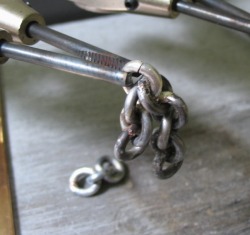
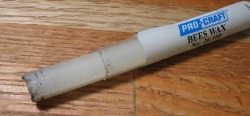
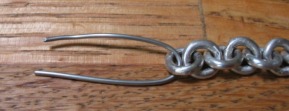
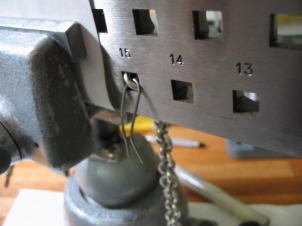
The drawplate is mounted into a bench vise (with protection). A drawing dog (or loop of 18 gauge stainless steel wire, in this case) is inserted into the last link of the chain, inserted into the first drawplate hole to give resistance, and then clamped in the hand vice. The holes in the drawplate are tapered in the back to facilitate the drawing process. They are numbered on this plate from 1 to 31, in order of size. The drawplate and wire is lubricated with beeswax to assist as well.
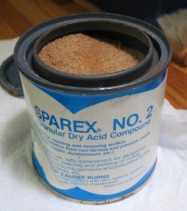
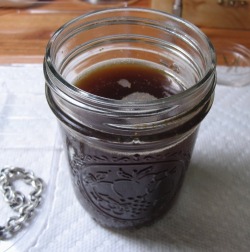
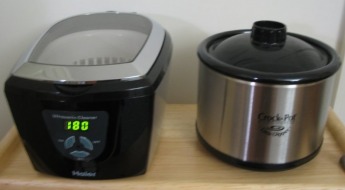
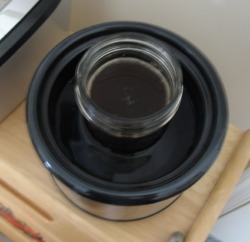
After several passes through several size squares, I decided to then "pickle" (that's the technical term). Pickling is essentially an acid bath to remove the oxidation and firescale from the soldering and annealing processes. I am using Sparex No. 2 pickling compound. Sparex is essentially sodium bisulfate, which when mixed with water forms a buffered sulfuric acid solution. I mix the Sparex up with water in a small Mason jar. The jar can be placed into a small 'Crock-Pot' with a water bath to be heated to its more ideal working temperature. This way the Crock pot can be easily cleaned and the Sparex saved for another day, this is especially advantageous for someone who uses it very infrequently.
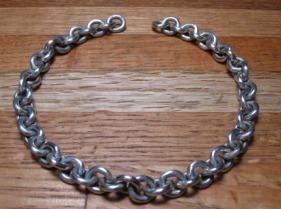
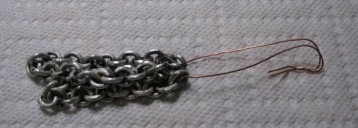
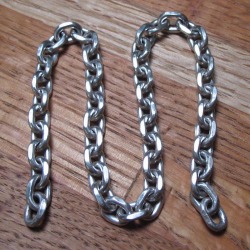
The chain was threaded onto a length of copper wire and suspended in the pickle bath for about 10 to 15 minutes. It seems to work okay, perhaps it could have used some more time. I then polished the chain up with some Simichrome on a buff wheel. A photo at this stage is shown, still needs a few more draws through the drawplate, and some more polishing, but considering I never made a chain before, it is coming along nicely ...
| sparex_no2_msds.pdf | |
| File Size: | 346 kb |
| File Type: | |
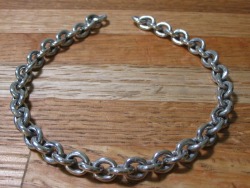
After drawing from hole # 15 to # 20 - Still some more work to go...
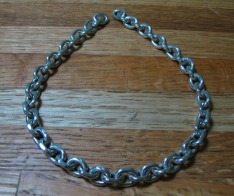
After drawing to hole # 24
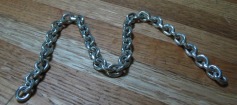
Getting longer, and small facets forming on links from drawing (as expected).
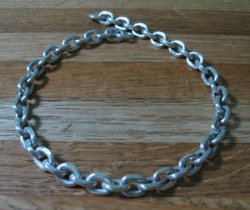
After drawing to hole # 26
Perhaps one or two more, but I must be careful to not over draw the chain, since it is possible to make the links too tight and it will no longer flex, and would be ruined.
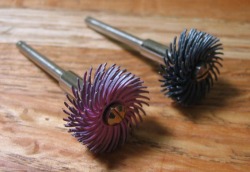
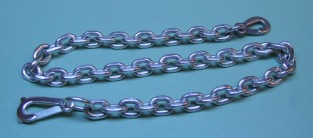
The chain was drawn to #27 (~5.3mm). To polish the chain I am using 3M bristle wheels (see brochure below). These are mounted on a arbor and held in the Flexshaft for polishing the chain. A final polish is applied with a muselin wheel with Simichrome followed by jewelers rouge.
| 3m_bristle_brushes_-_flexshaft.pdf | |
| File Size: | 106 kb |
| File Type: | |
The Sister Hook(s)
Another project I found useful in Revere's book is the making of a "sister hook." I chose this as the linking ends of the chain to make it easily attached to or removed from the watch and connect to a belt loop, waist coat button, or to the winding key for presentation.
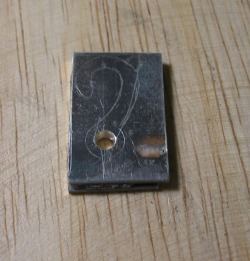
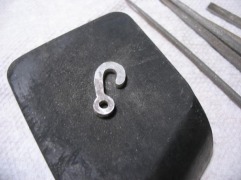
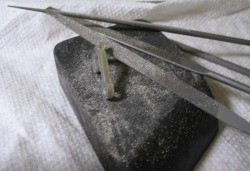
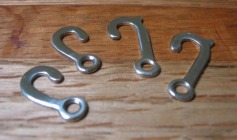
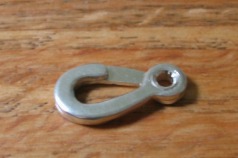
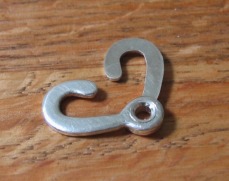
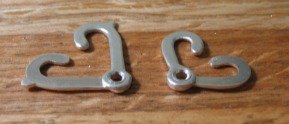
The sister hook is by its name composed of two mating, opposed hooks which close to form a loop. The hooks are friction tight from the rivet which holds them together. It is made by first gluing two pieces of sterling silver sheet together (18 gauge - ~1.0mm). The outline is scribed onto the surface. A hole is made to fit a piece of silver tubing, since various sizes can be purchased, I made it 3mm.
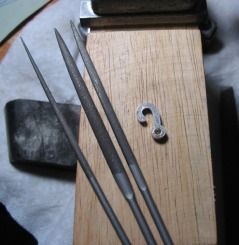
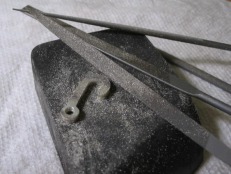
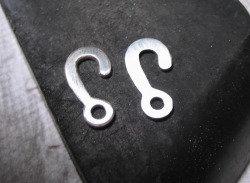
The hook-sandwich is cut out with the piercing saw and filed to the desired shape with needle files.
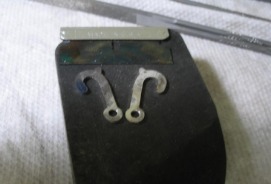
The two pieces can then be separated with a razor or by soaking in acetone.
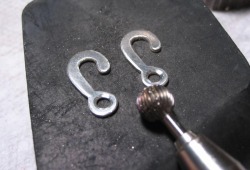
The hooks are then beveled with files to give a more rounded shape and feel.
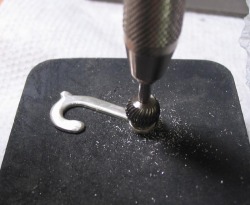
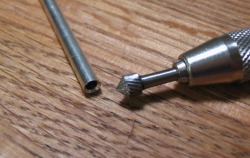
The hole can be countersunk with a round bur.
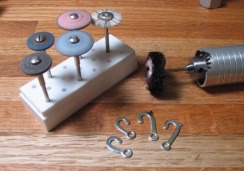
Then they are polished with various grades of abrasives and finally with rouge on a buff wheel.
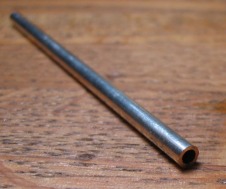
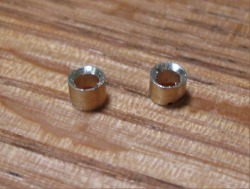
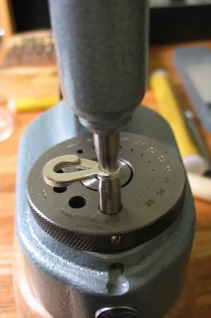
The halves are joined together with a section of silver tubing. Rivets are made with a setting bur, and 2mm sections are cut off. The tubing is riveted over with the staking tool to fill in the countersink.
The hooks were broached open to slip fit the tubing sections. Spreading punches are setup in the staking tool, one in use as a stump by using the wooden base stand. Varying sizes of spreading punches are used starting with a smaller one (1.75mm) and progressively increasing to spread and flatten the rivet. The resulting tension of the clasp is determined by how tight the rivet is finished.
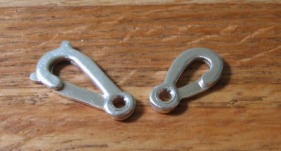
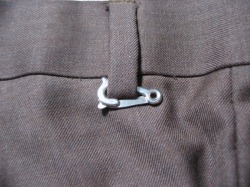
Since I do not regularly wear a waist coat, the watch will most likely be carried in a pants pocket, the larger hook will be attached to a belt loop. Testing the fit...
To attach the sister hooks to the chain, some simple jump rings were made from 14 gauge wire and a scrap piece of 5mm drill rod. An additional jump ring was made from 14 gauge wire on an 8mm mandrel. This large ring was made so that the key can be attached to the chain as well.
