The pendant was started by casting its approximate form in sterling silver. The casting is then brought to shape by machining and filing.
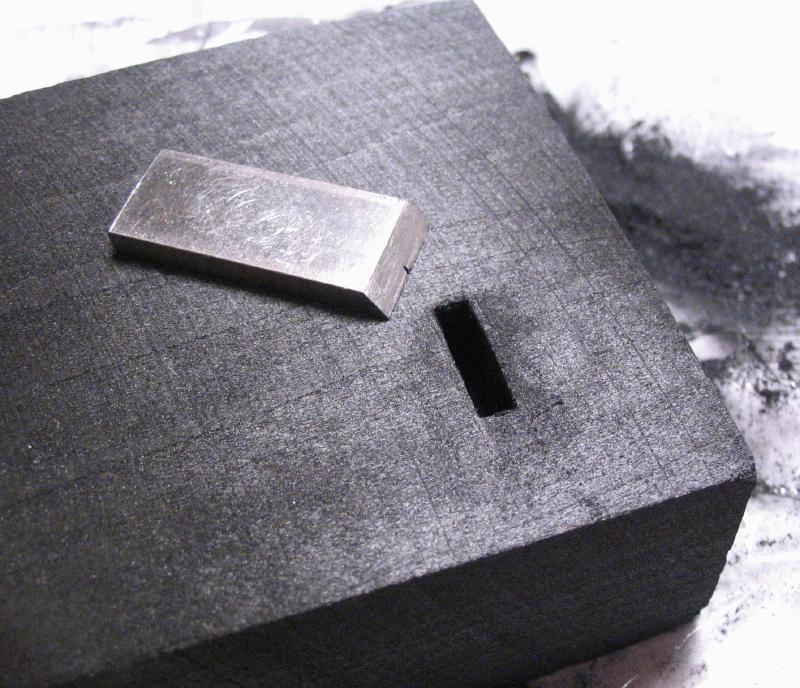
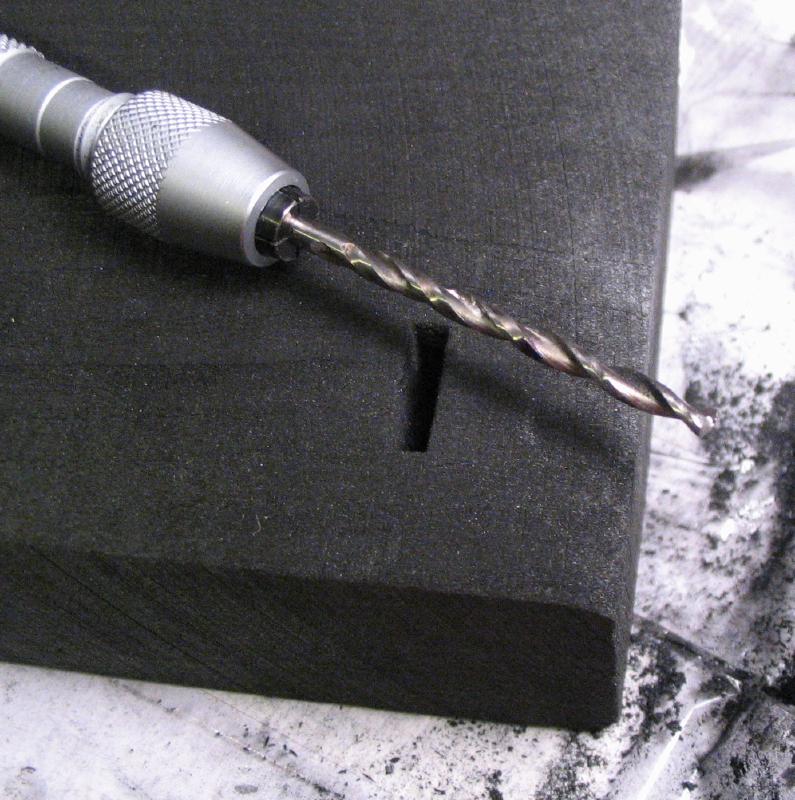
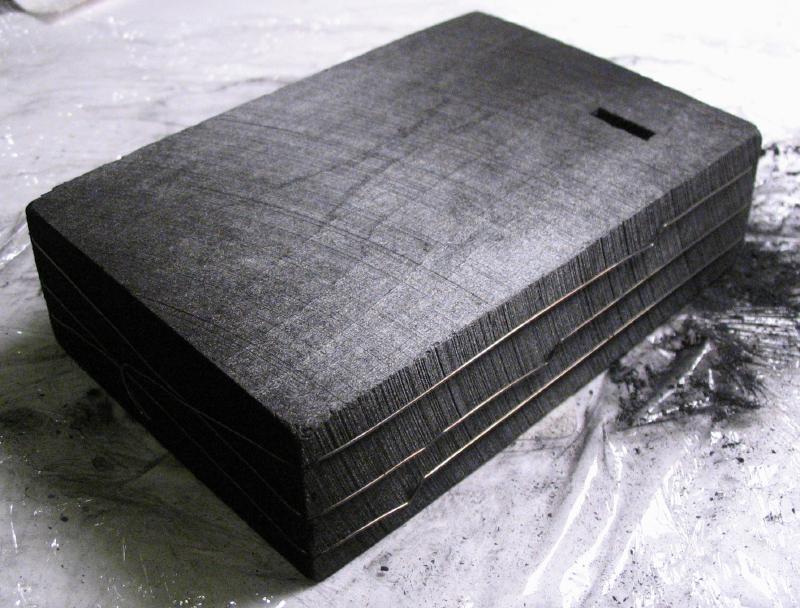
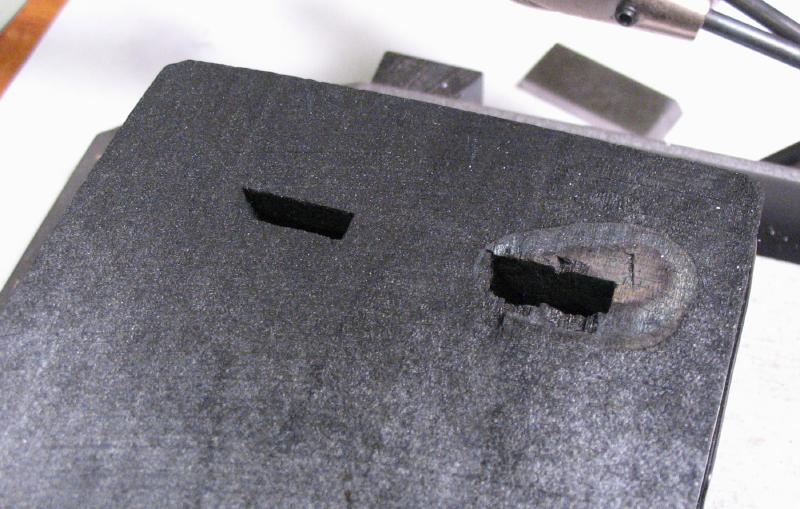
First a mold must be made. I am using a very simple approach that involves casting directly into a charcoal block that is carved-out to the desired starting shape, roughly 1/2" x 1/8" and 10-12mm deep. I happen to find a piece of steel in the scrap bin with matching dimensions and already filed to a rough cutting edge (I do not recall what it was left over from), and used it to form the rectangular hole by alternately driving it into the block and removing a few millimeters at a time. A 7/64" hole was then drilled in the center to form the pin. The hole was made intentionally oversized as to allow the molten silver to flow freely into it. The charcoal blocks are sold though distributors of jeweler's tools and are intended for use as a soldering surface, as they reflect the heat well and consume oxygen, which can help prevent oxidation of the work. The blocks can also be used to position work by pinning it into place, etc. It is a good idea to wrap the charcoal block in binding wire to prevent it from falling apart, as they are prone to cracking or crumbling as they are consumed.
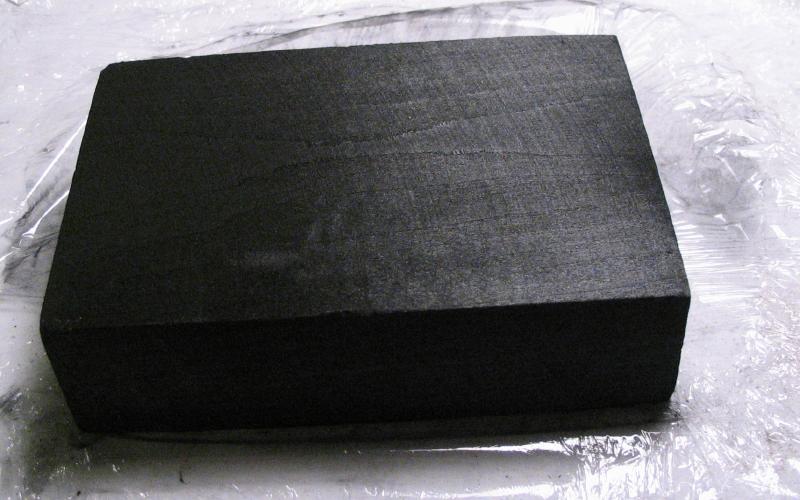
New charcoal block
|
|
|
Wrapped in wire
|
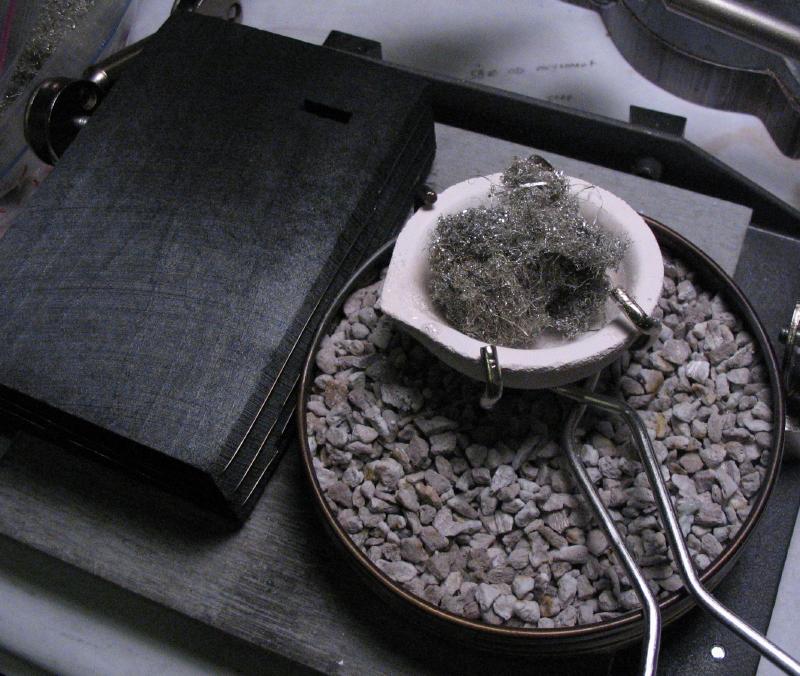
A crucible is used for melting the silver, however, it must be first be "seasoned" with flux. A 50:50 blend of borax and boric acid was melted with a propane/oxygen torch and the molten flux is allowed to spread over the internal surface of the crucible. After cooling, the resulting surface of the crucible has a clear, glass hard, glaze.
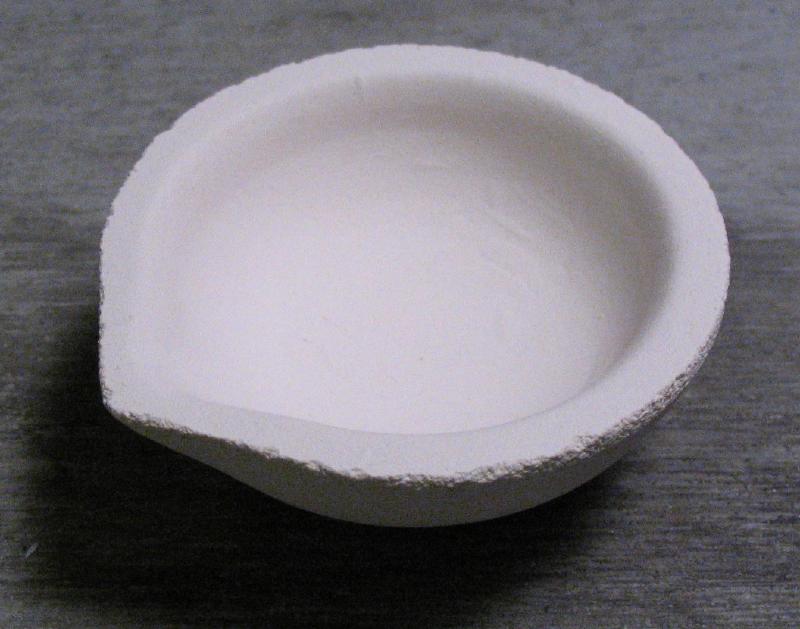
New crucible
|
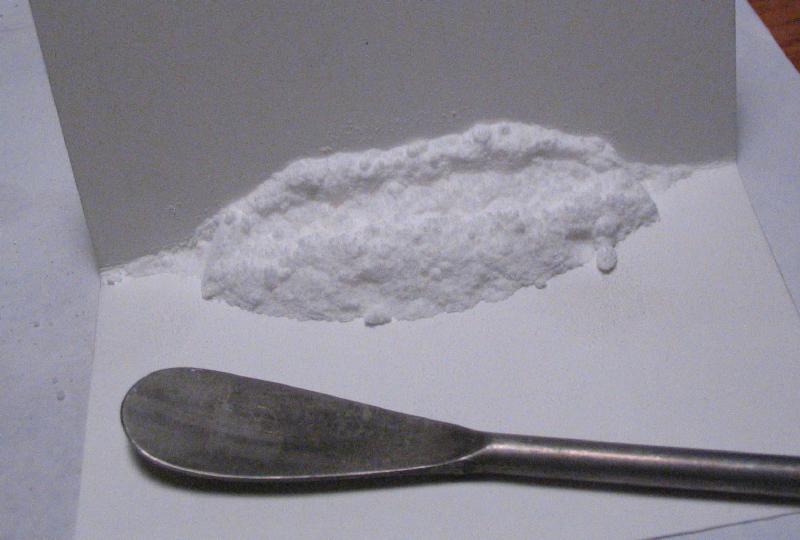
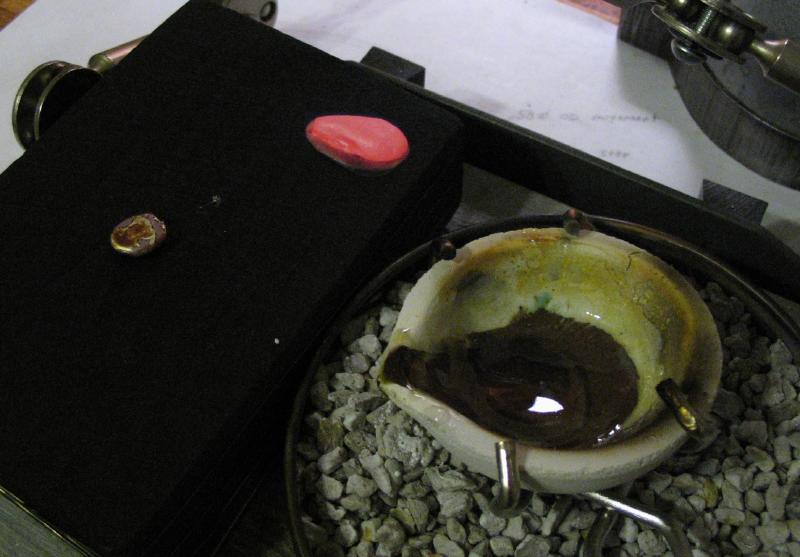
Borax and boric acid mix
|
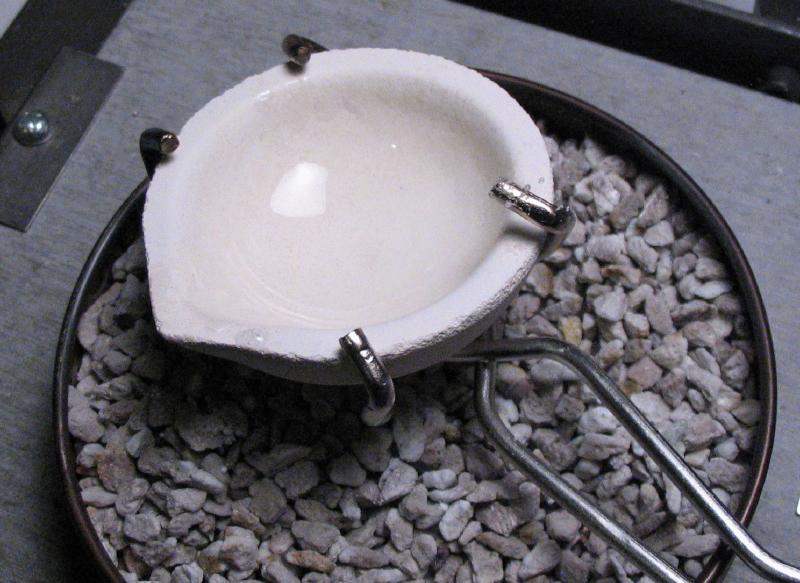
"Seasoned" crucible
|
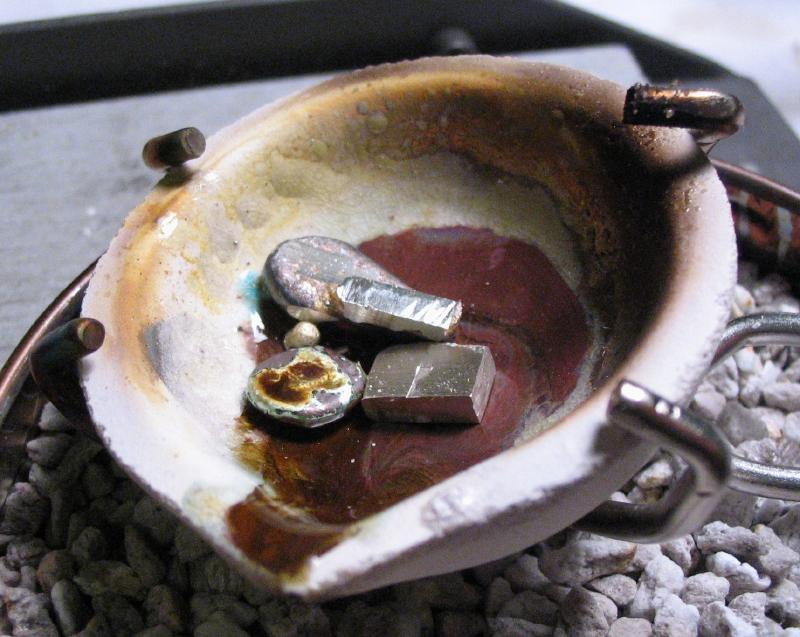
I used silver swarf, which was left over from turning the band and bezels (there is quite a bit of it). I first washed it in soap and water to remove residual cutting oil, etc. However, when heating the silver up it was observed that some organic material remained and it was burned off in the process. The molten silver takes the appearance and behavior of mercury as it goes from red hot to a shiny fluid globule. With heat continuously applied, it is poured into the mold. I over-poured, however, due to the nature of the molten silver, it tends to flow out of the crucible all at once.
|
Silver still glowing red after casting
|
|
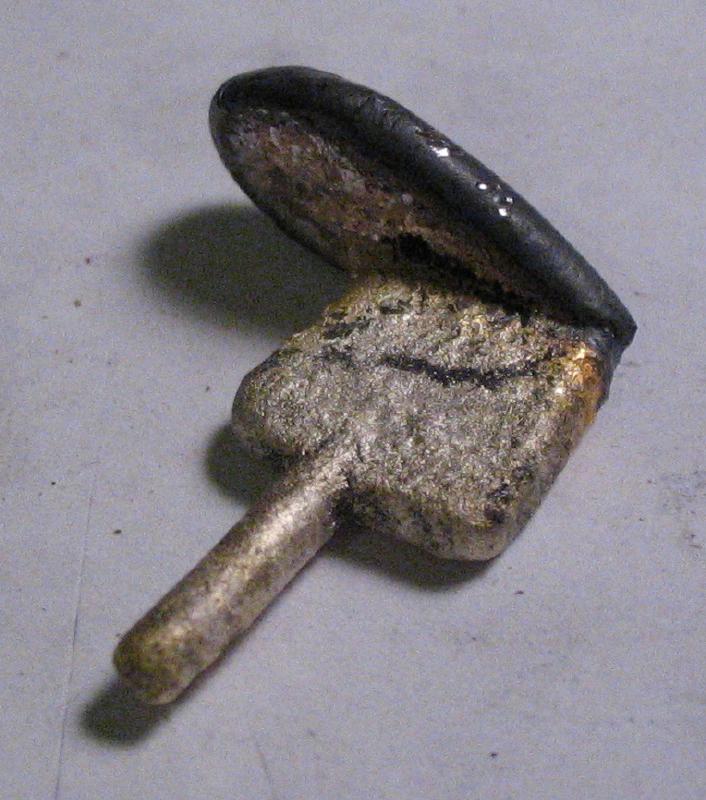
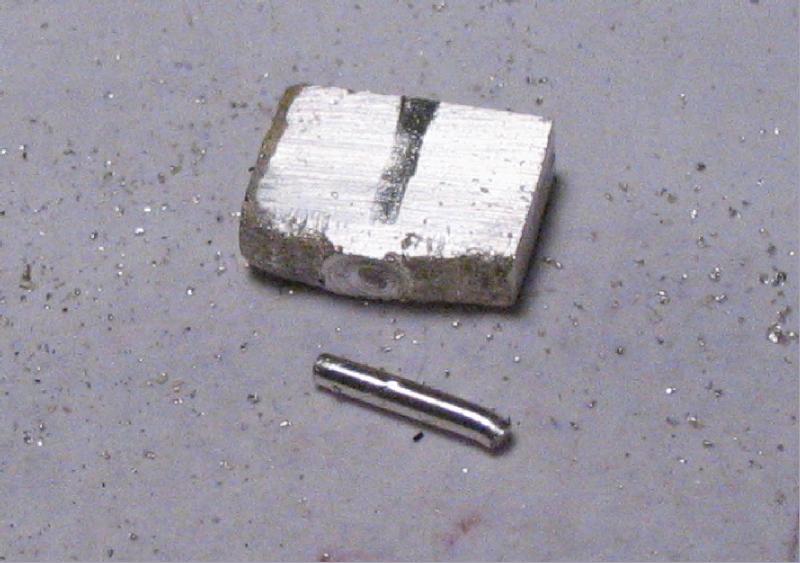
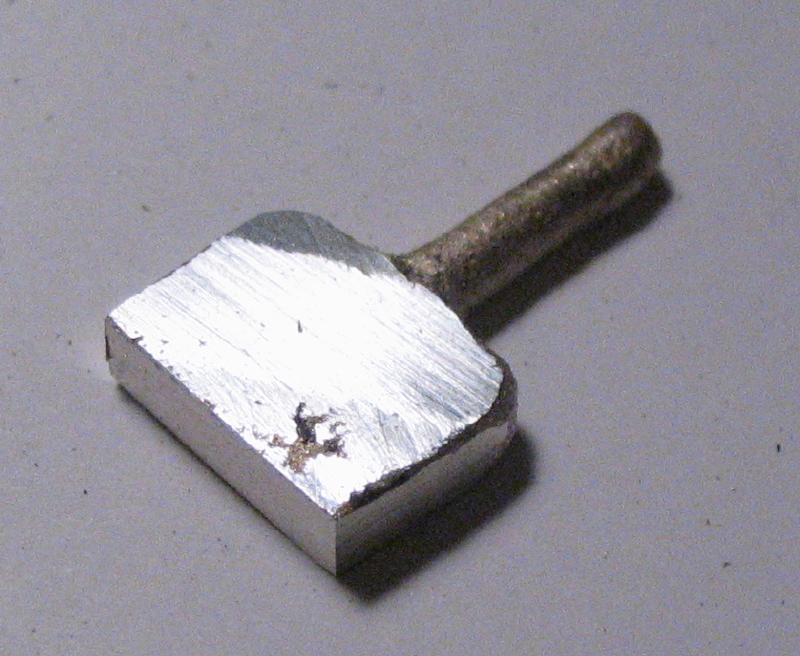
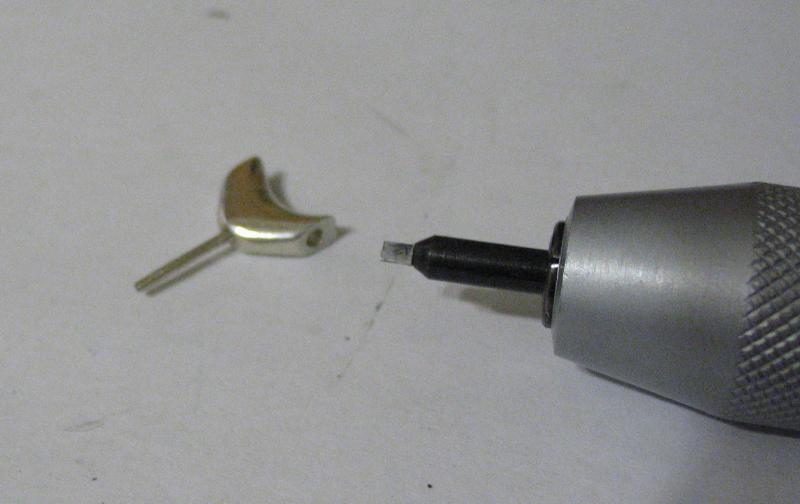
The excess part of the casting was sawed off and the square portion filed to flatten the edges. It was mounted in the 4-jaw chuck and the pin was turned down. Just as I very carefully approached final diameter, the graver slipped underneath and promptly broke the pin off! Since the mold was damaged while extracting the casting, a new one was carved out. The ruined work and a little extra silver was returned to the crucible and melted down once again.
|
|
|
|
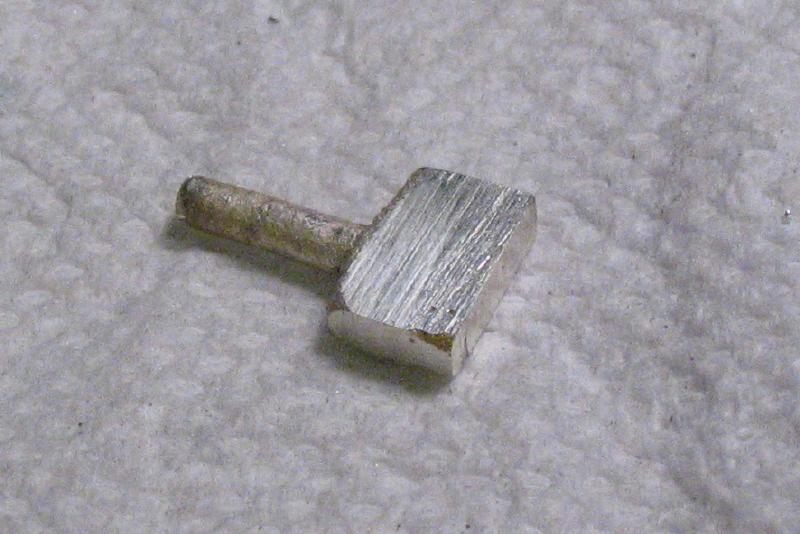
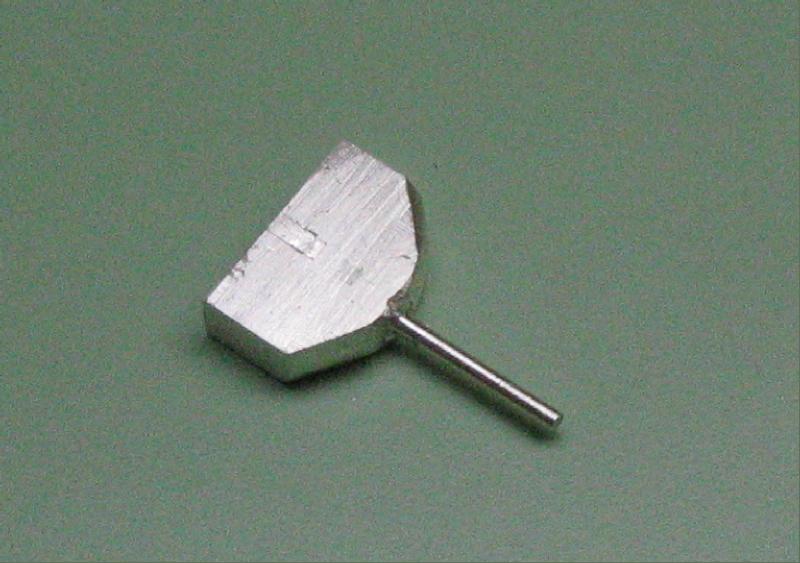
The new casting was sawed and filed as before.
|
|
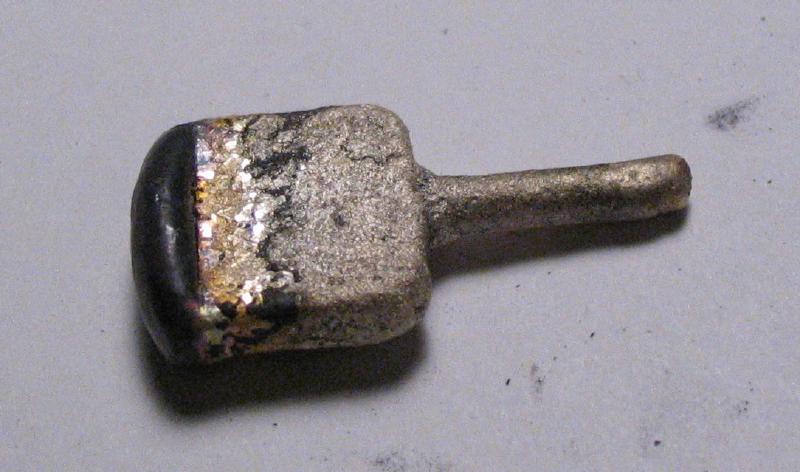
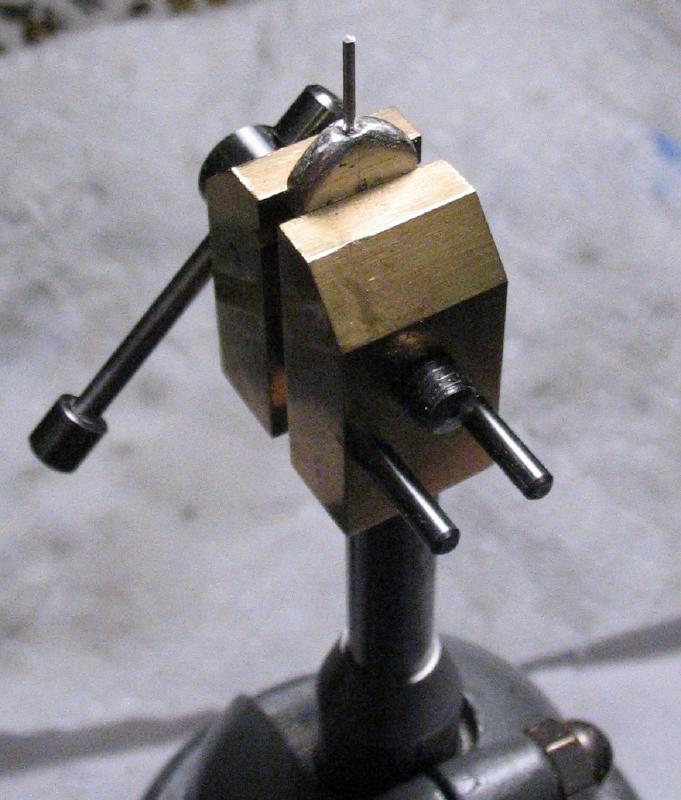
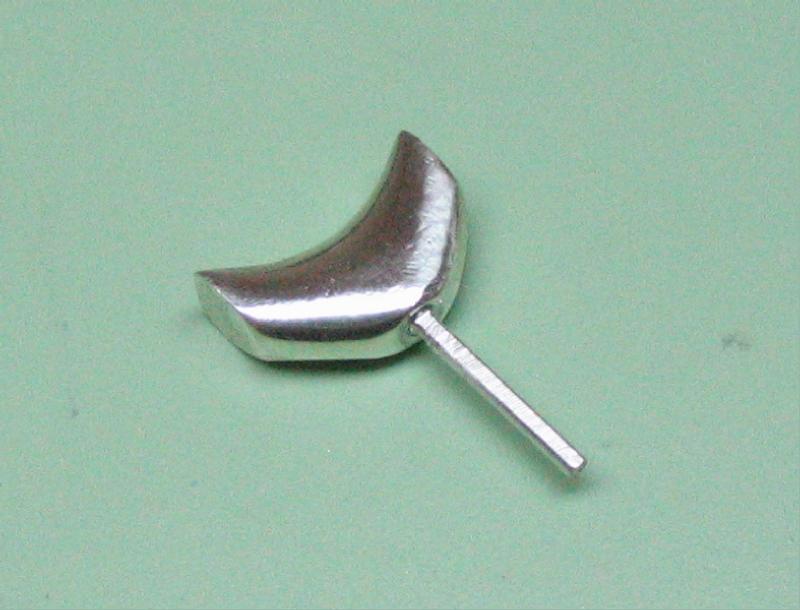
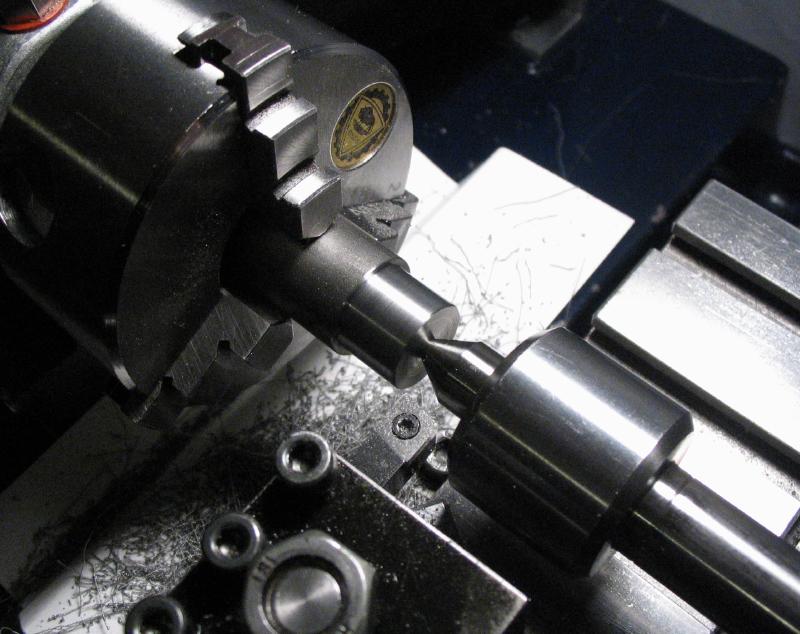
It was mounted in the lathe and the pin turned down to just over 1mm in diameter using a graver and the T-rest (with a little more care this time). The body of the pendant was beveled by turning to start forming its final shape. However, turning an interrupted cut with a graver is prone to some difficulties.

|
|
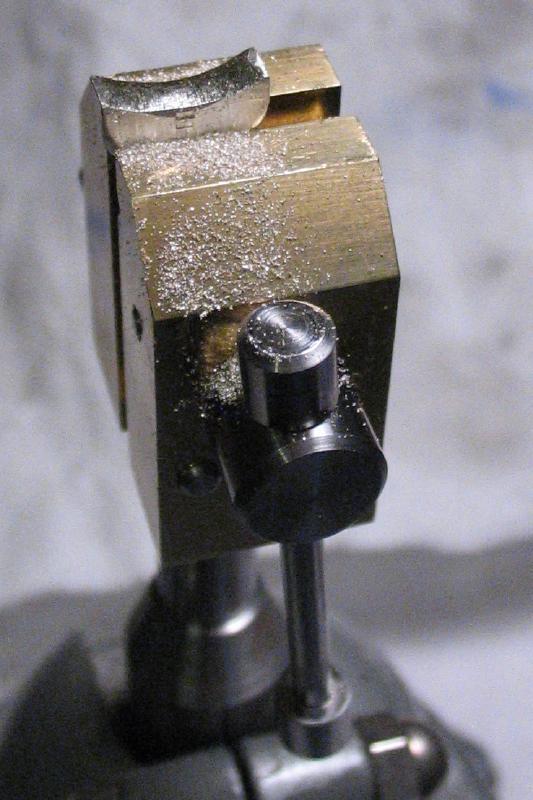
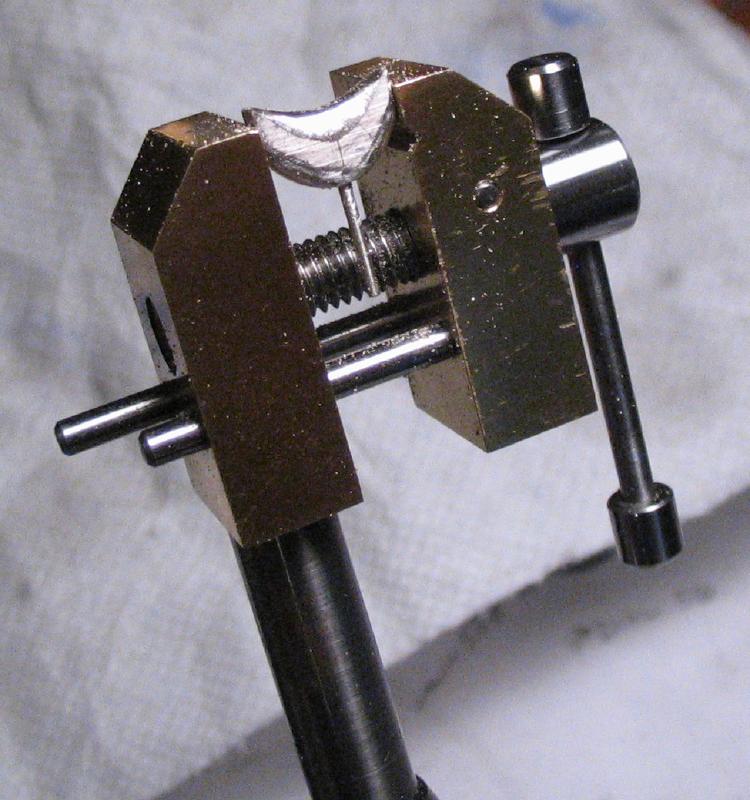
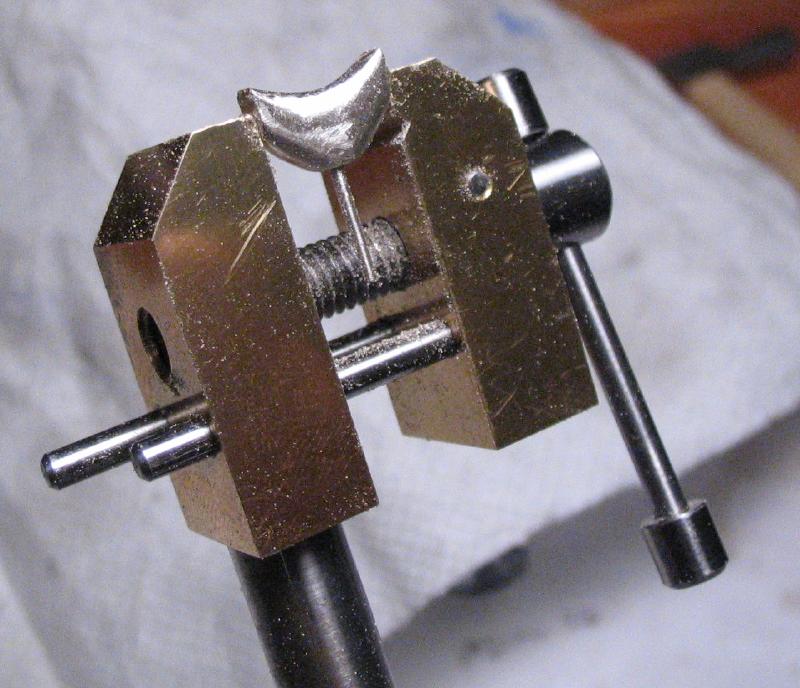
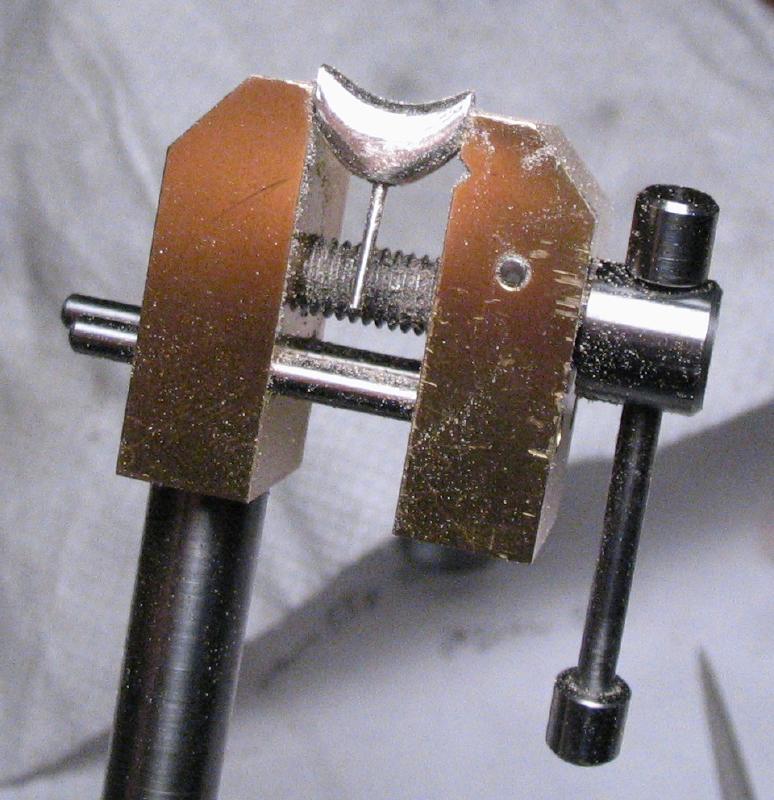
The work was then mounted in the mini-vise and brought to shape using needle files (primarily barrett and crossing files). Photos were taken at various points to shown the general progression.
|
|
|
|
|
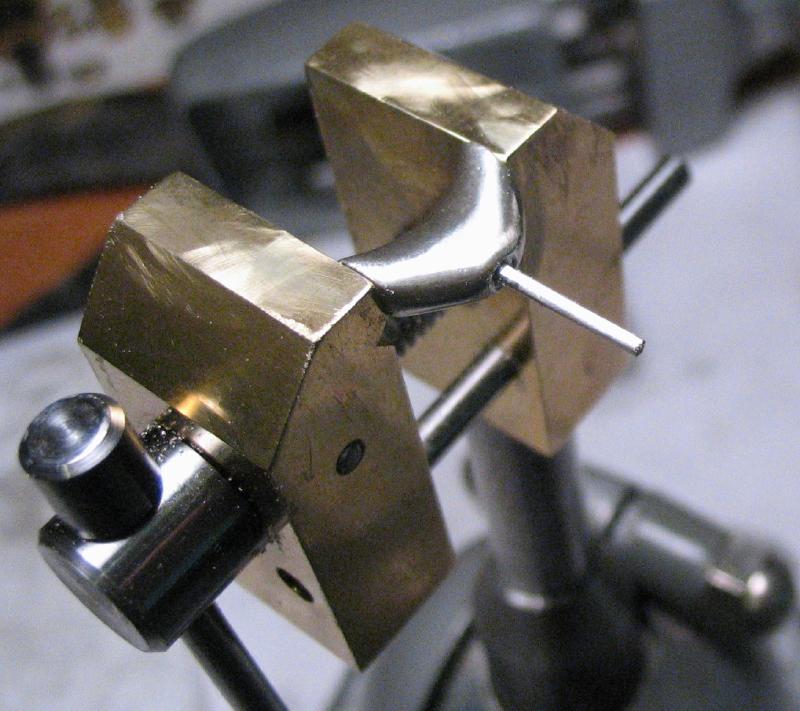
Flats were filed on the pin. This will provide a space for solder to flow when attaching the pendant to the case band. The final dimensions will be determined after the bow is offered up for comparison, and the filing can be completed.
|
|
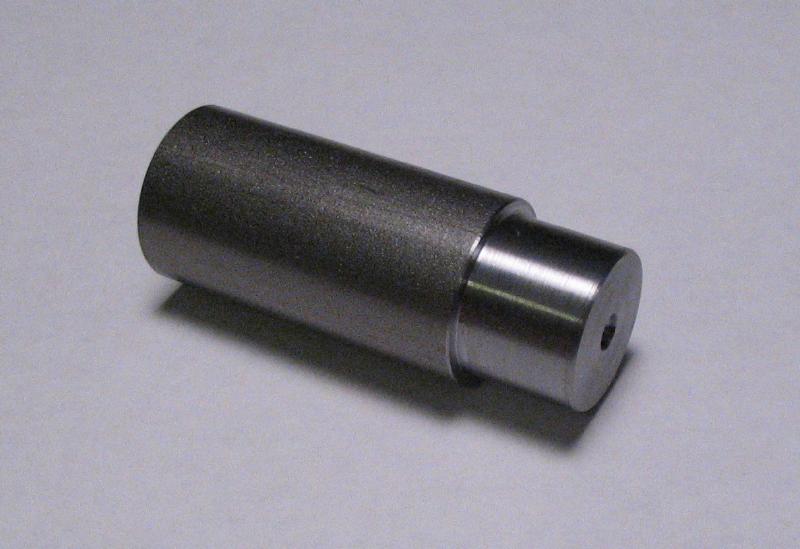
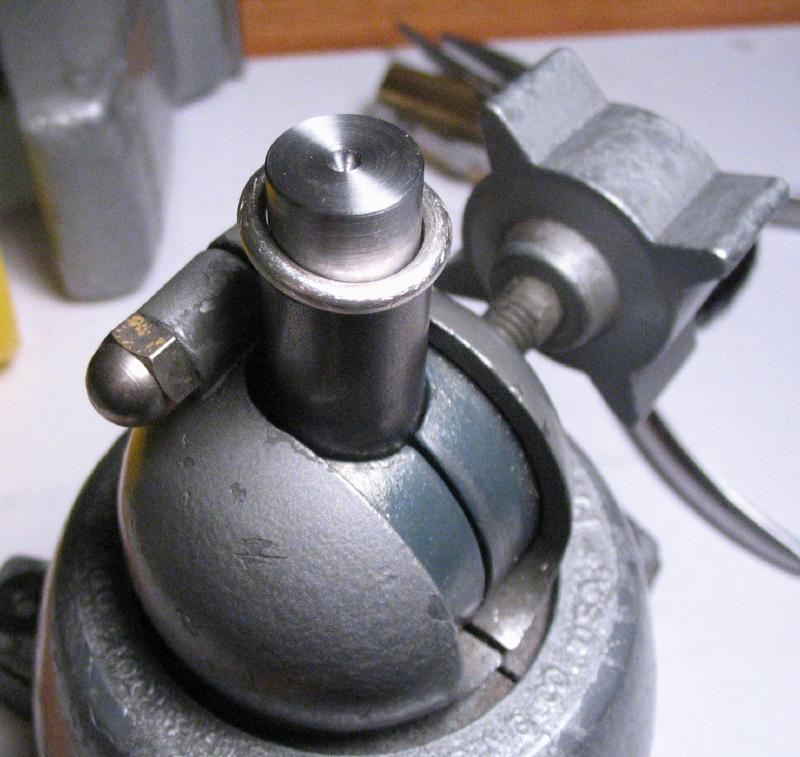
A forming rod was made to assist in shaping the bow. It is made from 5/8" 12L14 steel and a portion turned down to 13.5mm. The 5/8" shank fits into my adjustable vise base.
|
|
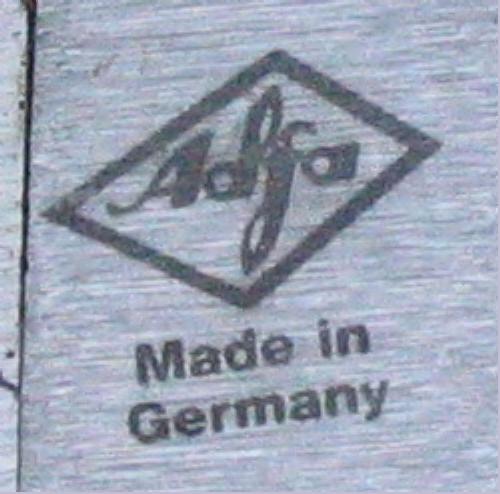
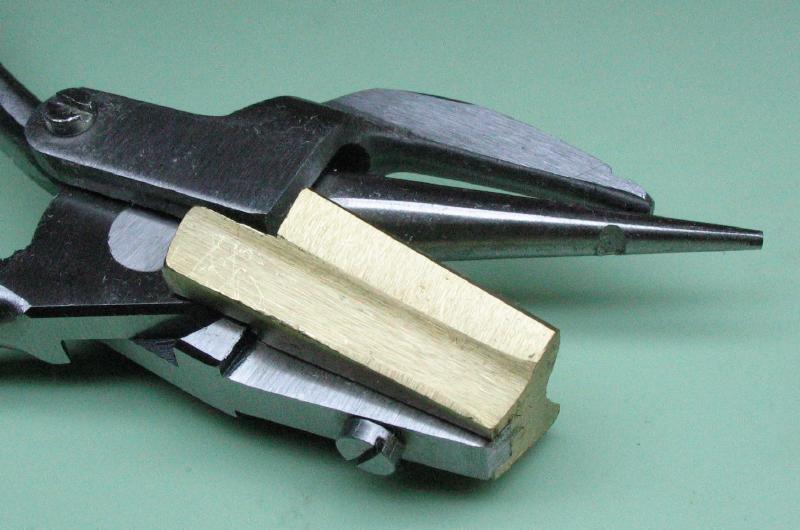
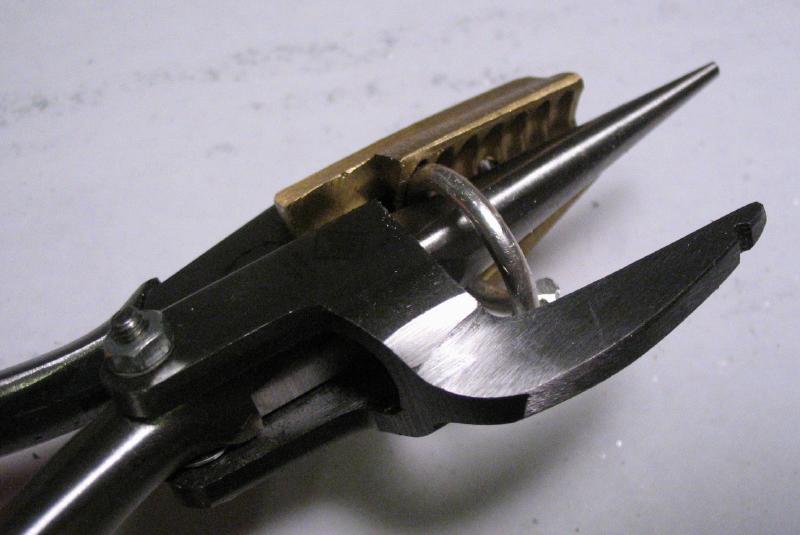
Bow pliers are a specialized tool for manipulating bows. The pair shown below is made in Germany and has a logo that appears to be "Adfa" or "Alfa," however, I could not find any manufacturers by that name or similar spelling. The compression of the handles provides two functions, either for closing a bow by forming it into a circular shape against one of the grooves in the brass insert, or for springing the bow open by separating using the opposing steel arms. This latter function is for installing the bow onto the pendant. These pliers seem to have recently become difficult to find, but Bergeon offers a comparable tool (No. 30411) for performing the same functions, but is a different design.


|
|
|
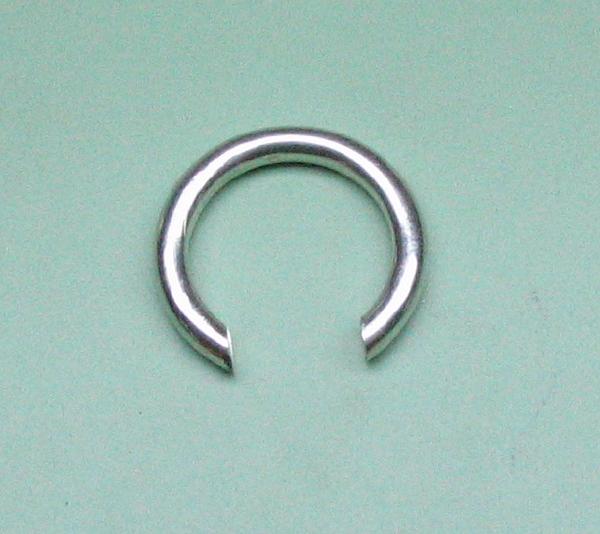
The bow was made from 10 gauge (2.6mm) sterling silver wire. It is desirable that the silver be in the hardened condition so that the bow is durable with a spring fit. The hard condition makes it rather difficult to form to its shape, but the pliers and forming rod were useful for this task.
|
|
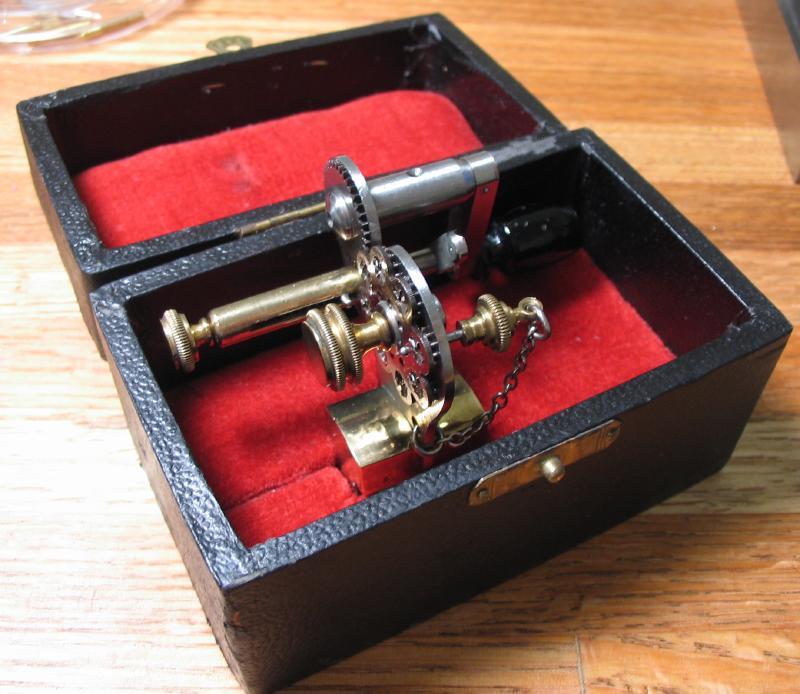
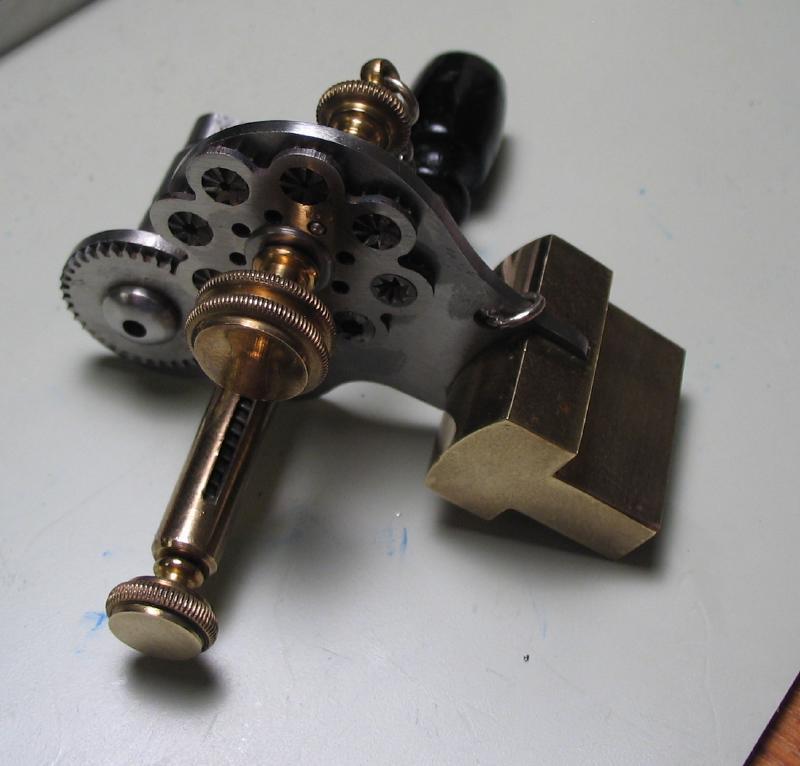
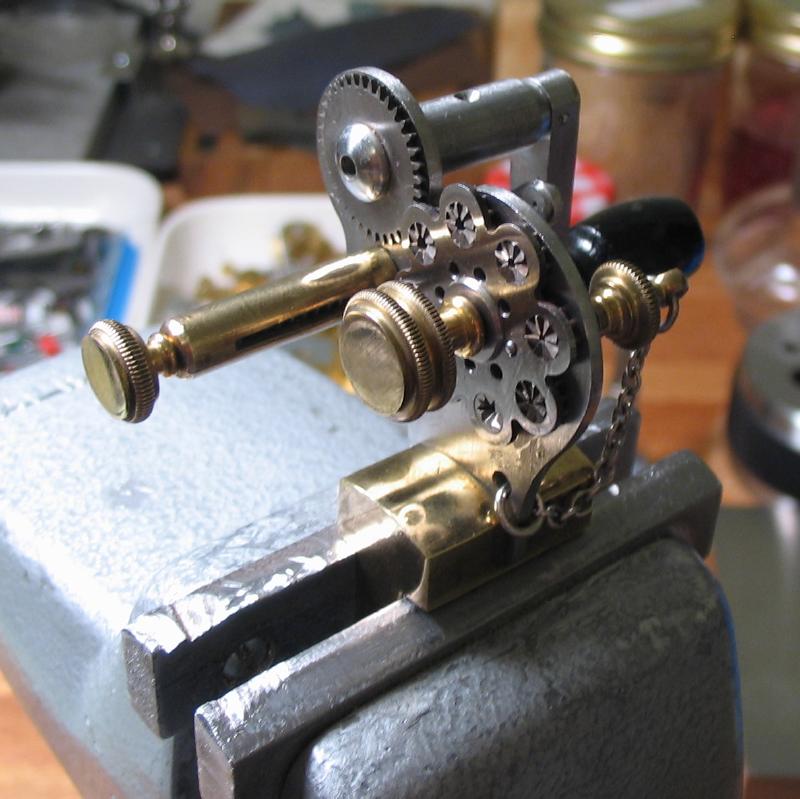
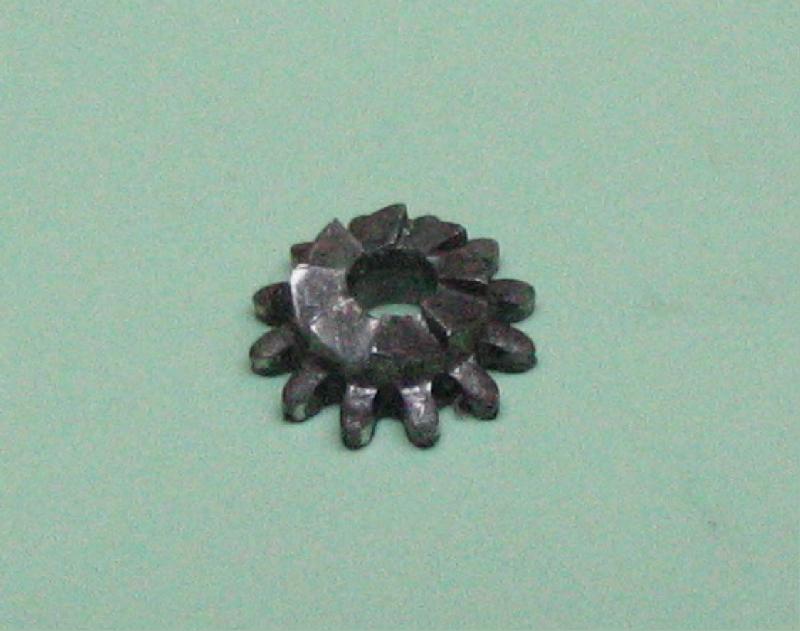
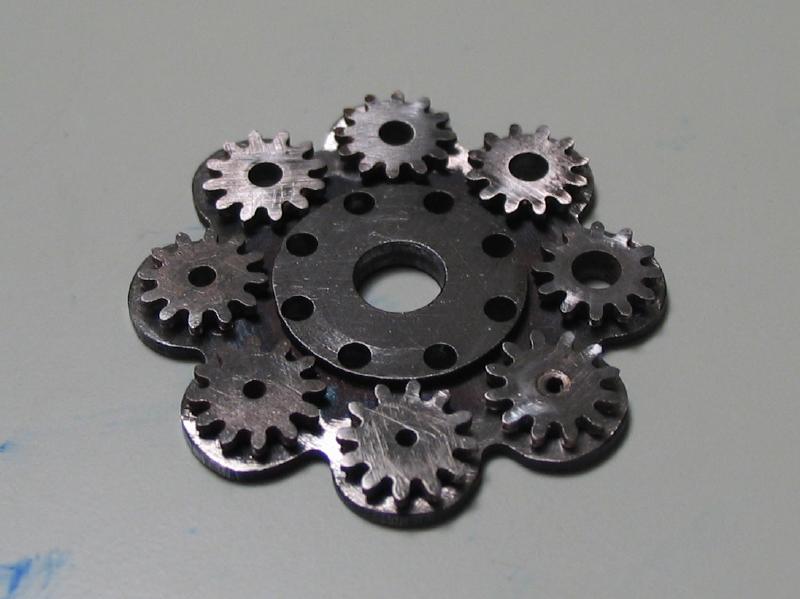
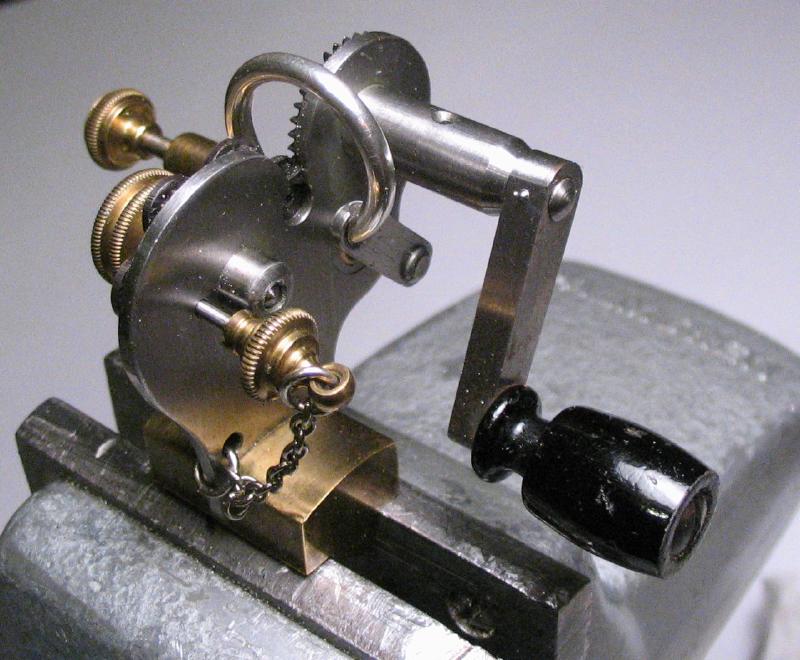
Bow Mill
The bow is pivoted into the pendant. These pivots are milled onto the formed bow using a bow mill. Daniels depicts one (figure 707) while discussing the subject in "Watchmaking." It consists of a series of endmills with different diameter holes, and one cone cutting mill. They can be rotated to mate up with the drive gear. A pin on the end of a chain is used to lock the position. The bow is held in a spring loaded clamp which holds one end of the bow against the cutter. A fairly simple device, and like many watchmaking tools, expensive and well made for one very specific purpose. These tools are no longer made as far as I know.
 |
 |
 |
 |
|
 |
The bow was sawed off so that the ends are parallel and leaving enough material to form the pivot. It is then mounted in the bow mill and each end alternately subjected to milling. I used the second to largest diameter pivot mill, which resulted in a pivot diameter measuring just over 1.6mm.
|

|
|

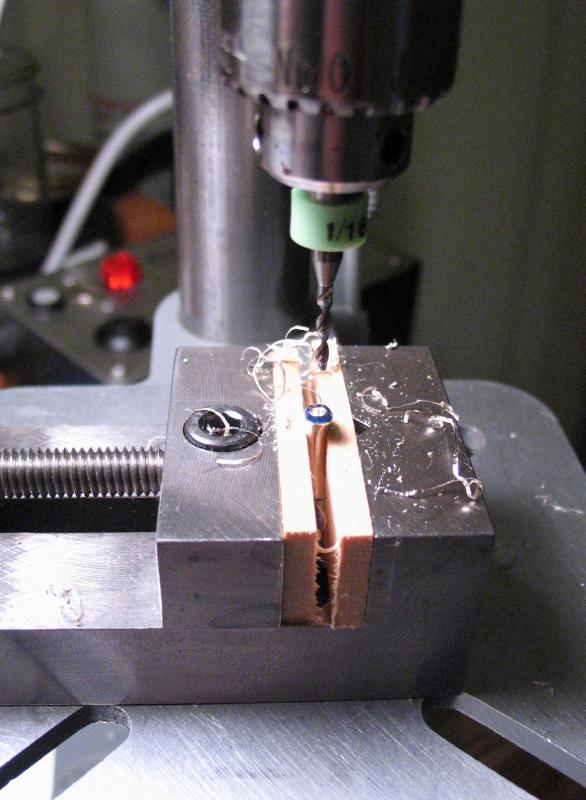
The pendant was then secured in the machine vise using a couple strips of soft wood to protect it and conform to the odd shape of the pendant. The holes for the bow pivots were drilled slightly undersize (1/16").
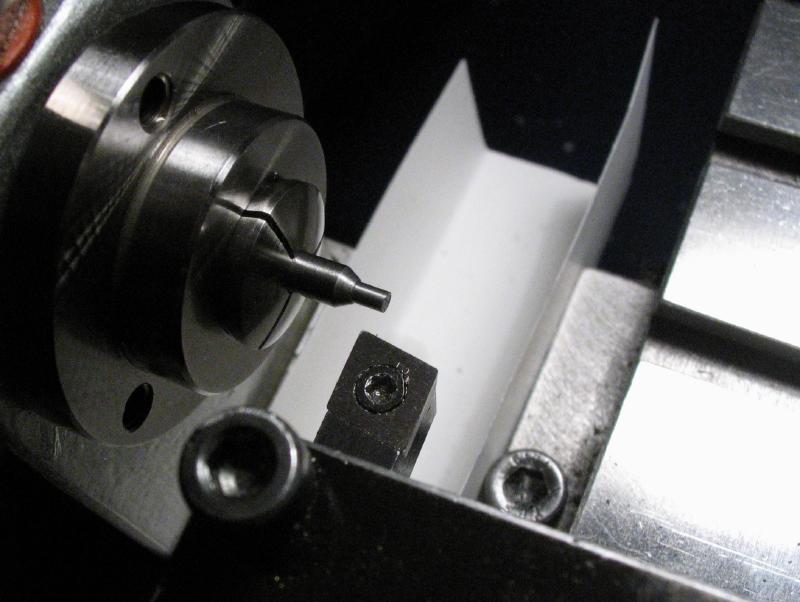
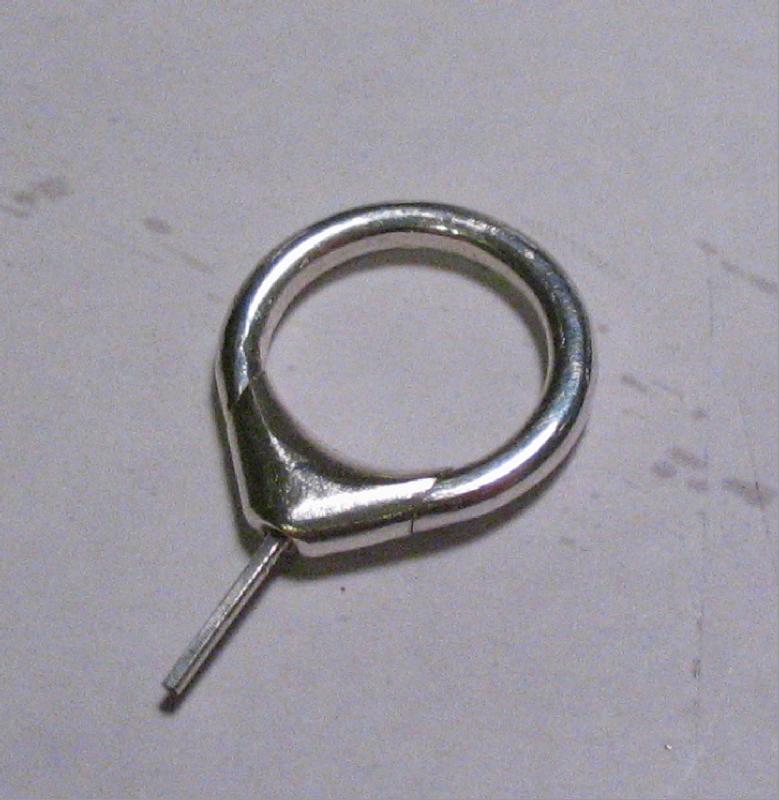
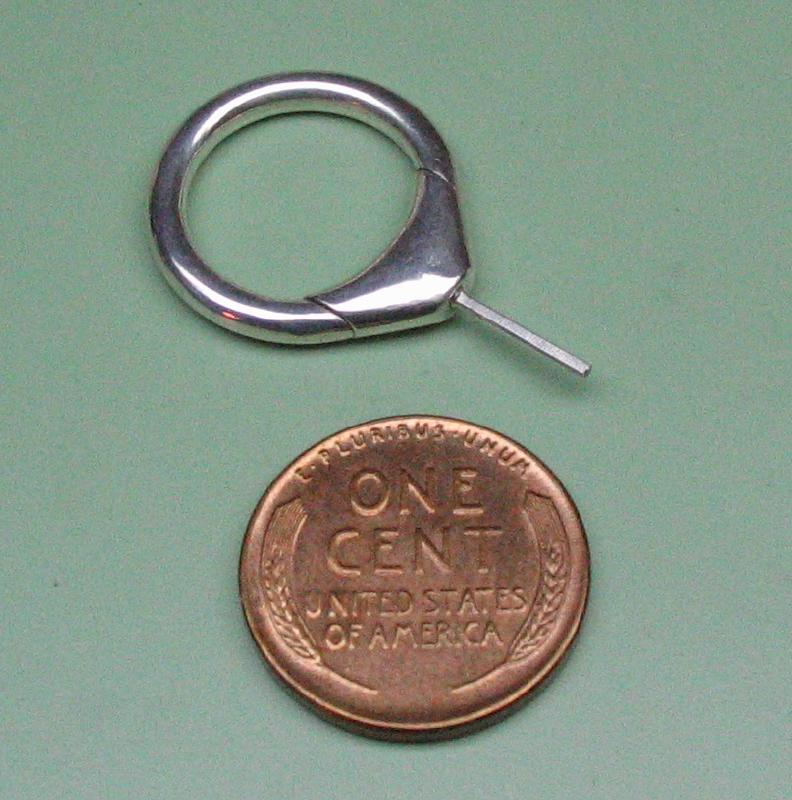
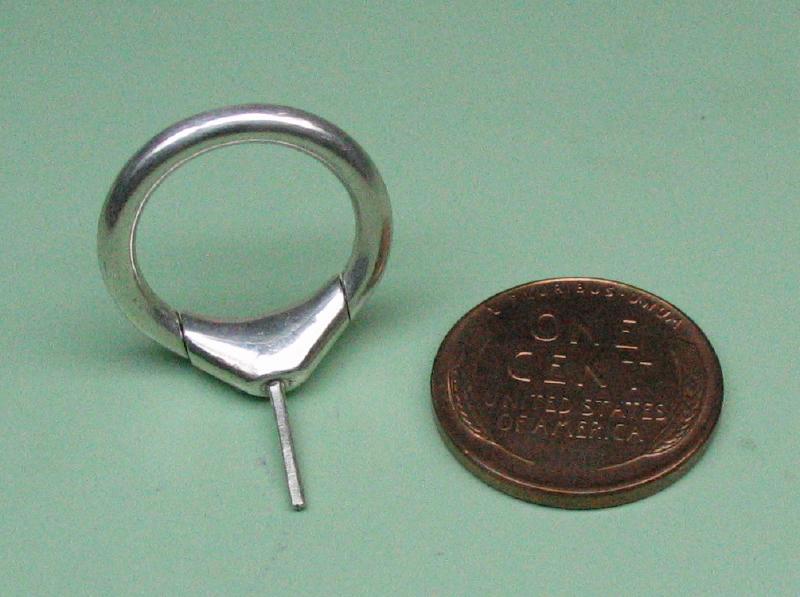
A reamer was made from 1/8" drill rod, turned to 1.62mm and a flat milled across the face. It was hardened and used to ream the holes in the pendant to better fit the pivots of the bow. The bow pliers were used to spring the bow open and install it to the pendant. The pendant could then be filed to better mate up to the shape of the bow.
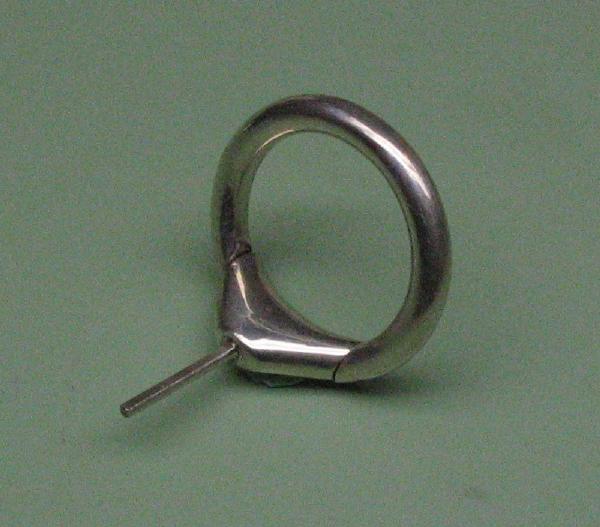
Once the shape was correct, it was polished smooth. It is now ready to be installed into the case band.
|
|
|
|

|
The bow can pivot on the pendant for convenience in use. It is currently a snug fit.
|
|
