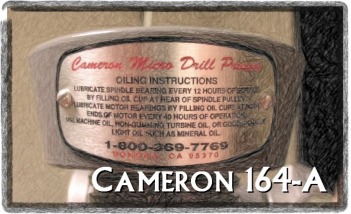
Cameron 164-A Micro Drilling Machine
Whether it is a luxury or a necessity is difficult to say, but I had been on the lookout for a quality, accurate drill press for some time. The machine which seemed to catch my attention is the Cameron brand of micro drill press. A few seemingly coincidental factors came into congruence; I was preparing for a number of small drilling operations, and was not looking forward to doing it on the lathe, and Cameron just happened to be having a 20% off sale (which was a rare event from my own observations), as well as the purchase being financially viable at that time.
The Cowells lathe, and lathes in general, are capable of most types of drilling, either using a pad in the tailstock or mounting the piece on the faceplate or vertical slide, etc. However, it is often times awkward drilling simple holes in flat pieces. For example, drilling the screw holes in springs, pawls, and the mainplate, etc, which must be clamped to the tailstock drill pad or centered on the faceplate. Both are time consuming to setup and in either case gravity is working against you, and having a simple drill press makes these, non-position critical drilling operations much easier. Obviously, if drilling a hole that must be very accurately positioned, then centering on the faceplate with the wobble stick is by far the superior method, also center drilling axially in a cylindrical shape is much more accurately performed in the lathe.
Generally speaking, the choice of drill press for the watchmaker are ones which are sensitive in their feed, capable of high speed, and have good precision spindles and bearings. Using small drill bits, especially tiny carbide bits, requires a light touch and virtually no spindle runout. As far as drill presses go, the range of examples I considered were the Levin Micro Drill Press, the Servo brand of drill, and the Cameron Model 164 Drill Press. The Levin uses WW collets and I imagine is an ideal choice, however, US$ 4345 is quite a bit more than I could manage. The Servo brand also produces a fine drill and is about half the price of Levin, however, was still more than I was able to spend. There are other possible options I could have chosen, but for one reason or another, I found them unsuitable; these included are the Microlux (or Proxxon) drill press (an Asian made hobby drill press, which I have heard mixed reviews about), and various hand-held hobby drill adaptations, such as the Dremel tool or a fixture to mount the Foredom flexshaft. These latter two, are likely not accurate enough.
A completely different direction is to use a mini mill, such as the Cowells vertical mill or even the Sherline micromill, as well as others. These may very well be excellent for precision drilling, however, I wanted a more sensitive lever feed for very small drill bits. Not that I have no desire for one of these machines, but the object of the purchase was a rather simple, high-precision drill press.
The Cameron company (just as Cowells) fill a niche of producing high-end machines at a reasonable price (I recognize that one's definition of 'reasonable' may vary, but that's another diatribe). The machines are made in Sonora, California, and they have been in business since 1964, producing essentially the same machine as today. They currently produce a range of more sophisticated CNC versions of their drills as well as the standard manual machines. The spindle runout on the standard model is quite low, about 0.0002" which is on the order of the runout of the Cowells 90 headstock spindle.
The basic specifcations are selectable spindle speeds by use of pulleys of 9,500 - 17,000 - and 30,000 RPM. The machine uses a 1900RPM, 1/7th horse power motor, which Cameron manufacture themselves. I opted for the variable speed controller which gives zero to maximum speed by turning a knob. The lever is a rack and pinion feed, quite smooth and delicate. The spindle and drive components are dynamically balanced and provide a smooth, low vibration running even at high speed.
| cameron_164_brochure.pdf | |
| File Size: | 476 kb |
| File Type: | |
| specification_sheet.pdf | |
| File Size: | 25 kb |
| File Type: | |
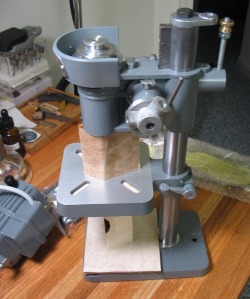
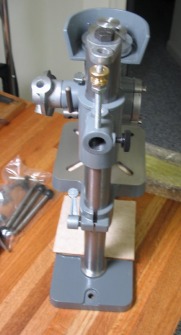
The Assembled Machine
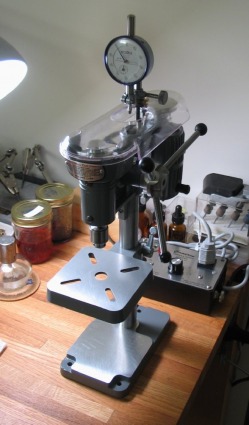
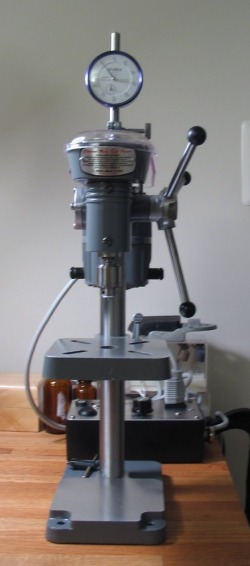
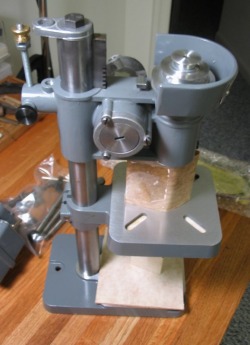
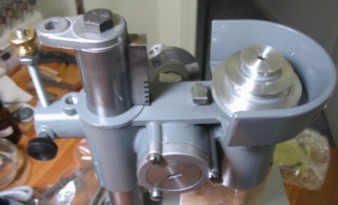
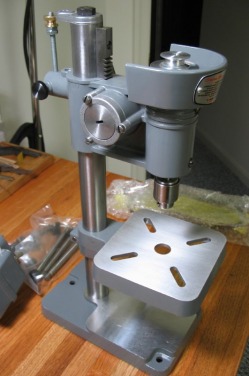
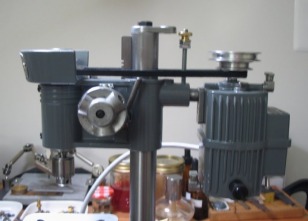
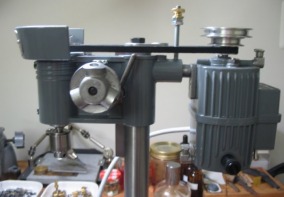
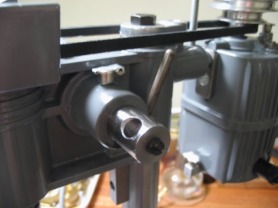
The drill is shipped partially disassembled. The setup is fairly simple, it took about one hour or so. So you do not have to wade all the way down the page to see the assembled machine, here are a couple photos of the drill press after putting it together.
The Arrival and Assembly
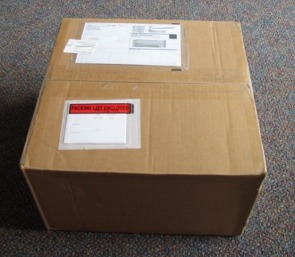
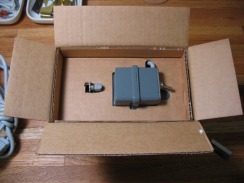
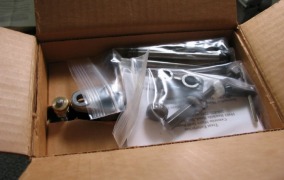
Everyone likes getting a package ....
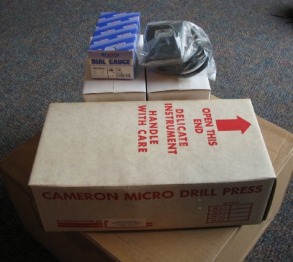
Unpacking the goods...
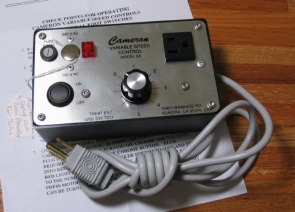
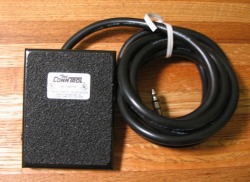
I mentioned the variable speed control, my thoughts were that 9,500 RPM may be a bit fast for some drilling, especially larger diameter drills into harder materials. I added the on/off foot switch as well, so that my hands are free to prepare and steady the work while controlling the switch by foot. This was based on comments made by George Daniels in 'Watchmaking' in his description of what sort of drill press is needed for watch work, he mentions having the speed control by foot pedal, so that the hole position can be aligned and drilled without removing one's hands from the part or lever.
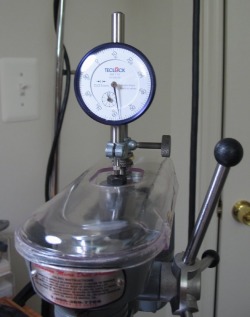
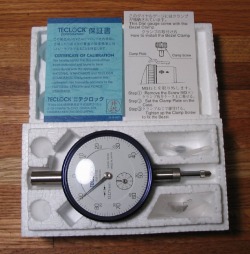
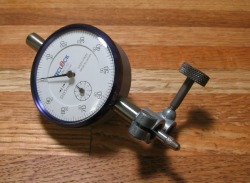
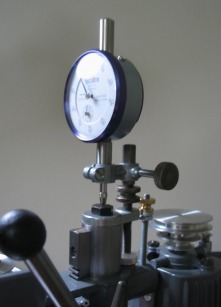
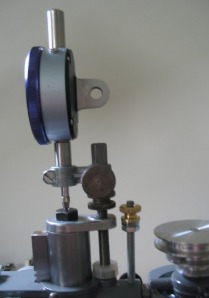
I requested the depth indicator setup, which was recommended by Leo Treat (I believe the current owner of Cameron) as it allows not only for accurate measure of depth of drilling, but also provides an indication of how well the drilling process is going, i.e. if progress is being made or if the drill has met resistance or broken, etc. I made a special request to fit a metric reading indicator, as that is the system I am more familiar with.
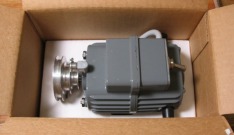
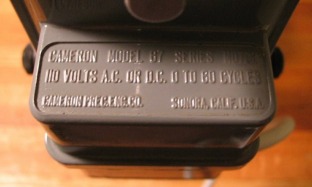
The motor is packaged separately.
The dial indicator is a Teclock AM-110, 10mm range, 0.01 graduations.
Foot Switch is a ConnTrol 862-1460-00 made in Putnam, Connecticut. It is finished with a 1/4" phono jack for plugging into the speed controller. It is a momentary type switch, so depressing the pedal will switch the drill on at the speed controller's set speed and will turn off when the pedal is released.
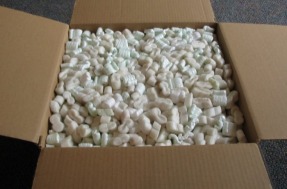
Opening the main box...
Ready for Assembly
| setup_and_use_manual.pdf | |
| File Size: | 136 kb |
| File Type: | |
Assembly
Following the directions in the setup manual, I took some photos of the process. I think it would be useful to get a feel for how the machine works, and there are not many photos of this drill on the internet and certainly none that show the details.
1) Motor Installation
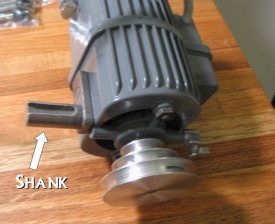
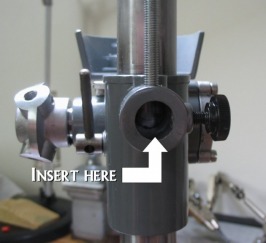
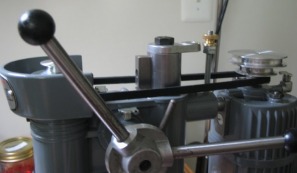
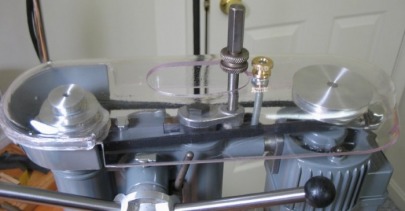
Insert the shank of motor mount bracket into the socket at rear of drill press head casting. Place 'V' belt over pulleys and slide motor to snug belt. (Note: If the belt is run too tightly, it will reduce power and cause undue vibration.) A properly adjusted belt will bow out considerably due to centrifugal force when running at highest pulley speed. Full driving power with maximum smoothness is attained with this belt adjustment.
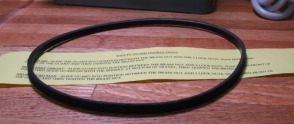
The drive belt is a rubber backed fiber belt, it does not appear to have a brand or model number printed on it.
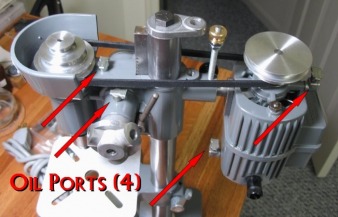
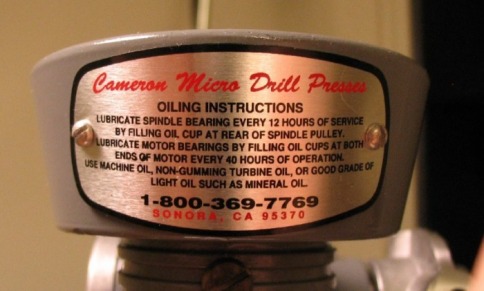
The belt in place and the motor secured with a light 'snuggness'. I choose the slower speed setting, however, it is quite easy to switch it to different steps. I also made note of the four oiling ports, two on the motor and two on the drill head. I am using the same Myford Nuto H32 oil that I use on the Cowells 90CW headstock.
2) Installation of Feed Wheel
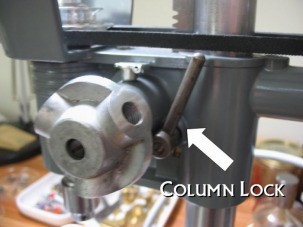
Loosen column lock at rear of pinion hub bearing, then raise drill press head to the top of the travel and re-tighten column lock.
Raised to full height.
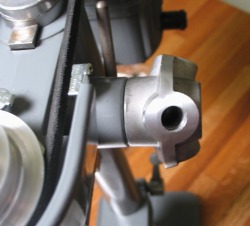
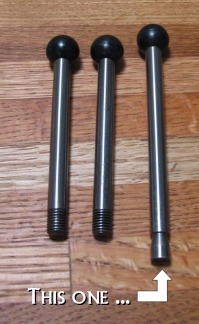
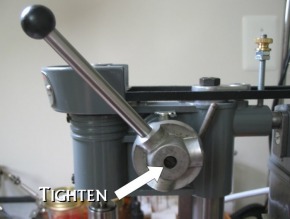
Slip the spoked feed wheel hub onto the pinion shaft and align the unthreaded handle hole of the hub with the angular hole of the pinion shaft to permit entry of the unthreaded handle through both the hub and the pinion shaft.
Tighten the set screw at end of pinion shaft on groove of handle then screw remaining two handles into hub.
3) Installation of Depth Stop
Loosen column lock at rear of pinion hub bearing, then lower drill press head to approximately one inch from top of column and re-tighten column lock.
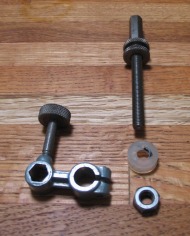
Remove the hexagon nut and bumper pad from the threaded depth stop assembly and insert lower threaded end through hole of depth stop casting, located at top rear of the column.
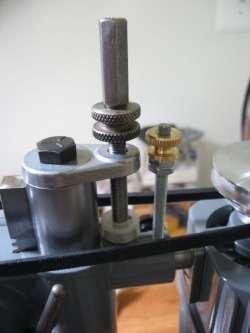
Replace bumper pad with hexagonal socket downward, then screw the nut back onto the threaded shank. Screw the threaded depth stop into the head casting until it contacts the motor mount bracket casting, back out threads one turn, and tighten lock nut and position bumper pad onto lock nut. On this model, equipped with dial depth indicator, the indicator post should be adjusted radially so that the indicator rod will contact center of drill press column.
CAUTION - When using the dial depth gauge, it is important to adjust the knurled stop nuts so as to limit the drill head travel, thus preventing the indicator rod from bumping and causing damage to the delicate stops within the indicator.
4) Head Balance Spring Adjustment
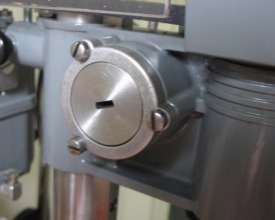
The head balance spring is adjustable to suit particular requirements by loosening the three screws of the friction lock ring at left side of head casting one-half turn and turning spring tensioner casting with screwdriver inserted into slot at center of casting. (Counter-clockwise rotation increases spring tension.)
5) Safety guard installation - The plastic guard simply snaps into position and the brass lock nut is screwed on to secure it.
Care and Maintenance
DO NOT OVER LUBRICATE. DO NOT USE "3 IN 1 OIL"
This super-sensitive drill press is a fine piece of equipment and should be treated with care. Sliding members should be wiped clean and lubricated periodically. Spindle bearing cup
should be filled every 12 hours of continuous operation with a good quality, non-gumming light mineral oil.
The two motor bearings should also be oiled every 40 hours with the same oil.
TO REMOVE SPINDLE END PLAY
1.) Hold spindle pulley while loosing the lock screw at top of spindle pulley.
2.) Hold drill chuck with one hand and turn pulley clockwise until proper adjustment is obtained, tighten lock screw and check to make sure that spindle turns freely. If spindle does not turn freely, screw pulley counter-clockwise, push on end of pulley with thumb to loosen and re-adjust to proper setting.
MOTOR
The motor has been designed and built to provide long trouble free service with proper care. The only requirement other than keeping the bearings properly lubricated is to check the length of the brushes periodically after approximately 500 hours of use. The brushes should be replaced with FACTORY SUPPLIED BRUSHES when they become less than 0.25 inches in length.
Operation
Anyone familiar with the use of drill presses should be able to drill holes to the most exacting requirements after a brief period of practice to get the feel ofthe machine.
Although most holes can be drilled by feel, the dial depth gauge may be used to your advantage when drilling extremely small holes. It provides the means for letting the operator know when the drill contacts the work piece to start the cut and the depth of cut which may safely be taken before withdrawing it to clear the flutes of cuttings.
The motor should be loosened when belt position changes are made in order to retain proper setting and to prevent damage to belt which could occur if belt were stretched over pulley edges.
As the weight or shape of the workpiece does not affect the sensitivity of drill feed feel, small holes may be accurately and safely drilled in large or otherwise awkward parts by the use of blocks or other external supports. Parallel intersecting holes having a considerable degree of overlap may be readily drilled from solid material with a sharp
conventionally ground drill.
The drill column and head are also readily mountable on other types of existing equipment and may be advantageously utilized in converting or building numerous types of specialized equipment.
Sound judgment should be exercised in selecting spindle speeds for drilling with this drill press due to the possibility of running small drills at speeds which cause the cutting edges of drills made of high speed steel to travel at speeds considerably greater than desirable for proper drilling. This can result in friction-burn dulling of the drill tip. As few machines are
capable of running anywhere near fast enough for small drills, it is general practice to run machine spindles at the highest available speed when drilling small holes. However, this is not the case with this precision drill press. For more specific information, refer to machinist's handbooks.
