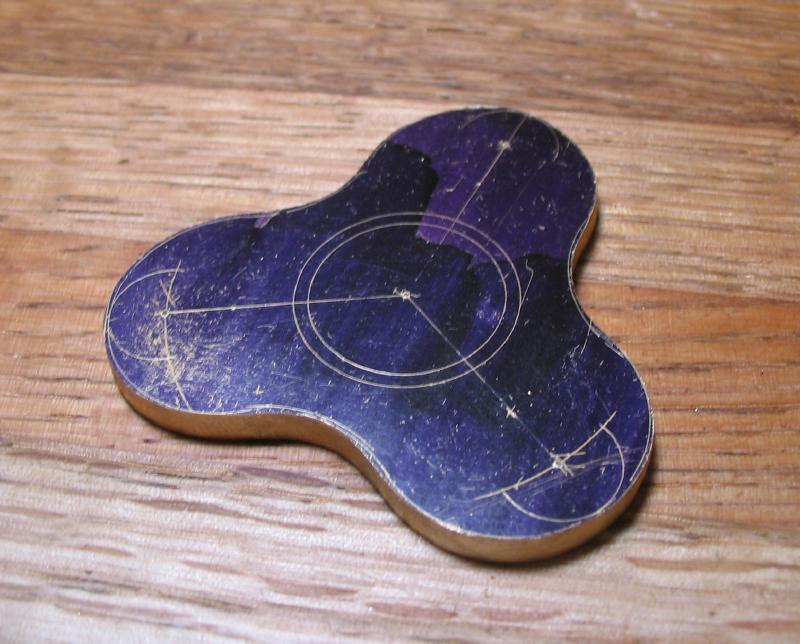
Screwhead Polishing Jig
Project time ~25 hours
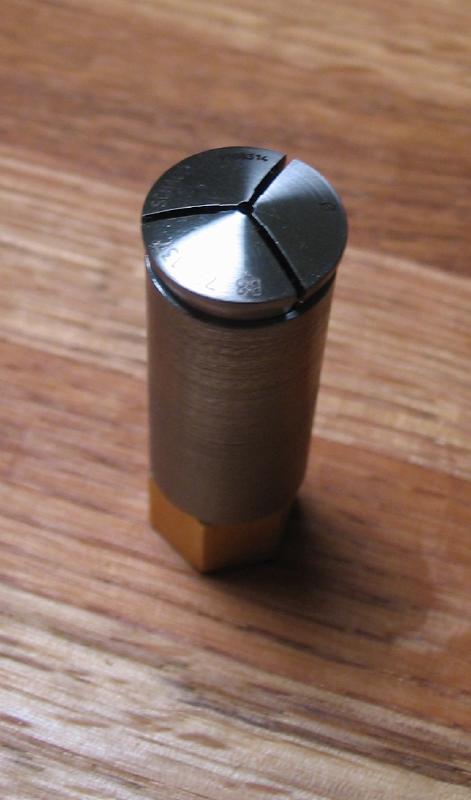
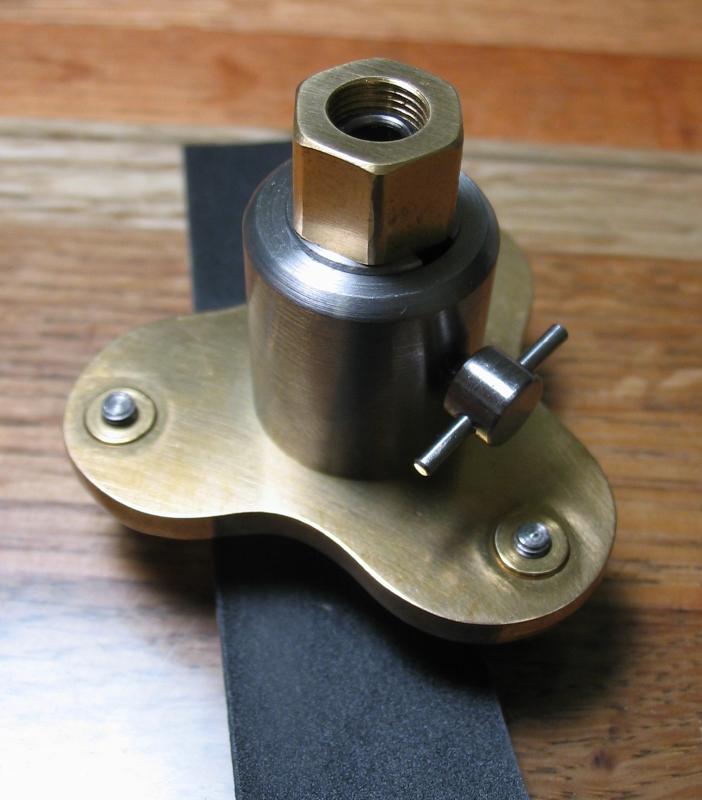
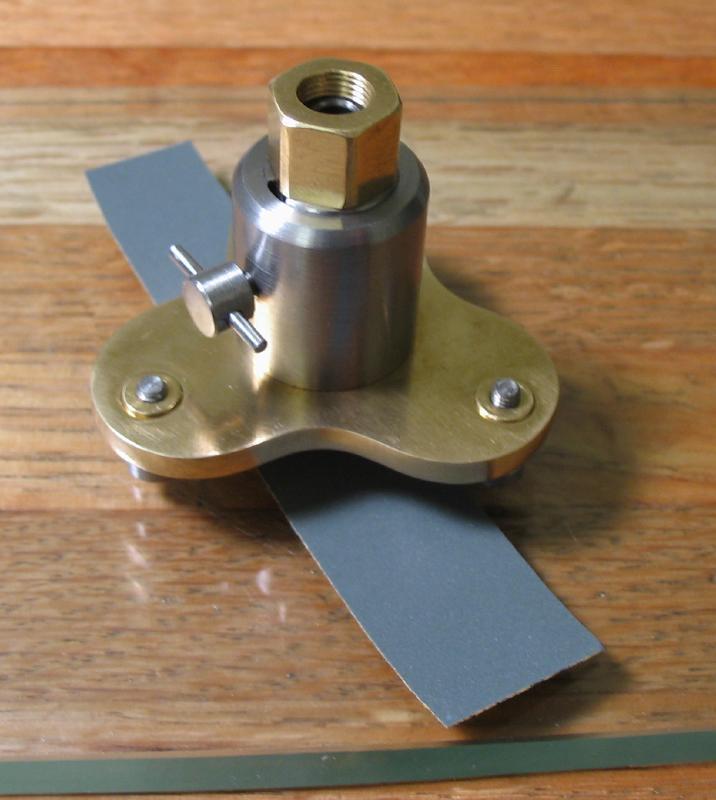
For polishing screw heads I previously used the bolt tool described on the main toolmaking page. It is not easy to use for this purpose, in that it is difficult to make the tool completely level using only the two screws. Henry Fried describes and depicts a tripod type of polisher in "Bench Practices for the Watch and Clockmaker" on page 117 of the second edition. This polisher uses 8mm lathe collets for holding the screws, and three, non-moving legs making it much easier to grind and polish the screwhead flat.
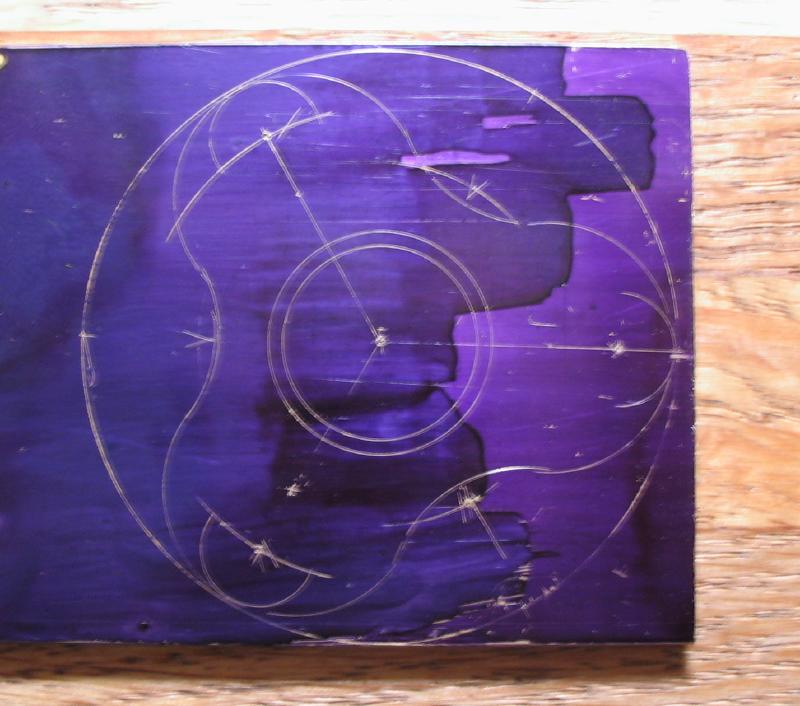
A PDF drawing of the jig is below. I designed it based on the figure in the Fried book mentioned above.
| Screwhead Polishing Jig |

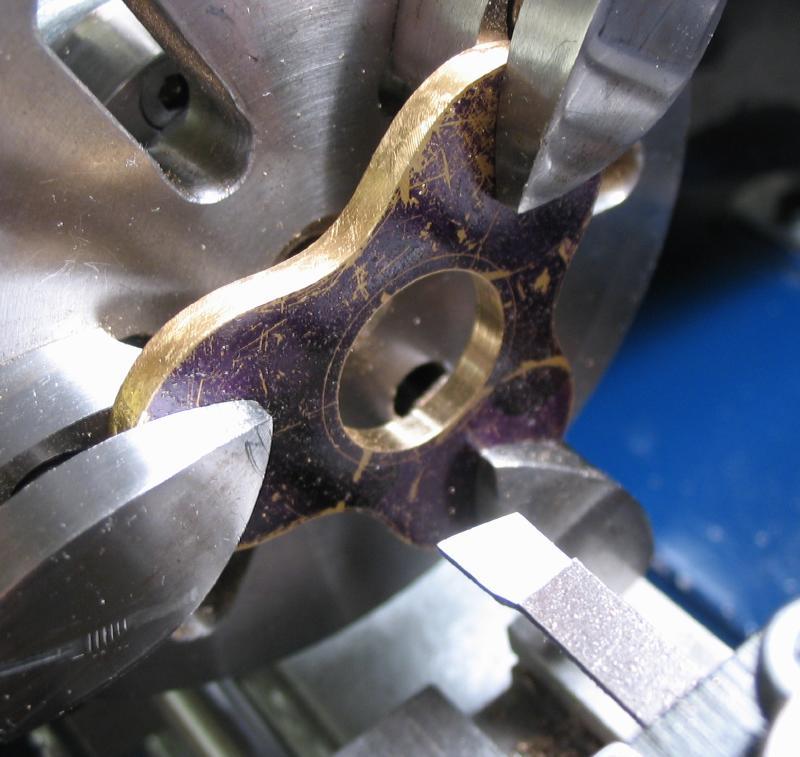
The general layout is scribed onto a piece of 1/8" x 2" brass 360 plate. It is sawn out using the piercing saw, and filed to shape.
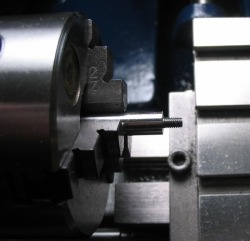
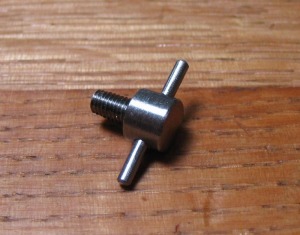
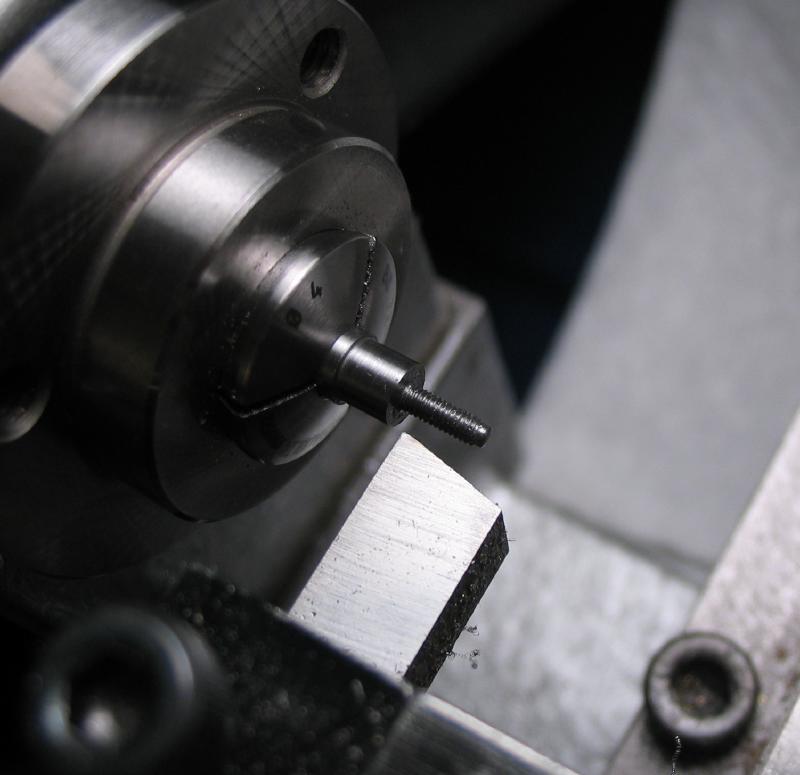
The legs are turned from 1/4" O-1 drill rod. Each is turned to be threaded M3. The parting tool is used to start a waisted section and part off each leg at the same length. The legs will screw into a brass bushing, which are turned from 1/4" brass and drilled and tapped M3. The bushings will allow small adjustments to be made to bring the tool level once finished and for maintenance.

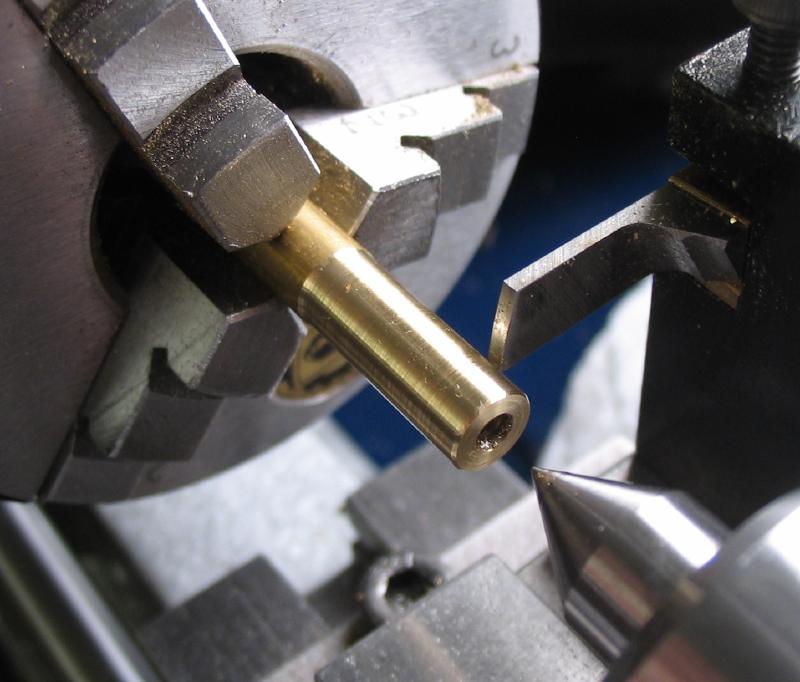
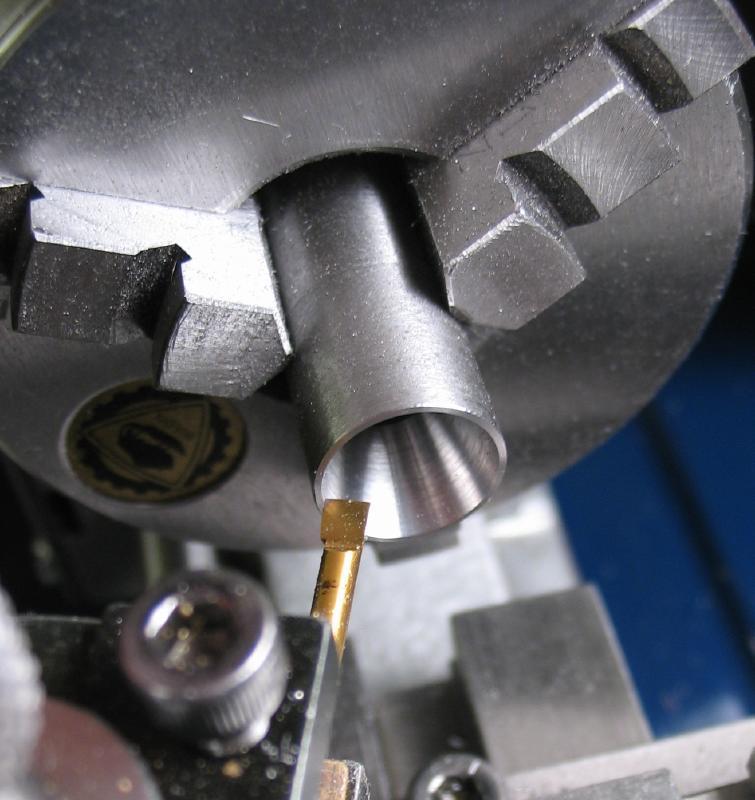
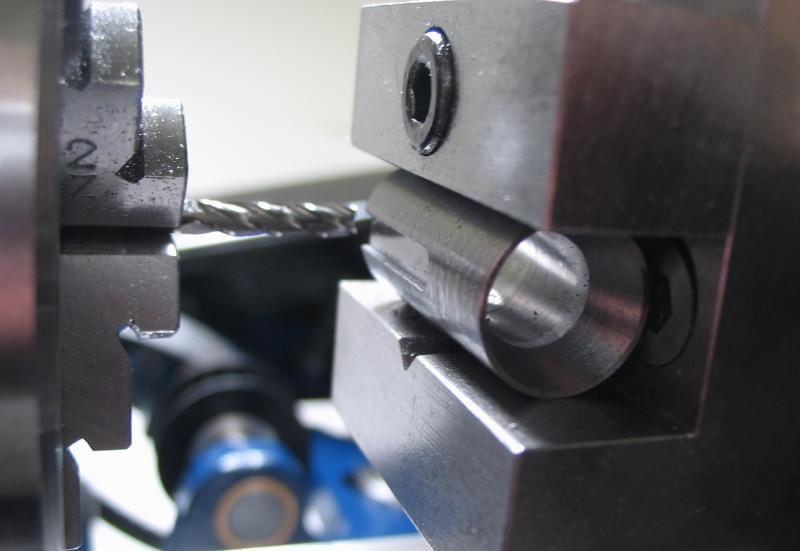
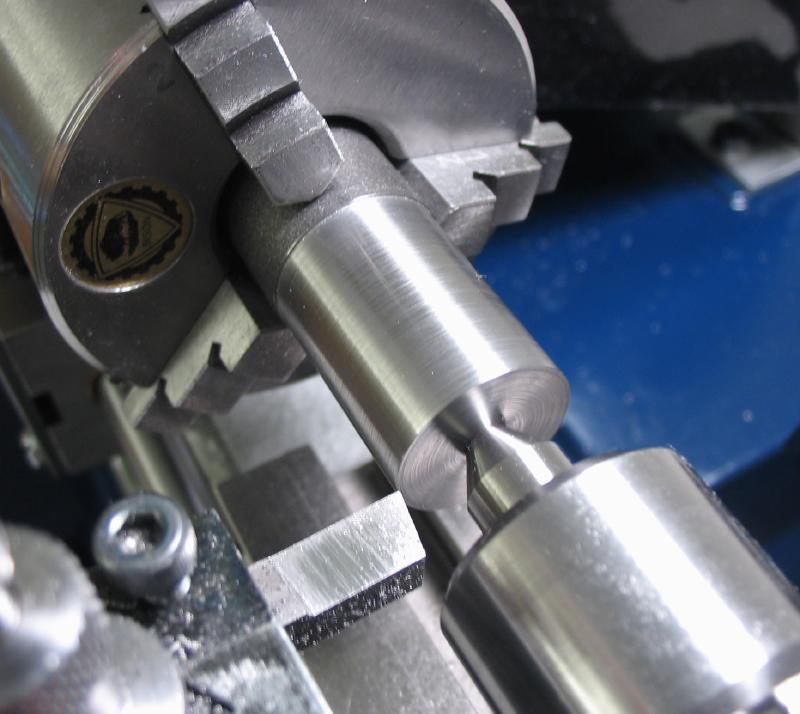
The collet tube is turned from 1/2" 12L14 steel rod. I wasn't thinking ahead, and I cut off a section of rod only long enough to make the tube, but it needed to be lightly turned on the outside surface. This leaves no material to hold in the chuck! So I center drilled each end and held the rod between centers and used the faceplate as a driver with a bent-leg dog attached to the rod. This way the outside diameter can be turned (12.5mm) end-for-end while maintaining good concentricity.
 |
 |
It is then drilled and bored 8mm to clear the collet shank, and countersunk using the boring tool and compound slide set to 20 degrees to accept the collet head.
 |
 |
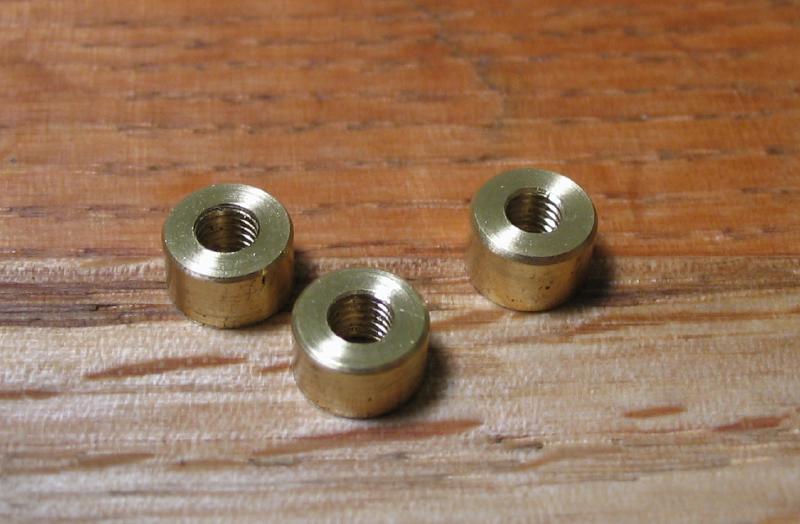
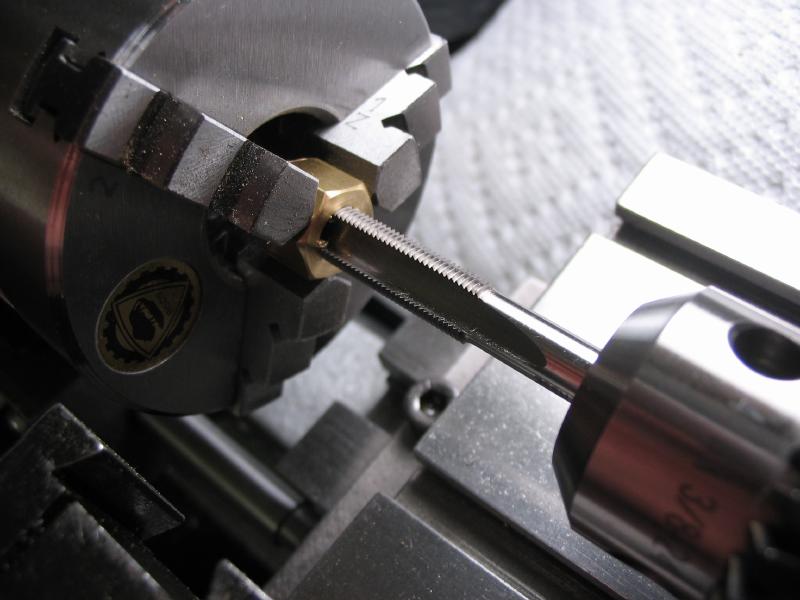
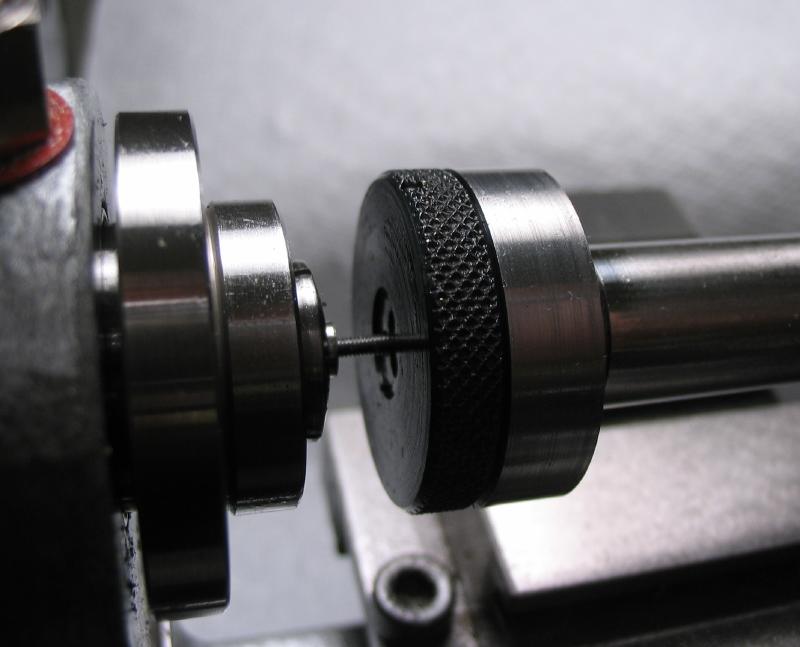
The collet is tightened into the tube by use of a nut. The nut was made from 7/16" brass hex rod. 7/16" was used so that the full diameter would be ~1/2", hex rod is sold measuring across the flats (had to dig deep for those forgotten geometry rules!). The rod was drilled and parted off. The parted off section was chucked and tapped using a B8 tap.


 |
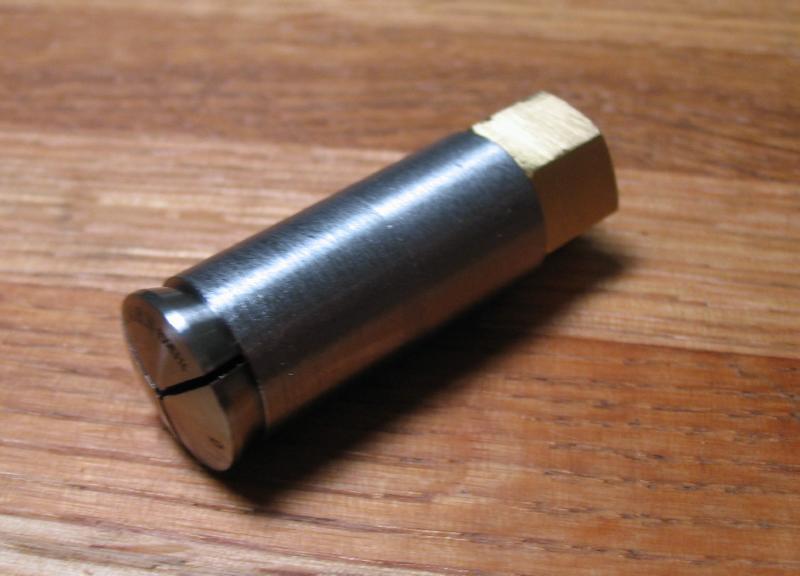 |
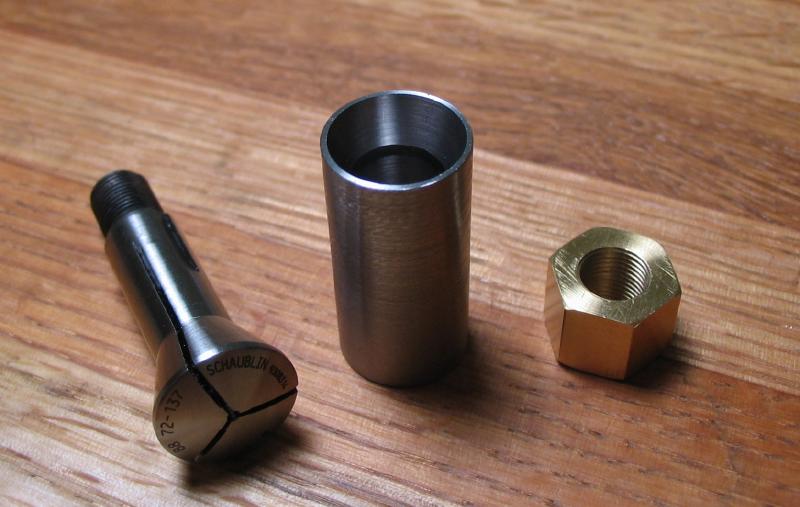
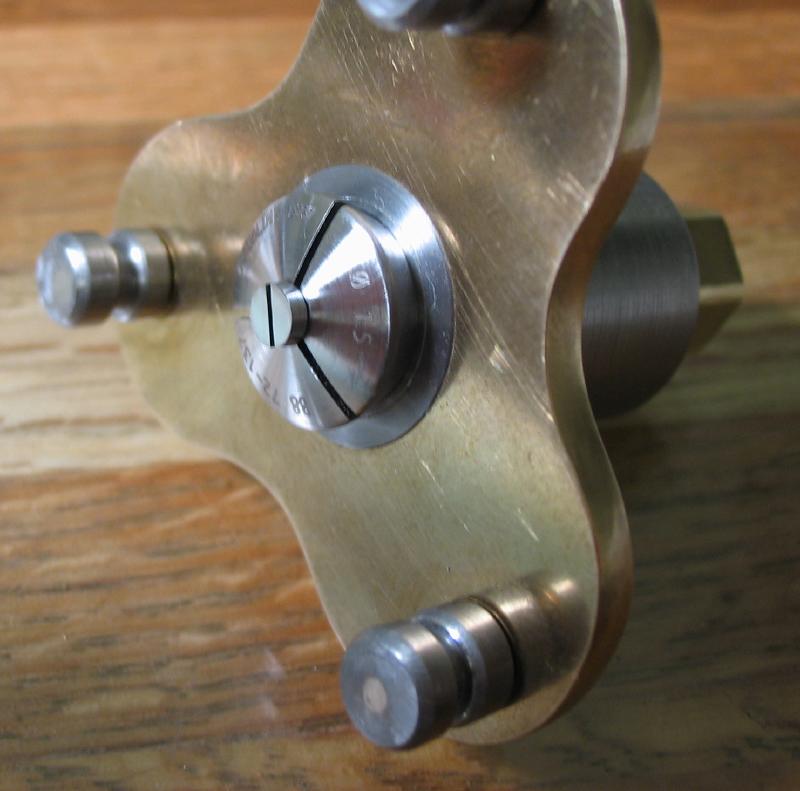
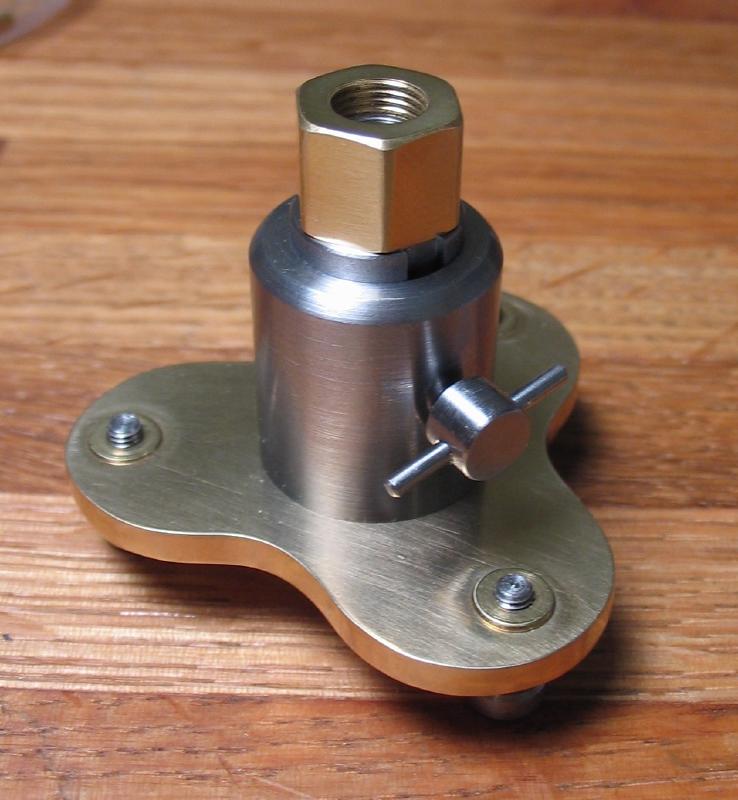
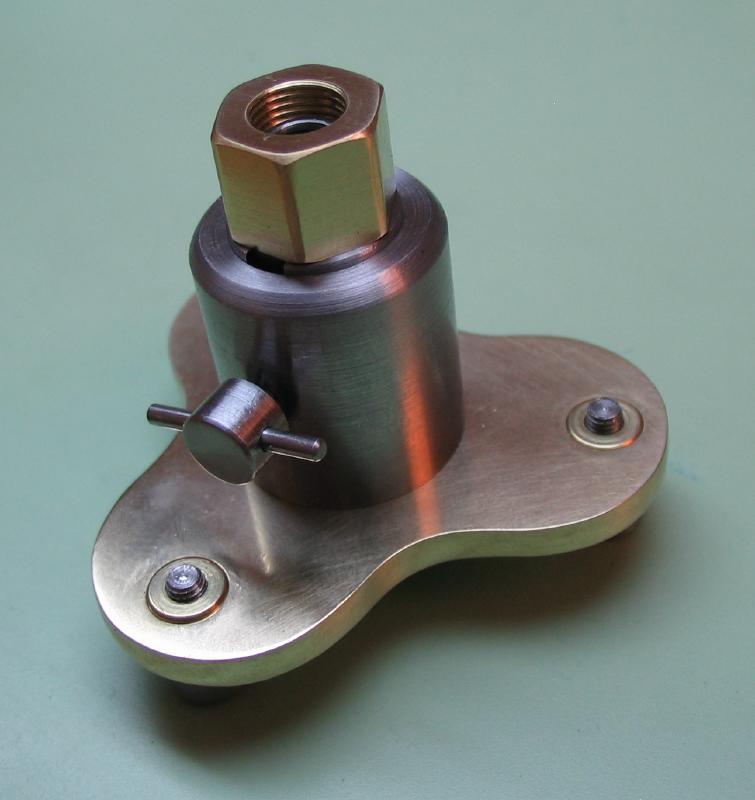
The collet tube will fit into a larger mount attached to the base plate, and will be free to slide up and down for adjustment of height and to position the screw for polishing. A set screw in the mount will mate with a keyway milled into the side of the collet tube. This keyway is milled using the vertical slide and machinist vise on the lathe and a 3mm endmill.
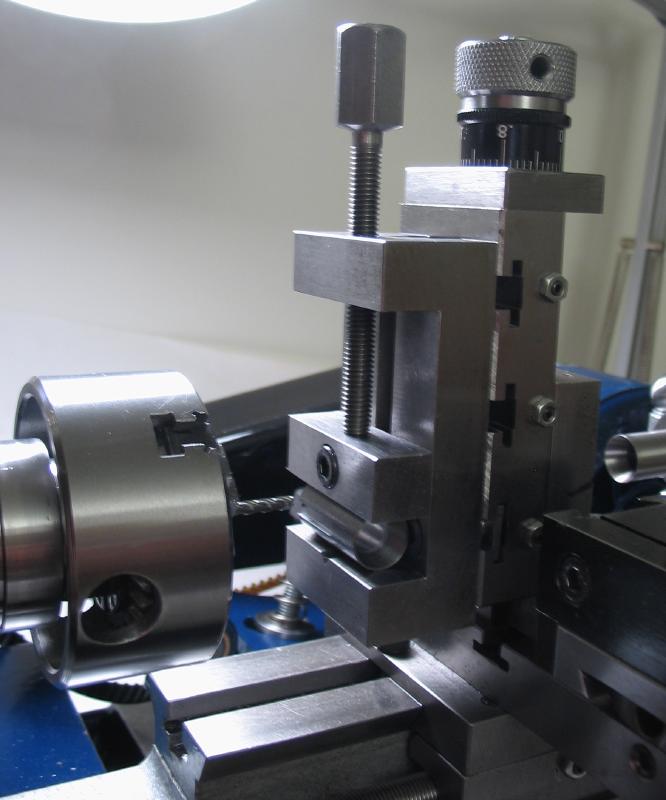
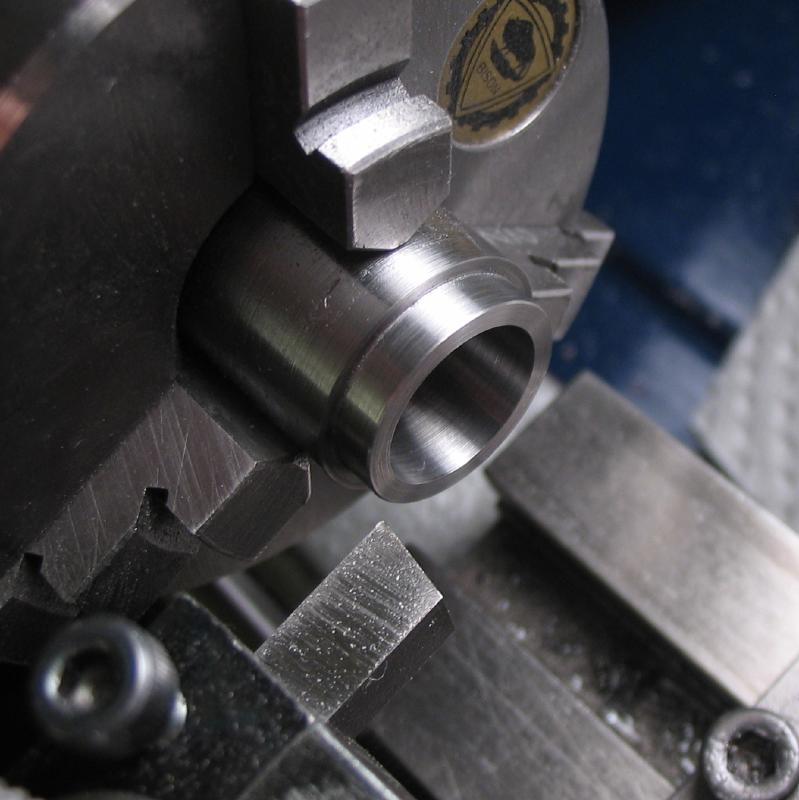
The mounting clamp is made from 3/4" 12L14 steel rod. It is drilled and bored to 12.5mm to accept the collet tube. A shoulder is turned on one end to friction fit into the brass baseplate. It is then drilled and tapped M3 for the set screw.

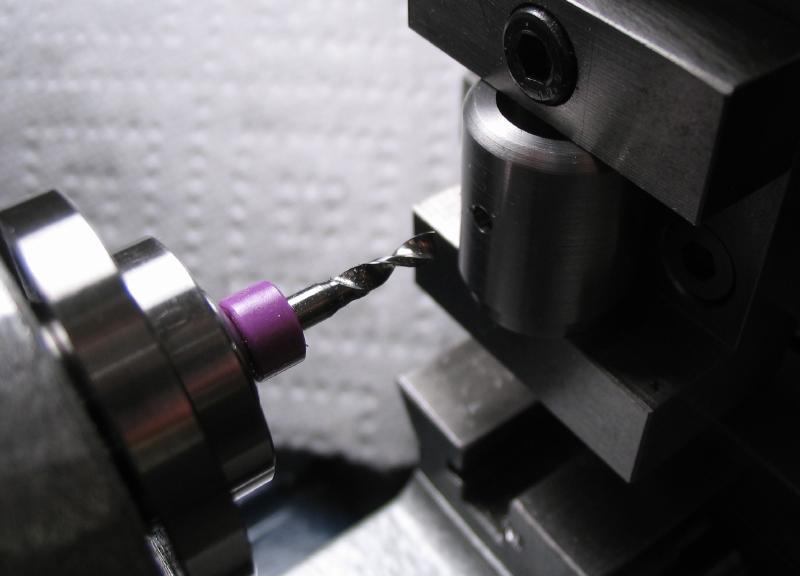
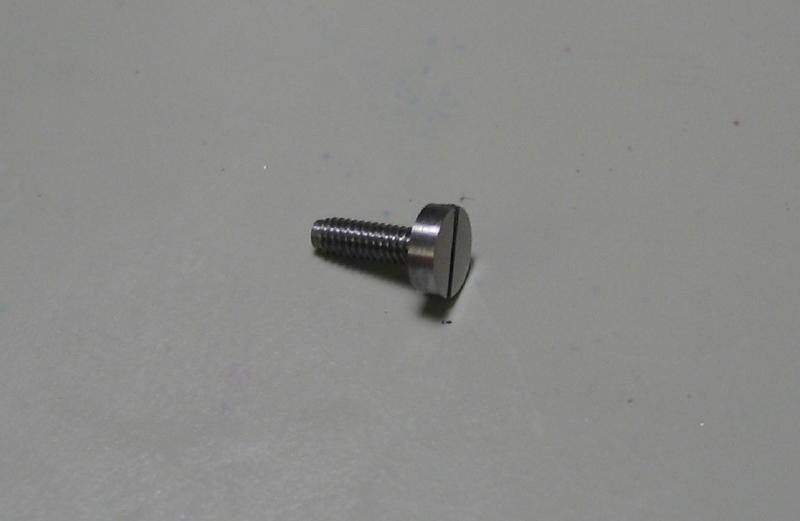
A simple set screw was turned from 1/4" 12L14 steel rod, and threaded M3x0.5. The head was drilled 1.5mm on the drill press and a section of 1/16" drill rod was driven in. This allows for easy adjustment of the screw.

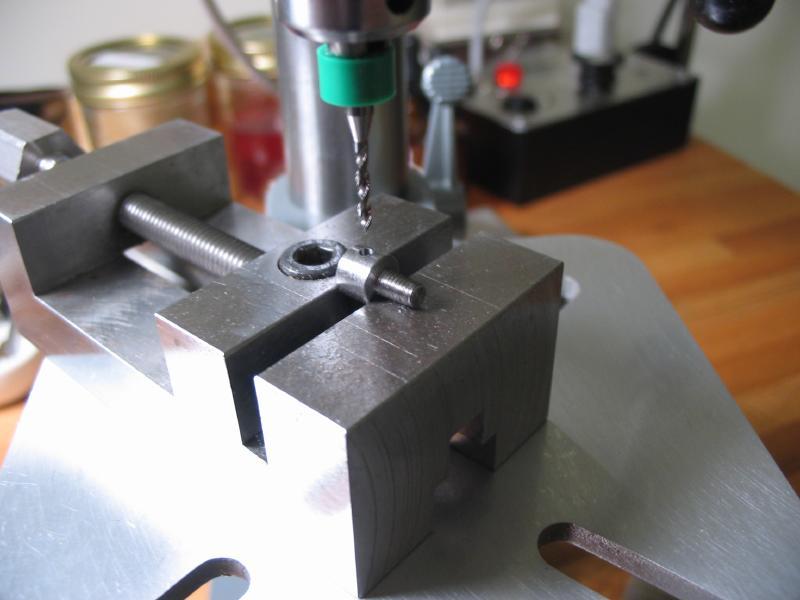

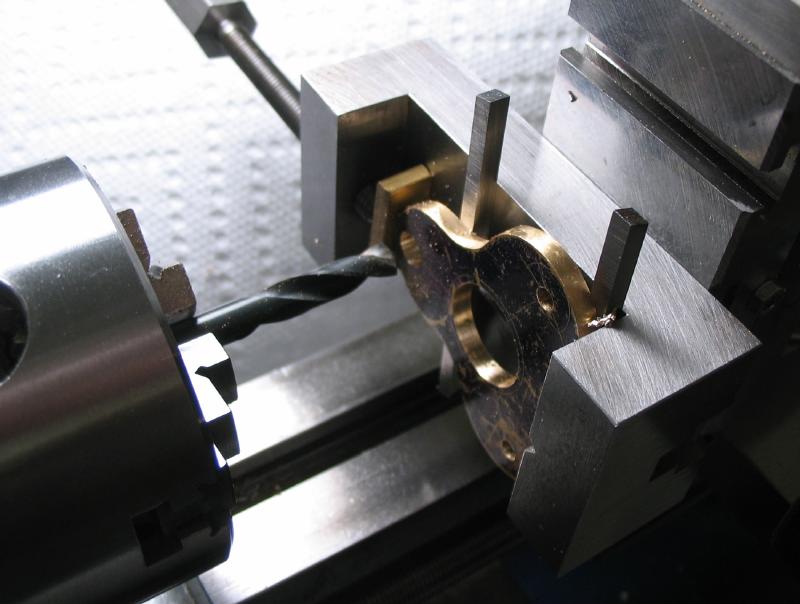
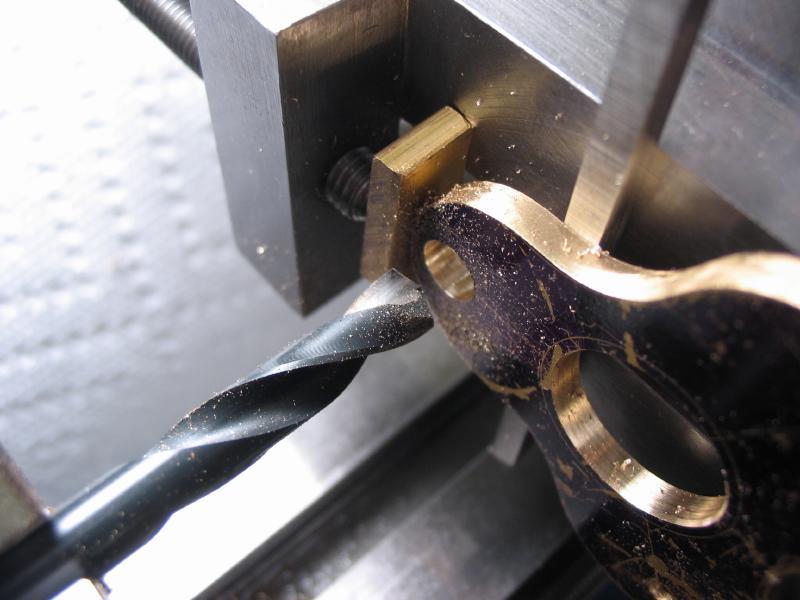
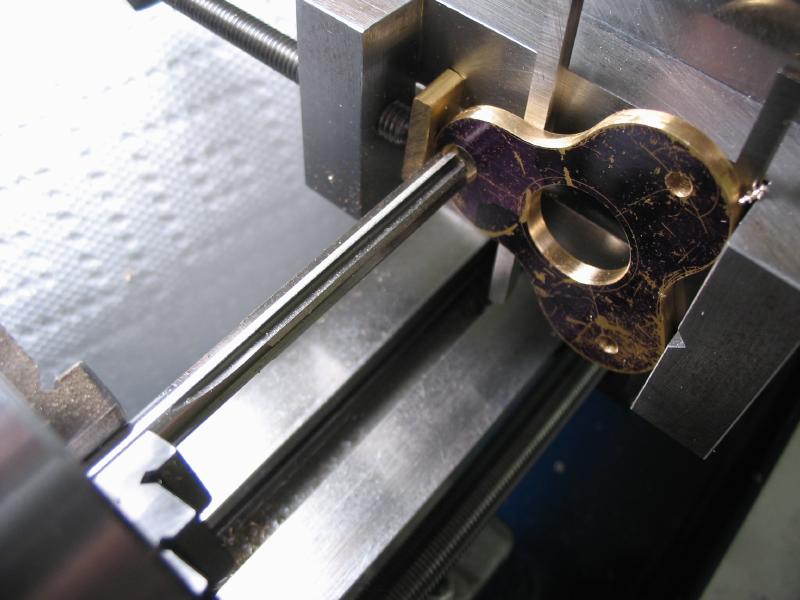
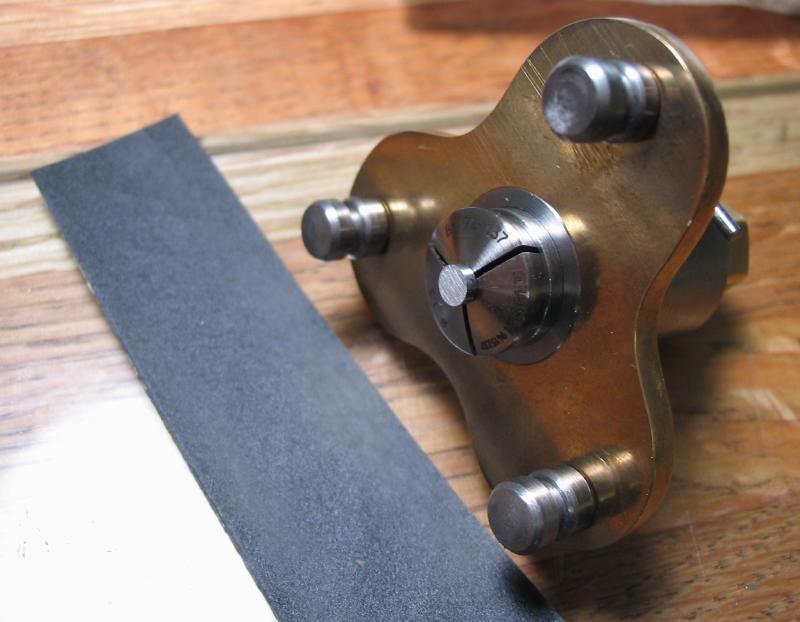
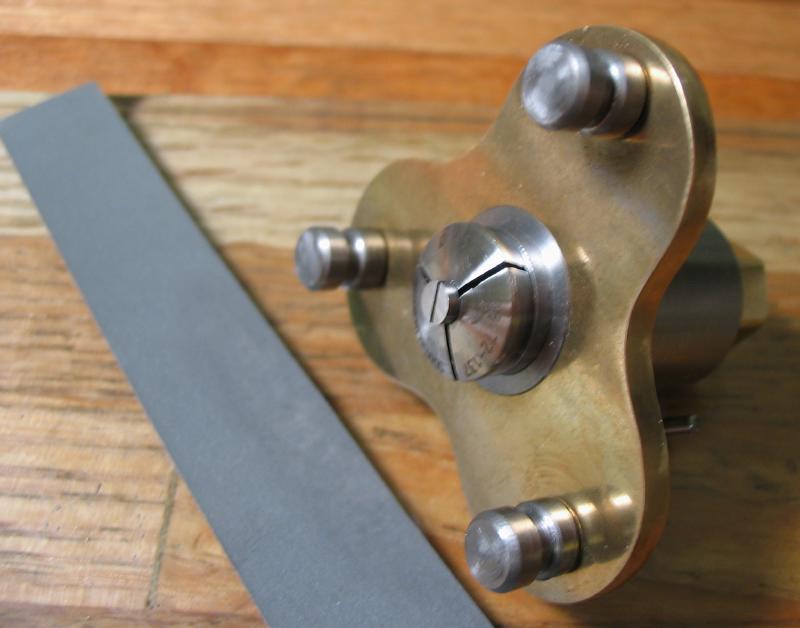
The plate is mounted in the lathe faceplate and bored open to ~16mm to friction fit the mounting clamp. The boring progress is monitored and tested with the already made clamp until a good interference fit is found. The baseplate leg positions are then drilled and reamed to 6mm for the leg bushings.
Center Drill
Drill
Bore
 |
 |
 |
 |
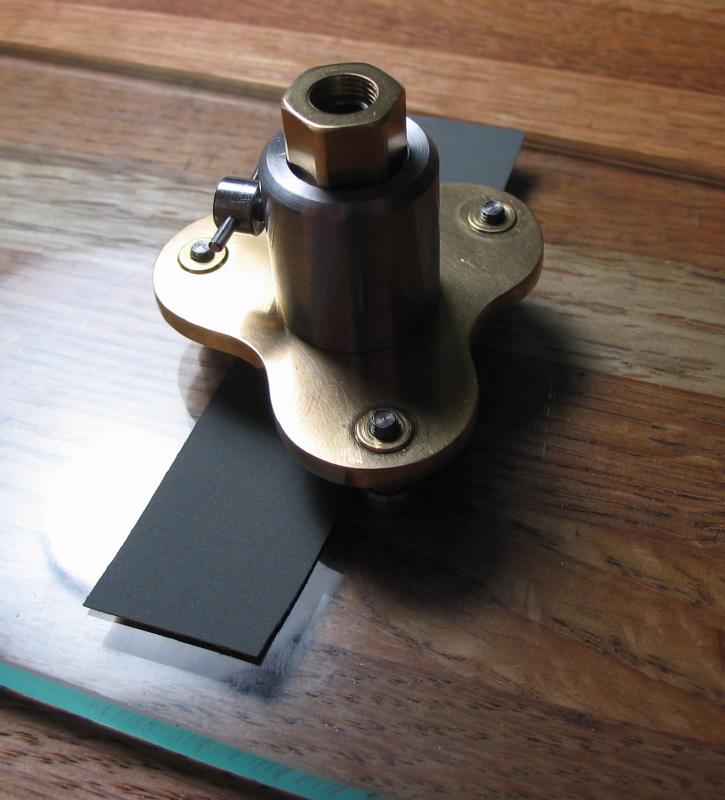
The parts can then be polished up a bit and assembled. The bushing and clamp mount are hammered into location on the bench block with a brass hammer. A staking punch was used to assist drive in the bushing below plate depth. The partially assembled tool can then be tested for level, and adjustments made to the leg bushings as needed using a staking punch.

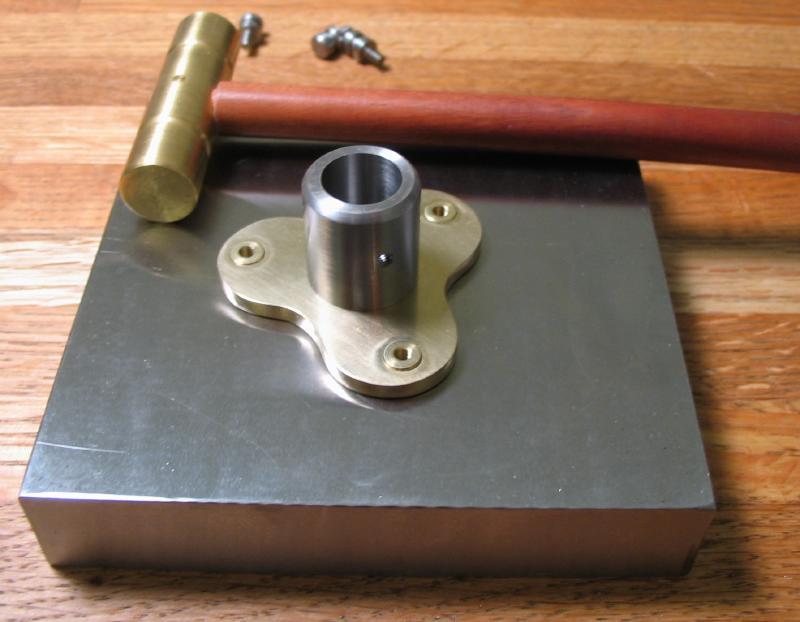
Assembly
 |
 |
The jig was made level on a piece of float glass. First a bubble level was laid on the glass to ensure it was level. The jig was then placed on the glass and the bubble placed on top, the leg bushings are adjusted until level.

Using the Screwhead Polisher
Mr. Fried provides a more detailed explanation of the use of his jig in the book mentioned above. However, the use of the polishing jig is fairly simple. A collet is selected to match the threaded portion of the screw. The collet is installed and the screw held in the collet, the nut is tightened. The jig is placed onto the glass plate and the collet tube allowed to slide down until the screwhead contacts the glass plate. The set screw is then tightened. Various grades of emery paper, followed by polishing paste, Simichrome, and/or diamantine can then be placed onto the glass plate and the screwhead rubbed against them. Obviously the jig legs are kept in contact with the glass plate ensuring that the screwhead will be ground flat.

An Overview of the Screw Making Process
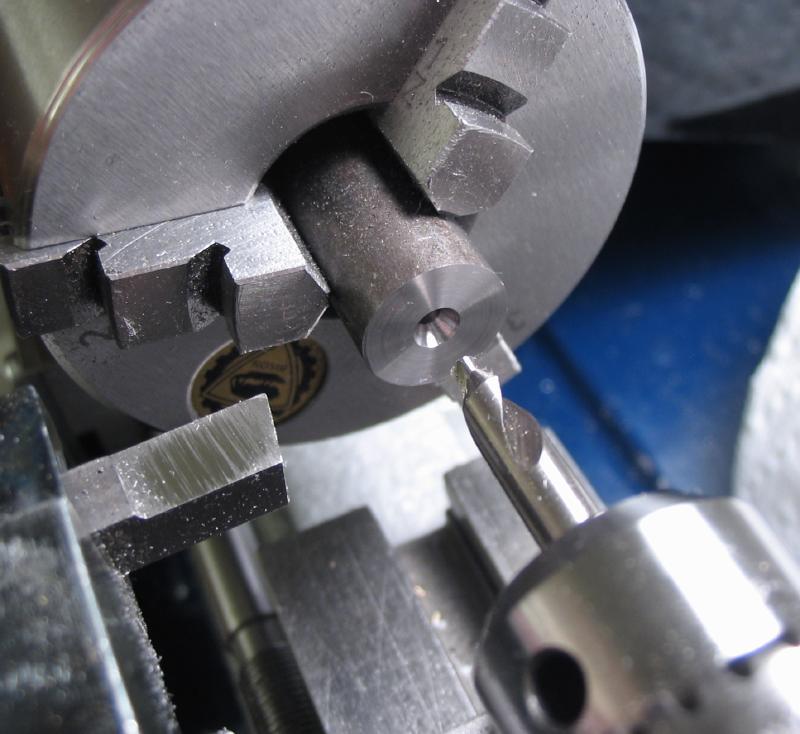
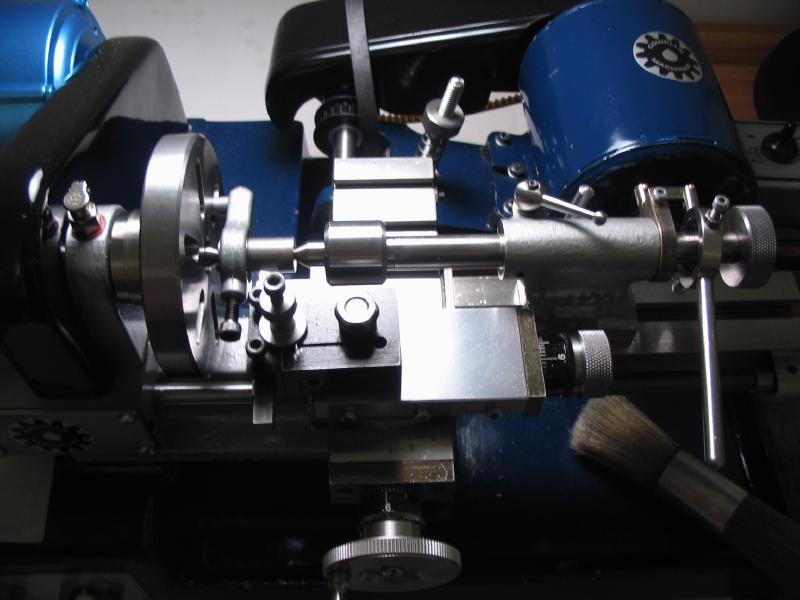
A screw with a 3.5mm head and 1.5mm threads is described. A piece of 4mm O-1 drill rod is turned down to 1.47mm. A Bergeon 1.5mm die is mounted in the handheld die holder, and with light pressure from the tailstock, the die is threaded onto the shaft to form the threads. Only quarter turns can be advanced at a time, and the die backed off to clear the swarf. TapMagic cutting fluid was used to assist the threaded process.
The head diameter was turned.
The embryo screw can then be parted off.
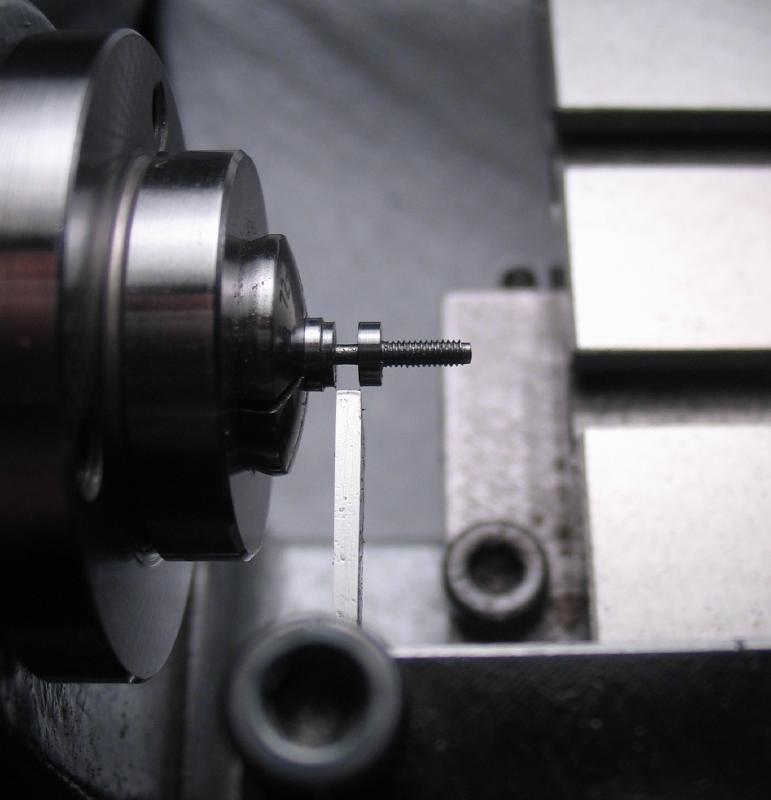
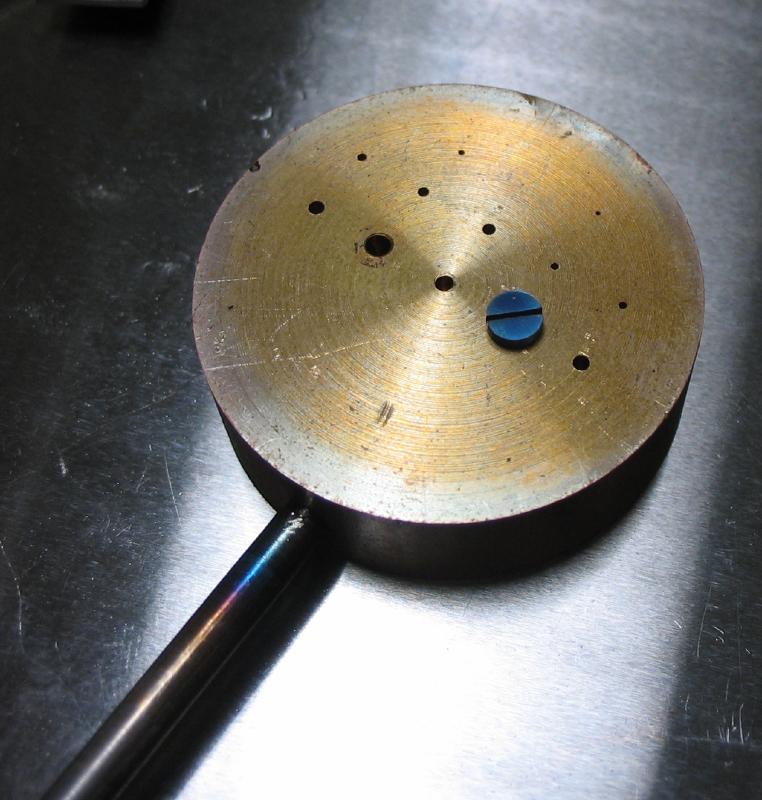
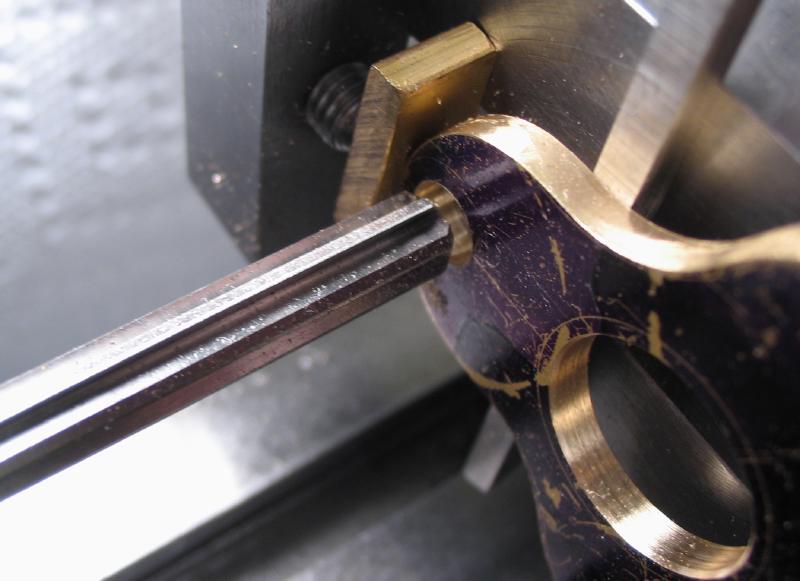
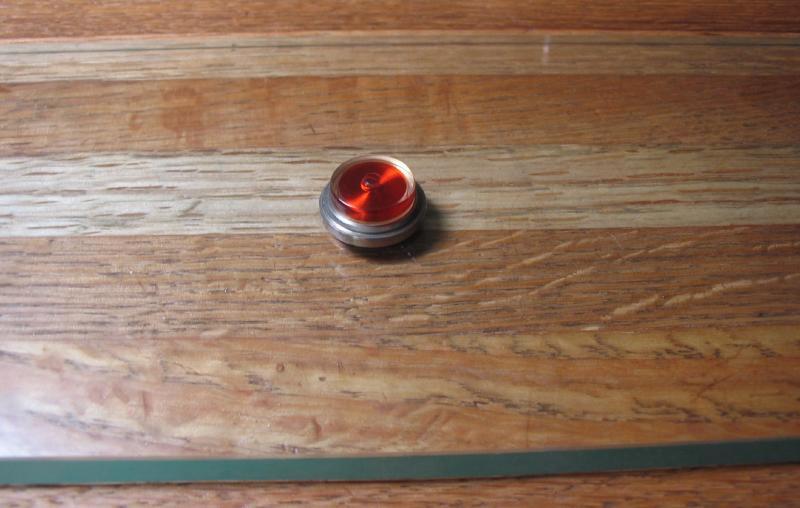
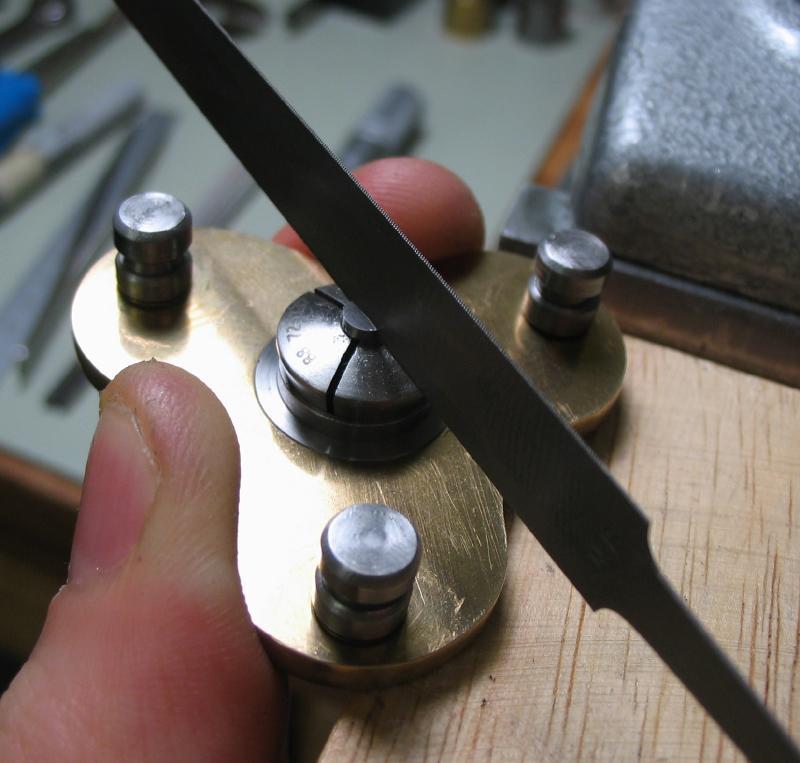
The threaded portion is mounted in a 1.5mm collet, which is inserted into the polishing jig. 320 grit emery paper is used to grind the head flat and close to the final thickness.
 |
 |
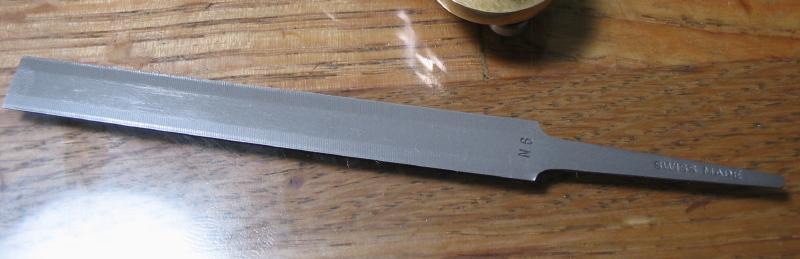
The slot must now be cut. This is done with a Grobet-Vallorbe No.6 screwhead file. The slot is started from the edge and gradually and lightly the slot is made, with careful attention that the slot is centered.
The screwhead can then be polished with higher and higher grit emery paper, up to say 1500 grit.
 |
 |
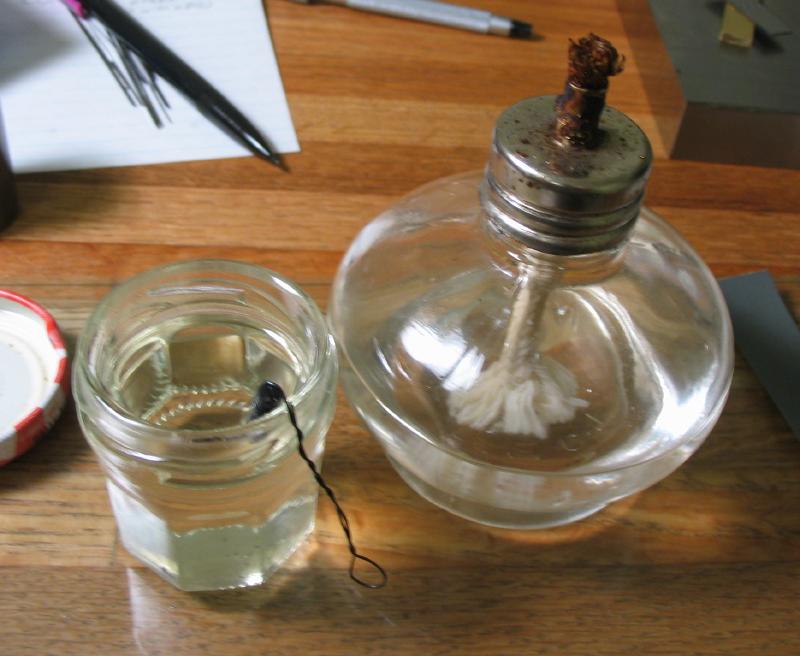
The screw can then be hardened. The screw is wrapped in a length of iron binding wire and heated to bright red in the alcohol lamp. It is immediately plunged into oil to fully harden.
The screw must then be repolished. It is then placed onto a piece of brass drilled for various diameter screws. This is heated gently with the alcohol lamp and carefully observed for the color changes. First straw (good temper for use in toolmaking), then brown, to purple (hard spring temper), and then bright blue (spring temper). It will then go white, which is too soft and means it must be rehardened and tempered again.
Screws can be left blue, or repolished. If it is to be left blue then it should have been fully polished prior to tempering, otherwise, the final polishing can be performed after tempering.