_
Quick Change Tool Post - Clamping Block
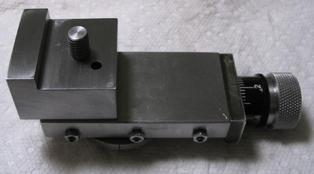
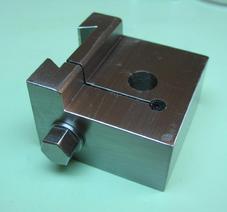
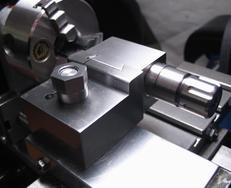
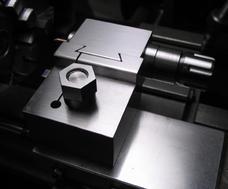
_The quick change tool post (QCTP) supplied by Cowells is intended for use with 1/4" lathe tools. Using smaller bits, such as 1/8", or center ground boring bars, etc. it may require some packing to bring the tool on center. Although the tool holders have a screw-stop to adjust for height, it is a range for only making small adjustments. I previously made a 4-way tool post for 1/8" bits, but will describe here a replacement QC toolpost for using standard Cowells tool holders (or homemade) and with a higher holding height. This toolpost is also intended to accommodate the collet-holding tool block.
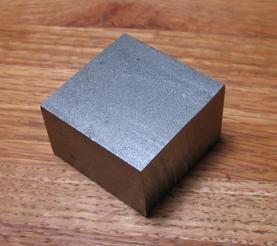
_The work is started from 1" x 1.5" steel bar (type 12L14).
A 1.5" section was hack-sawed off.
A 1.5" section was hack-sawed off.
_
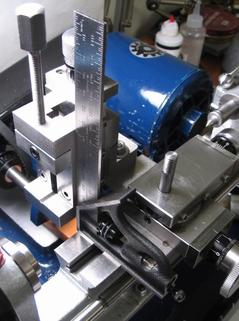
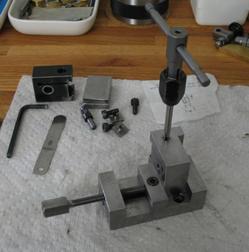
The hacksawing process leaves a rather coarse and uneven finish. It was milled flat using the vertical slide and machine vise. Either side of the block needed this treatment
I photographed the setup, but forgot to photograph the finished step.
The hacksawing process leaves a rather coarse and uneven finish. It was milled flat using the vertical slide and machine vise. Either side of the block needed this treatment
I photographed the setup, but forgot to photograph the finished step.
_
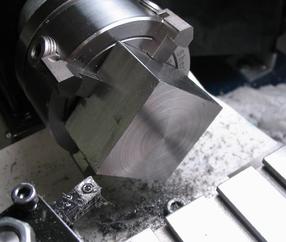
With it reasonably squared up, it was mounted in the 4-jaw chuck and faced on each side. The result can be taken to a glass plate with sheets of emery paper to smooth the finish.
With it reasonably squared up, it was mounted in the 4-jaw chuck and faced on each side. The result can be taken to a glass plate with sheets of emery paper to smooth the finish.
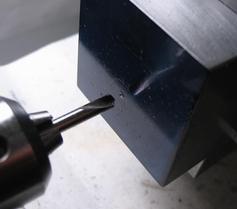
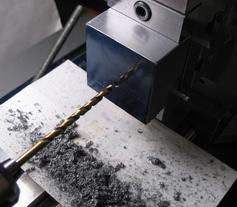
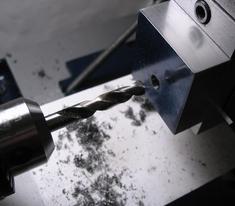
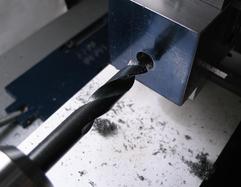
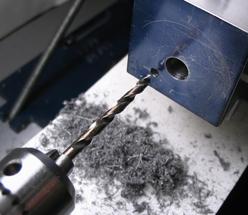
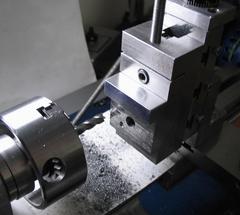
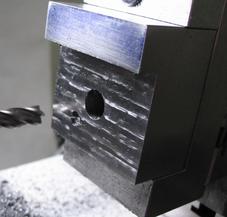
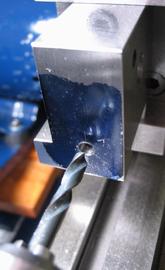
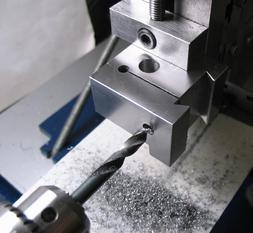
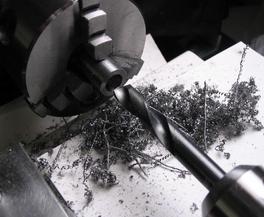
The position for the mounting bolt was found and center punched. Mounting the block back in the machine vise, it was spot drilled; pilot drilled 1/8"; drilled 1/4"; and finally drilled through to 8mm to pass the top slide mounting bolt. Although not easily seen in the photo, the block was supported on a pair of 1/8" lathe tool blanks acting as parallels. This allowed the drills to pass through and not into the vise.
A 4mm hole was drilled for the flex point in the block. A slit will be sawed later, but the drilling setup was taken advantage.
_
The top face was milled down to the same height as the stock QCTP (19mm), i.e. to fit the topslide mounting post. A 10mm wide surface was left at full height. This surface will provide the increase in height for smaller lathe tools. It is currently 5mm, but may need some reduction after experimentation (1/8" was initially desired).
The top face was milled down to the same height as the stock QCTP (19mm), i.e. to fit the topslide mounting post. A 10mm wide surface was left at full height. This surface will provide the increase in height for smaller lathe tools. It is currently 5mm, but may need some reduction after experimentation (1/8" was initially desired).
_
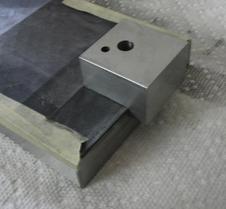
The toolmarks were rubbed off with emery paper and plenty of cutting oil. The paper was taped to a steel bench block to get into the corner with the paper.
The toolmarks were rubbed off with emery paper and plenty of cutting oil. The paper was taped to a steel bench block to get into the corner with the paper.
_
The product at this stage can be tried on the topslide to test the fit.
The product at this stage can be tried on the topslide to test the fit.
_
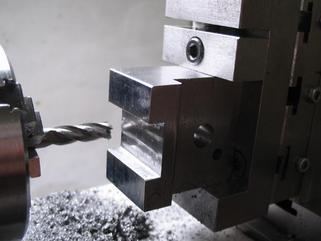
The work is returned to the machine vise. A 1/4" endmill was used to mill a channel 5mm deep and 16mm wide.
The work is returned to the machine vise. A 1/4" endmill was used to mill a channel 5mm deep and 16mm wide.
_
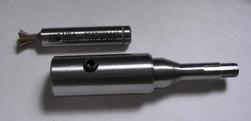
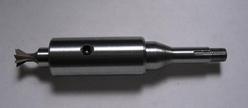
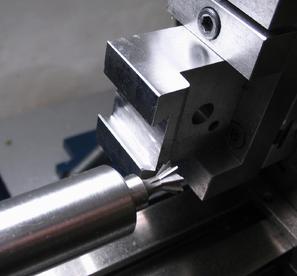
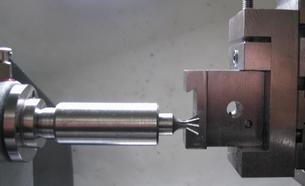
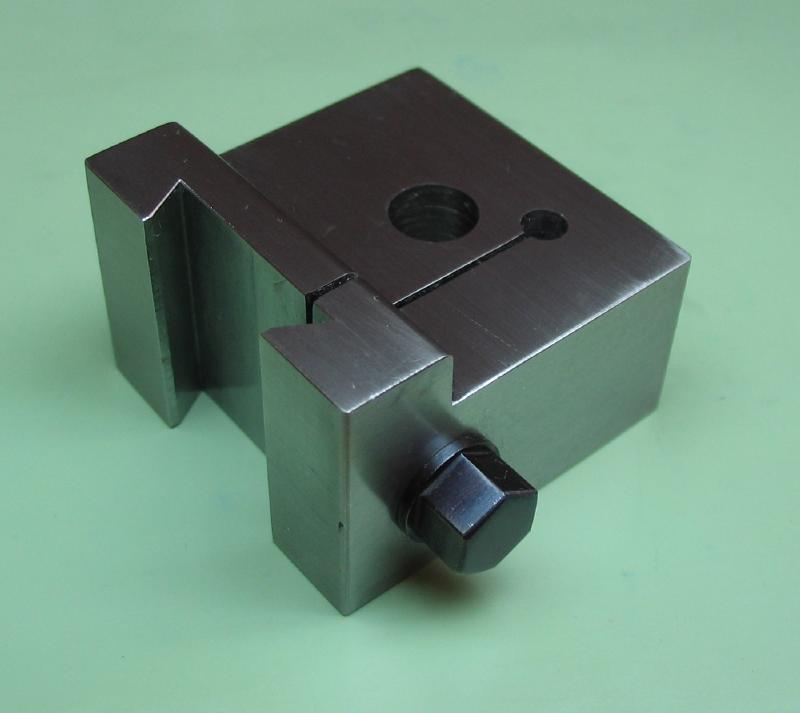
The dovetails are then milled. A 3/8" diameter, 60 degree dovetail cutter is mounted in its collet shank holder. Plenty of cutting oil was applied. The full width is about 20mm, but a Cowells tool holder was tried in the slot and the dovetail widened until a light, friction fit was achieved.
The dovetails are then milled. A 3/8" diameter, 60 degree dovetail cutter is mounted in its collet shank holder. Plenty of cutting oil was applied. The full width is about 20mm, but a Cowells tool holder was tried in the slot and the dovetail widened until a light, friction fit was achieved.
_
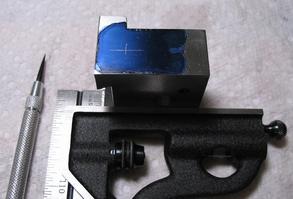
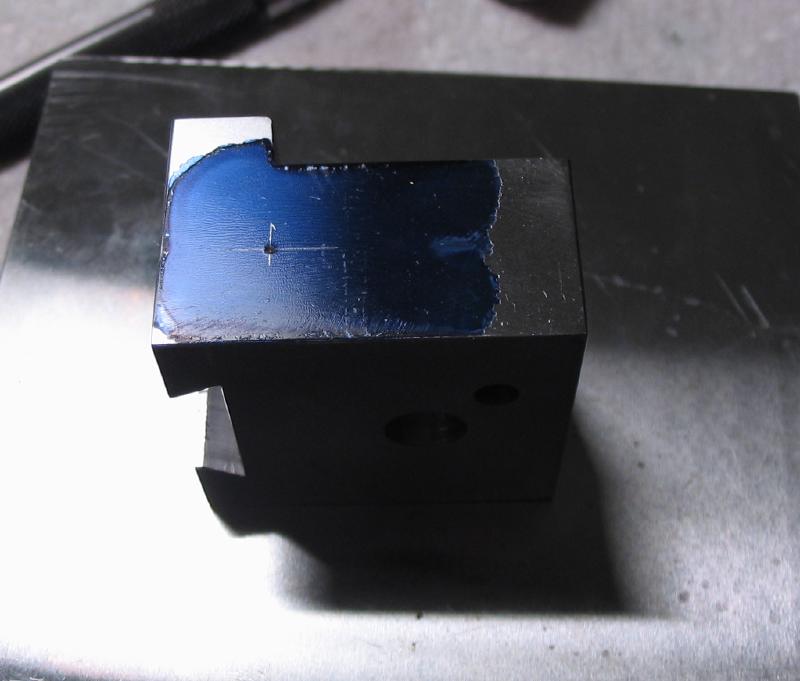
The position for the tightening screw is laid and center punched.
The position for the tightening screw is laid and center punched.
_
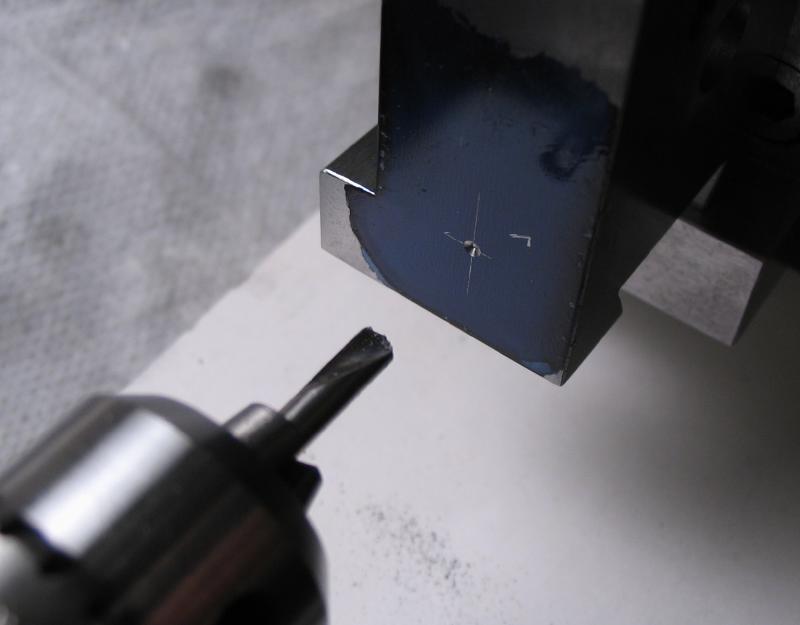
The hole is spot drilled, and drilled 4.2mm for tapping later on (M5x0.8).
The hole is spot drilled, and drilled 4.2mm for tapping later on (M5x0.8).
_
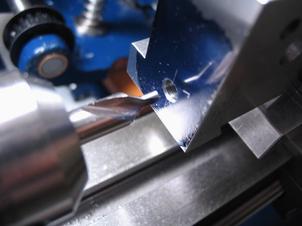
The hole was countersunk 60 degrees for assistance in relocating the hole after sawing.
The hole was countersunk 60 degrees for assistance in relocating the hole after sawing.
_
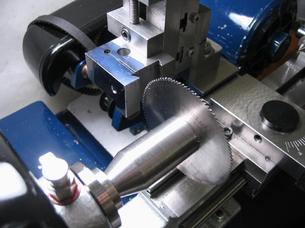
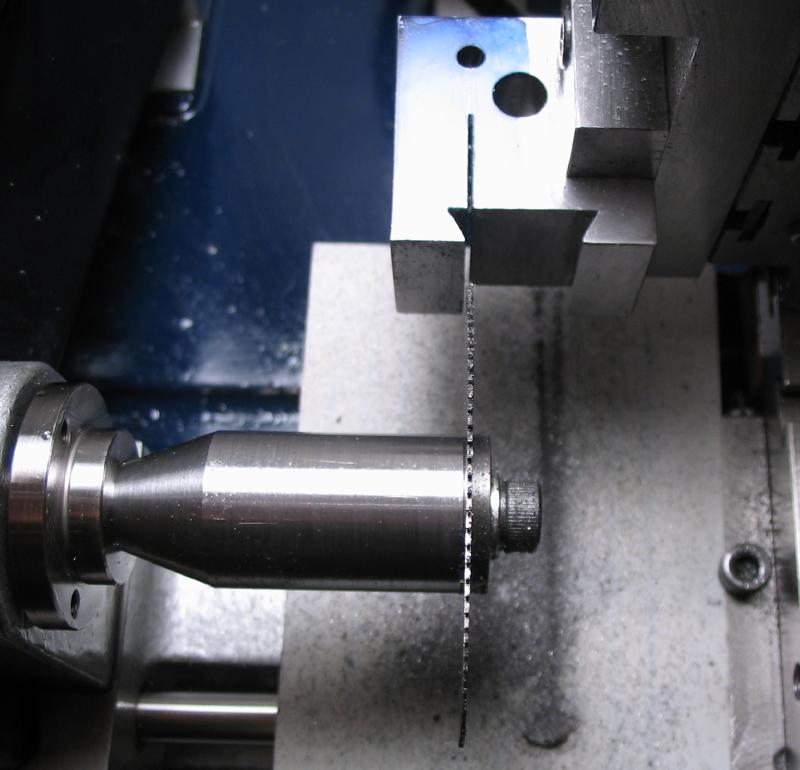
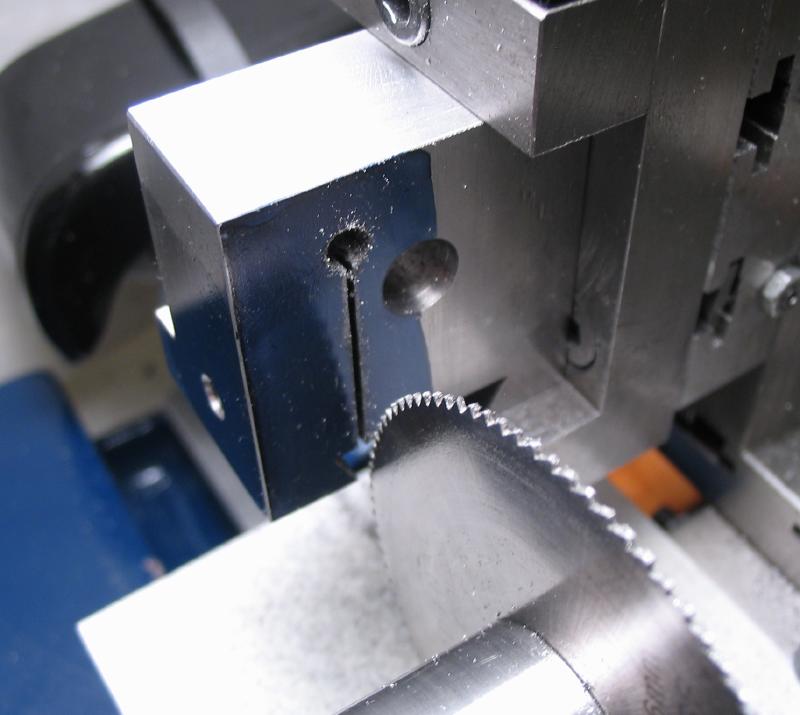
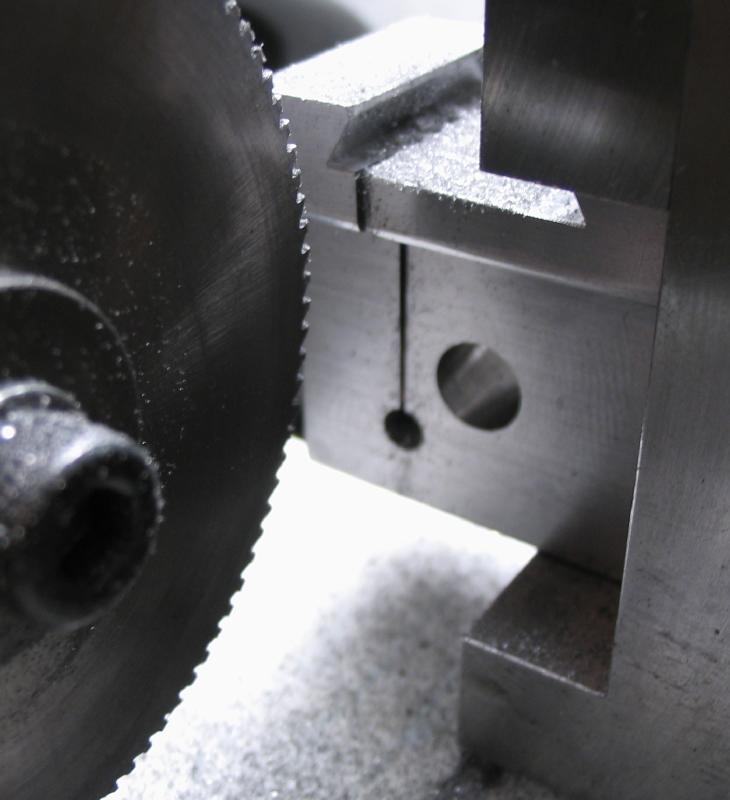
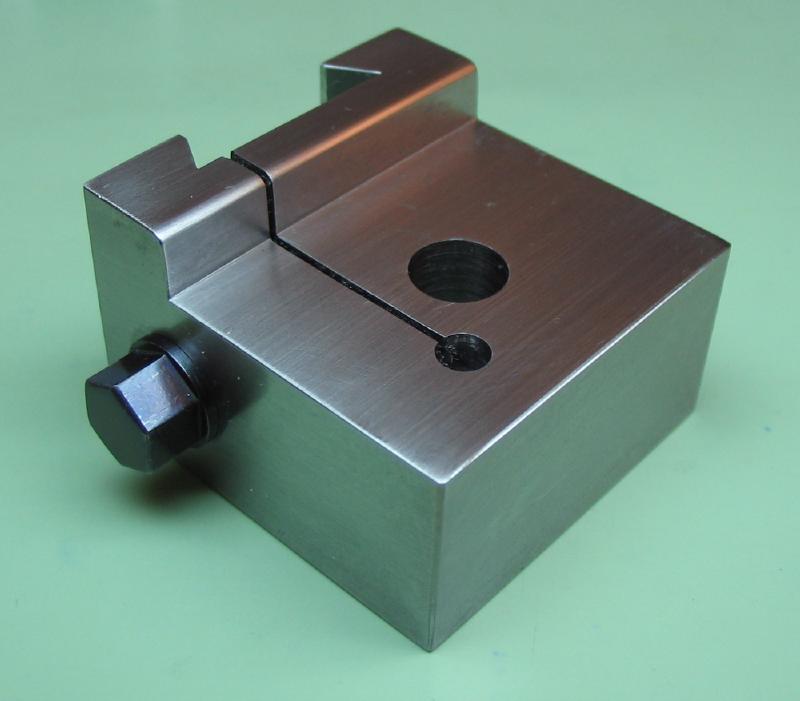
The work is repositioned and sawed using a 0.6mm slitting saw. The work had to be repositioned a couple times to allow the saw to get to full depth. A larger diameter saw blade would have remedied the situation.
The work is repositioned and sawed using a 0.6mm slitting saw. The work had to be repositioned a couple times to allow the saw to get to full depth. A larger diameter saw blade would have remedied the situation.
_
The hole can then be opened to 5mm to clear the threads.
(this is only to the slit, of course)
The lower section can then be tapped M5x0.8
The hole can then be opened to 5mm to clear the threads.
(this is only to the slit, of course)
The lower section can then be tapped M5x0.8
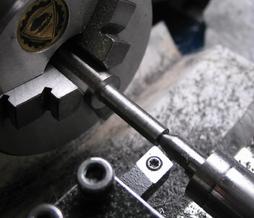
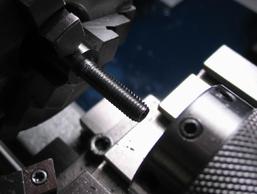
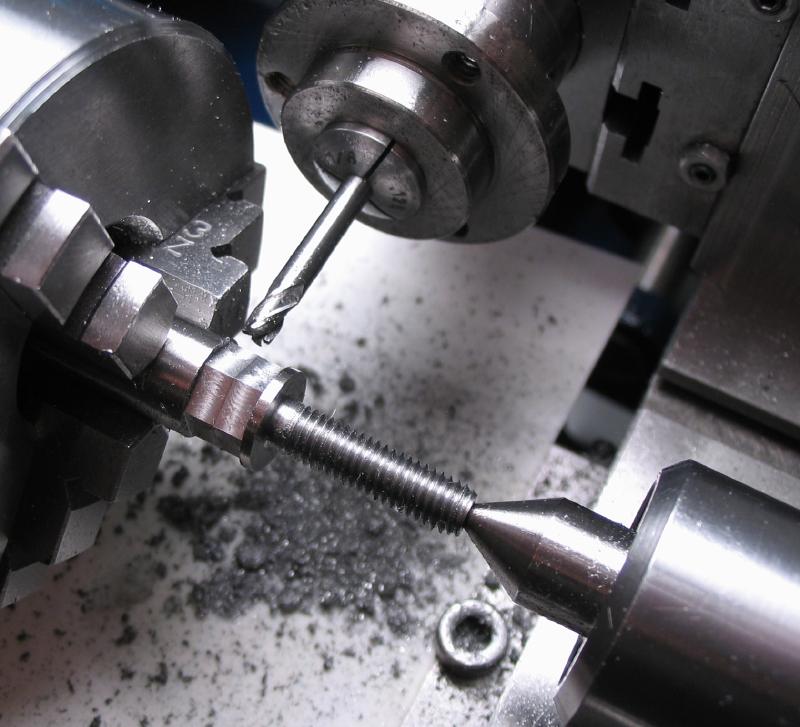
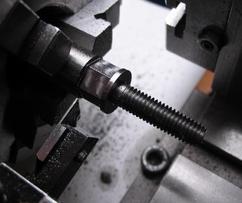
A bolt was made from 10mm O-1 drill rod. After facing and center drilling, it was turned to 5mm for a length of 19mm with tailstock center support. A custom made half center was used. The thread was formed with a M5x0.8 die.
_
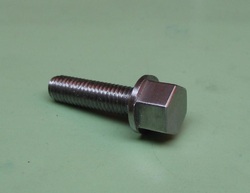
The head was milled using the wheel and pinion cutter spindle with a 1/8" carbide end mill. The headstock was indexed through 6 positions, and the resulting hex is 8mm in width. The bolt is then parted off.
The head was milled using the wheel and pinion cutter spindle with a 1/8" carbide end mill. The headstock was indexed through 6 positions, and the resulting hex is 8mm in width. The bolt is then parted off.
_
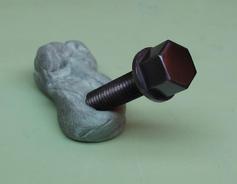
The bolt was tested and then taken to the torch and pail of oil for hardening. It was polished up with emery paper and tempered to a dark purple color.
The bolt was tested and then taken to the torch and pail of oil for hardening. It was polished up with emery paper and tempered to a dark purple color.
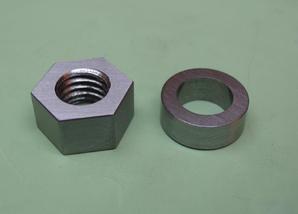
The clamp is secured to the topslide post with a nut and washer.
The thread is 8mmx1.25.
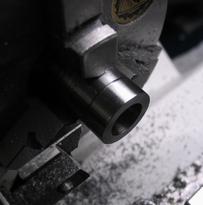
The washer is made from 1/2" steel rod, faced, and drilled 8mm.
The washer is then parted off.
_
_
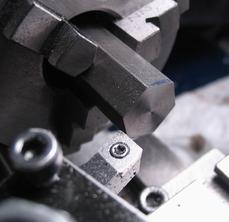
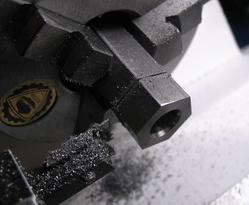
The nut is made from 1/2" mild steel hex rod.
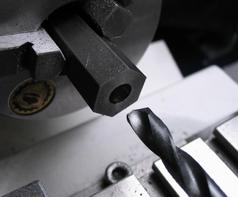
After facing, it was spot drilled, and drilled 5.8mm.
The nut is made from 1/2" mild steel hex rod.
After facing, it was spot drilled, and drilled 5.8mm.
_
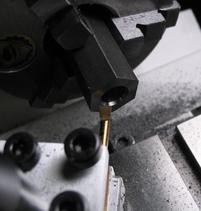
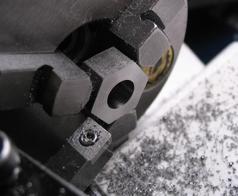
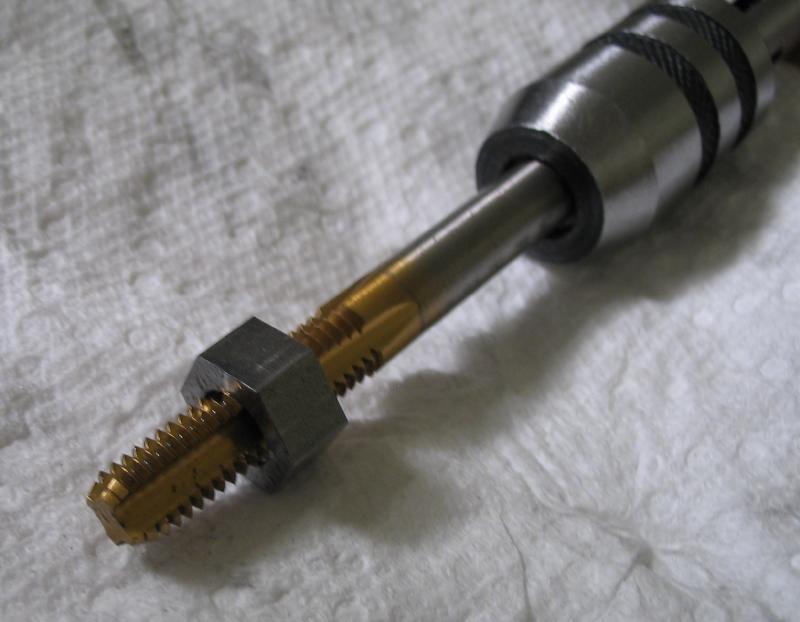
The hole is countersunk with a boring bar and the nut can be parted off. It was then returned to the 3-jaw chuck. The parted face is cleaned up and the hole enlarged to 6.75mm for tapping M8x1.25. The hole is again countersunk. Tapping was started on the lathe and completed by hand.
The hole is countersunk with a boring bar and the nut can be parted off. It was then returned to the 3-jaw chuck. The parted face is cleaned up and the hole enlarged to 6.75mm for tapping M8x1.25. The hole is again countersunk. Tapping was started on the lathe and completed by hand.
