Lathe Tool Holders
When working on the lathe, one quickly learns that mounting the various cutting tools can be time consuming. A quick change tool post (QCTP) expedites the process tremendously, however, it is then apparent that a separate tool holder is needed for every tool in the drawer. I decided to try making some holders. Firstly, I wanted a specialized holder for small boring bars which are somewhat awkward to hold in the standard 1/4" tool holders. Secondly, my thought is to build up an arsenal of standard QC holders over time, and should be economical in the sense of trading my time for the cost of purchasing them (a common trade-off in the home shop).
Four-way boring bar tool post
I regularly use
Micro 100 brand boring bars with 1/8" shanks. These require significant
packing, even when using the adjustable QCTP. So, the first holder
described is a four way post, which is milled to a center height suitable for these small tools (1/8" higher).
I am using 6061 aluminum bar to make the holders. The standard Cowells holders are made of steel, and for heavier duty tools this is, of course, a better choice. For these small boring bits, I've concluded that aluminum will be rigid enough, and will be significantly easier to machine.
I am using 6061 aluminum bar to make the holders. The standard Cowells holders are made of steel, and for heavier duty tools this is, of course, a better choice. For these small boring bits, I've concluded that aluminum will be rigid enough, and will be significantly easier to machine.
A 1.5" length of 0.75" x 1.5" aluminum bar was hack-sawed off. This was mounted in the four jaw chuck and a facing cut made on each face.

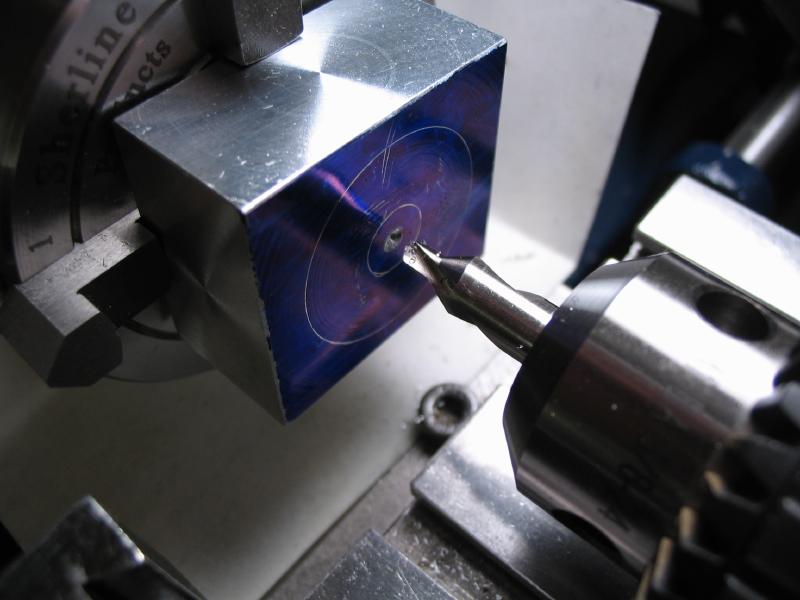
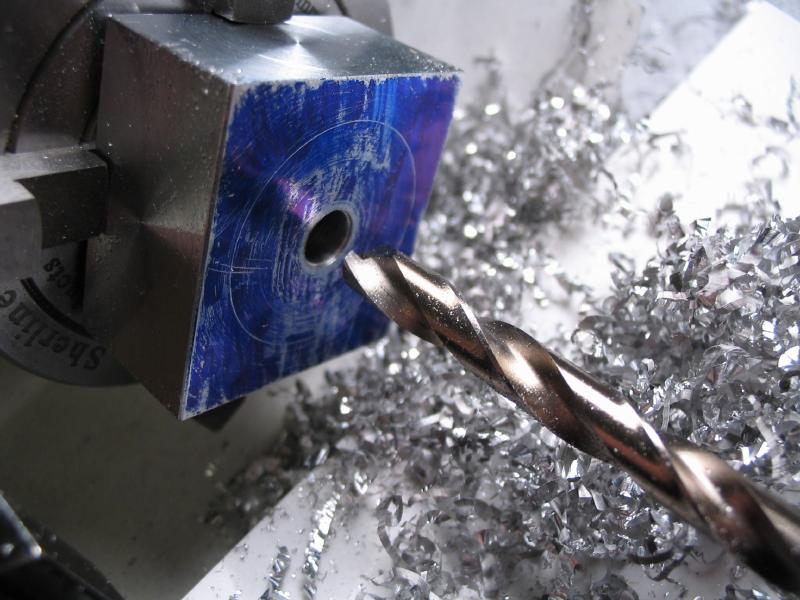
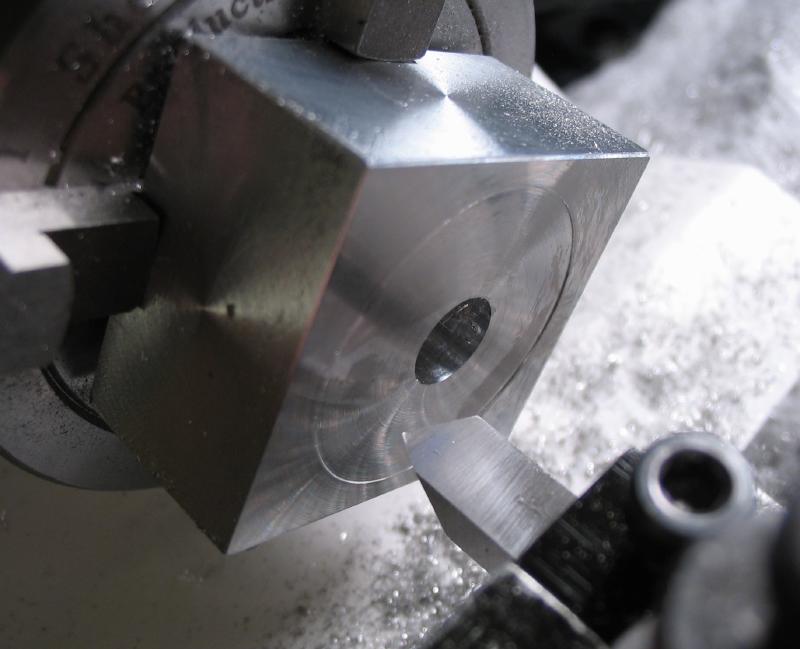
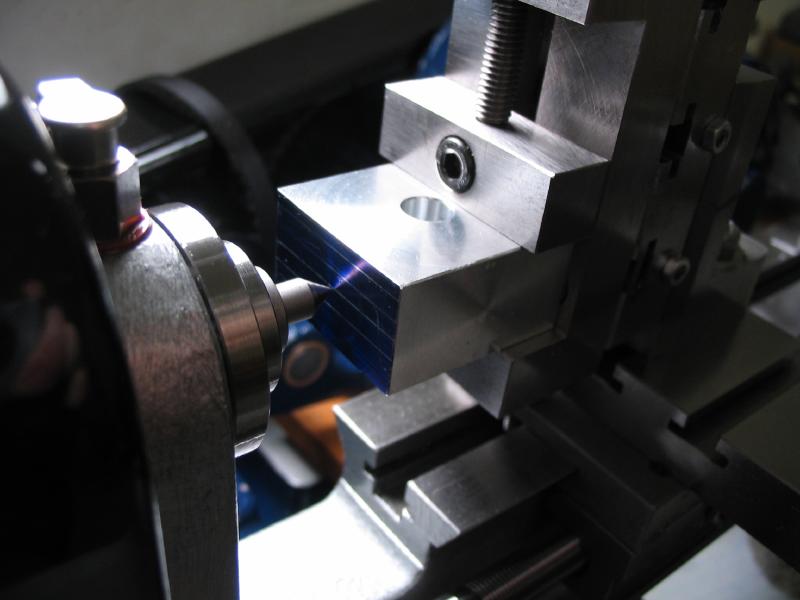
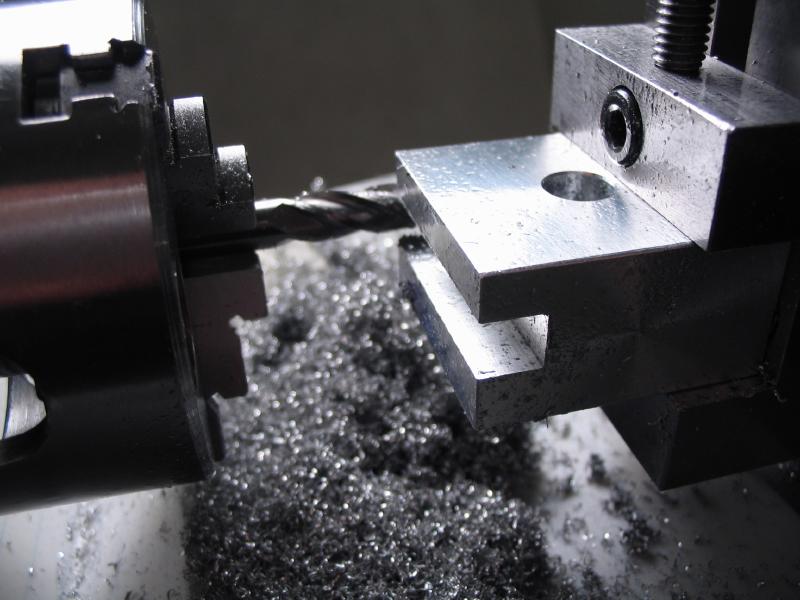
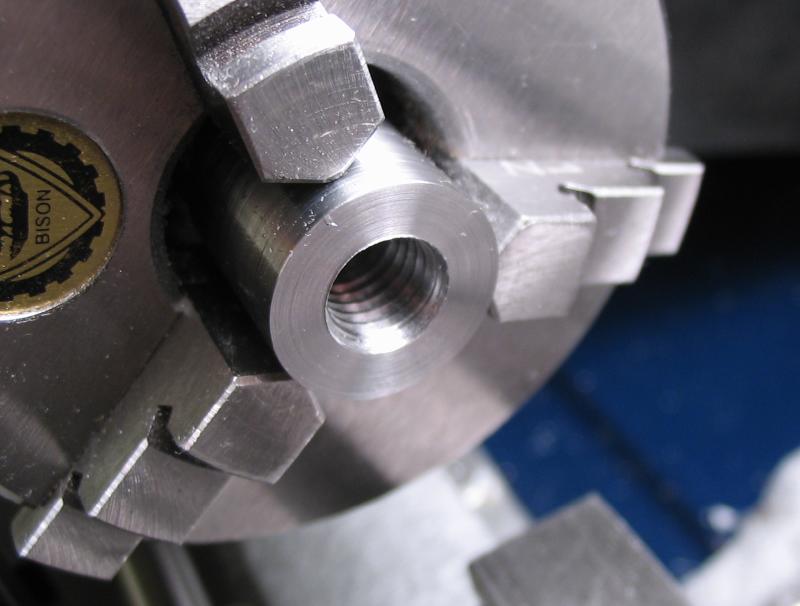
The center position was found with a dial caliper and center punched. The block was mounted back in the four-jaw and centered on the punch mark. It was center drilled and drilled 6mm. The hole was enlarged by boring to fit the 8mm tool post. At this point the block is freshly faced and a recess was bored in the bottom of the block. This provides some assurance that the post will mount flat on the compound slide.

The block is mounted in the toolmakers vice on the vertical slide. The center height was determined, and this is marked off and the slot milled with a 1/4" endmill.
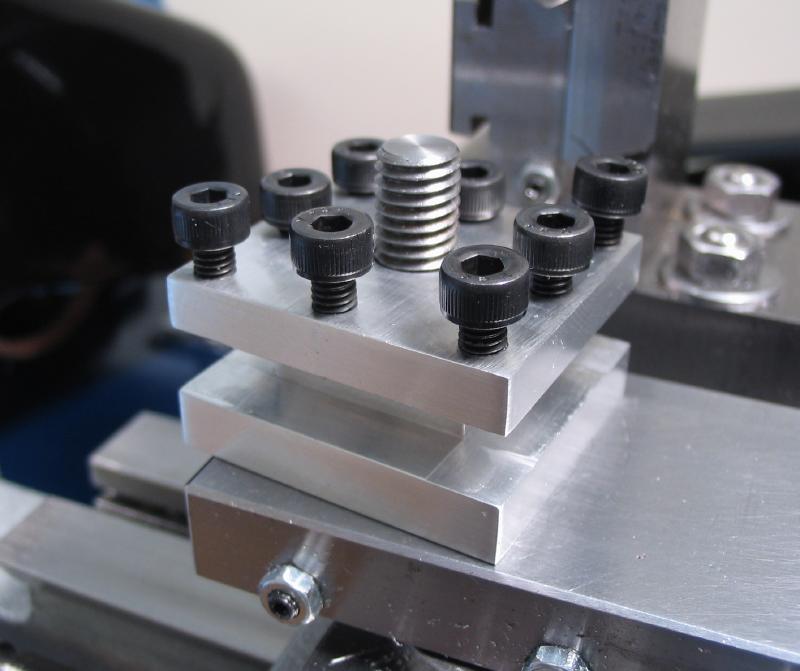
The block is drilled and tapped M4x0.7 for the securing screws. I am using stock M4 x 10mm socket head screws.
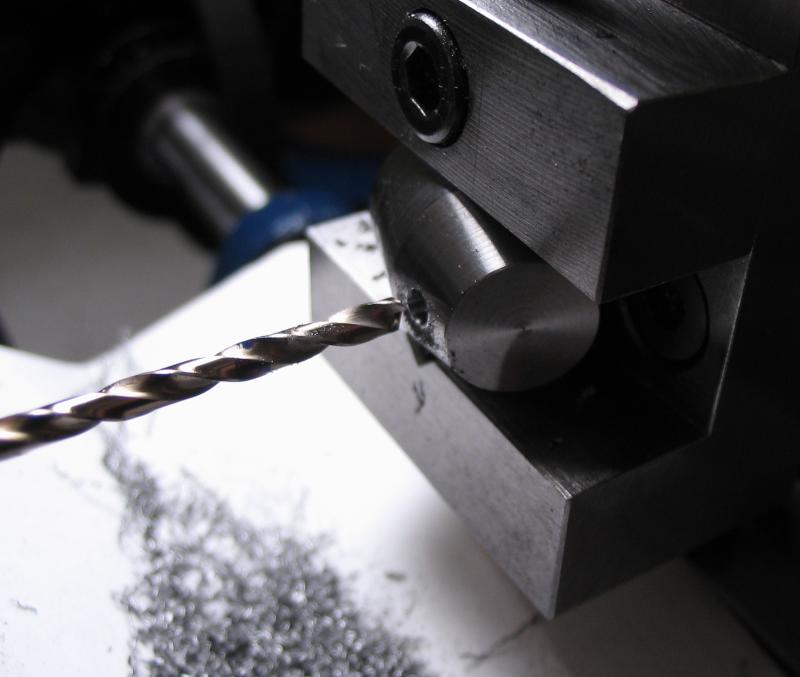
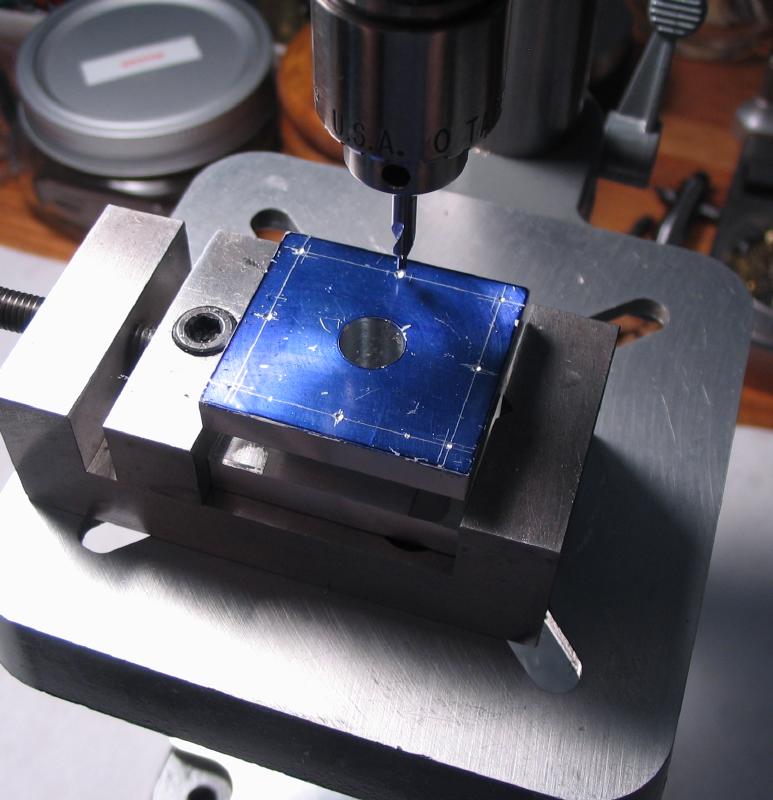 Center drill positions |
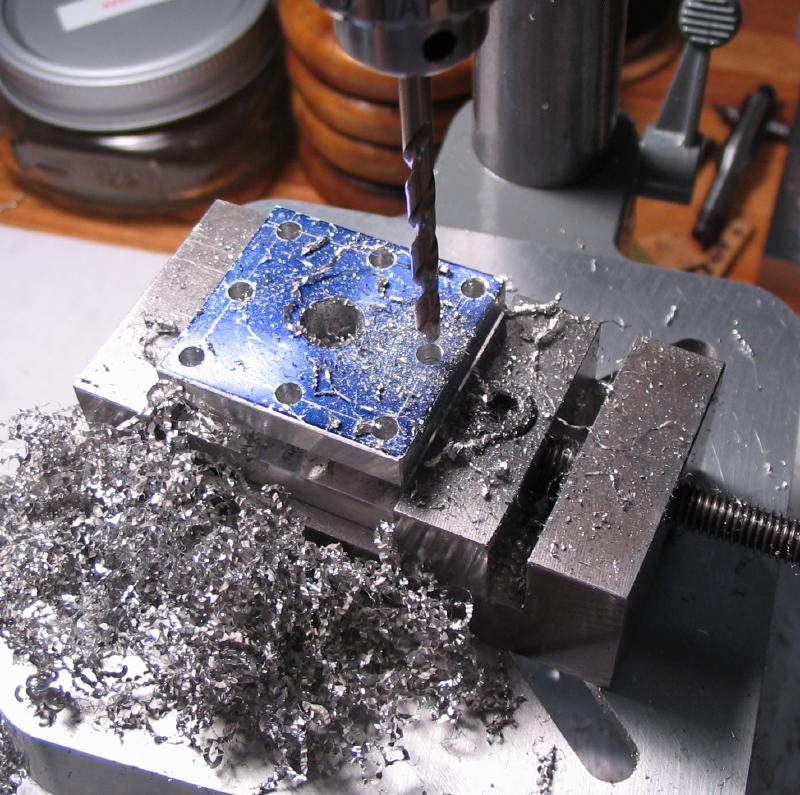 Drill 3.30mm |
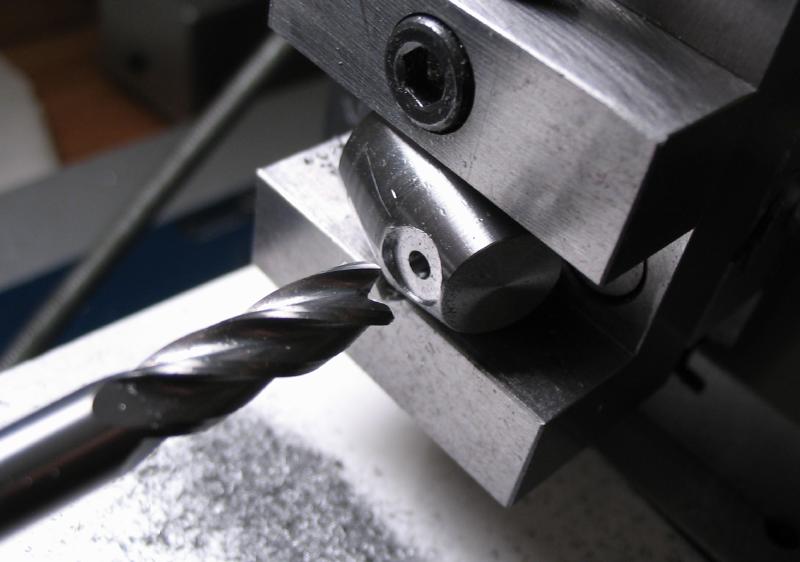
 Tap started using drill press for alignment |
 |
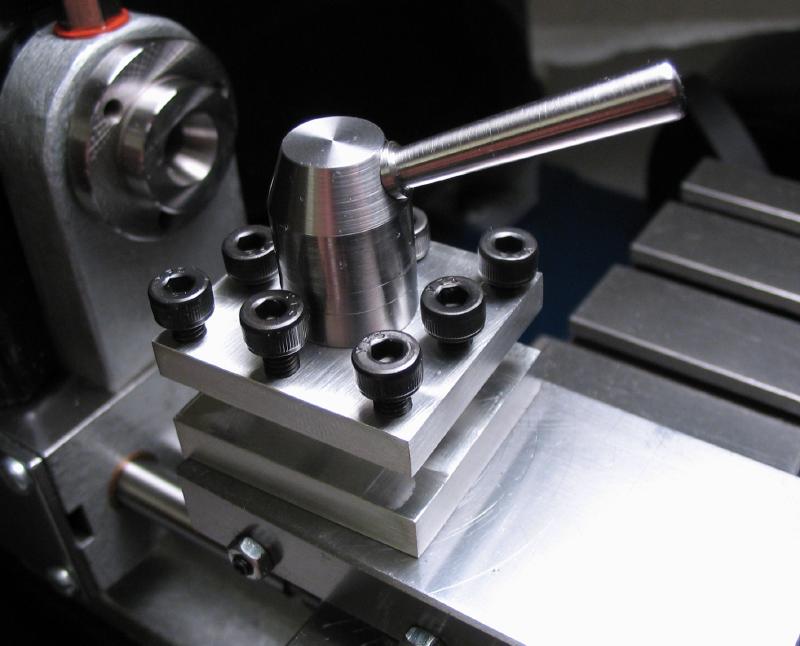
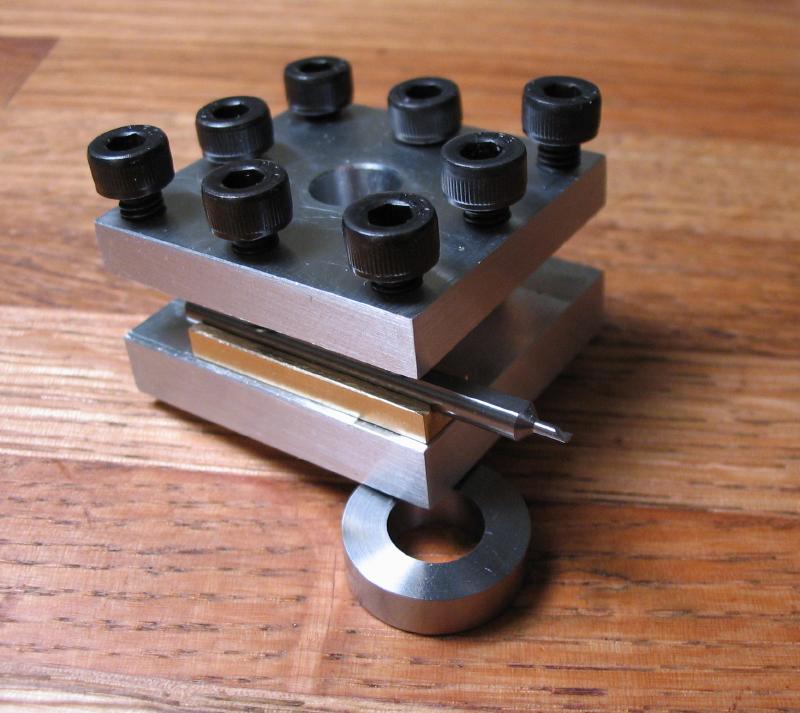
The block with screws installed is shown on the topslide. Since rapid change to different tools is advantageous, a simple securing nut with handle needed to be made.
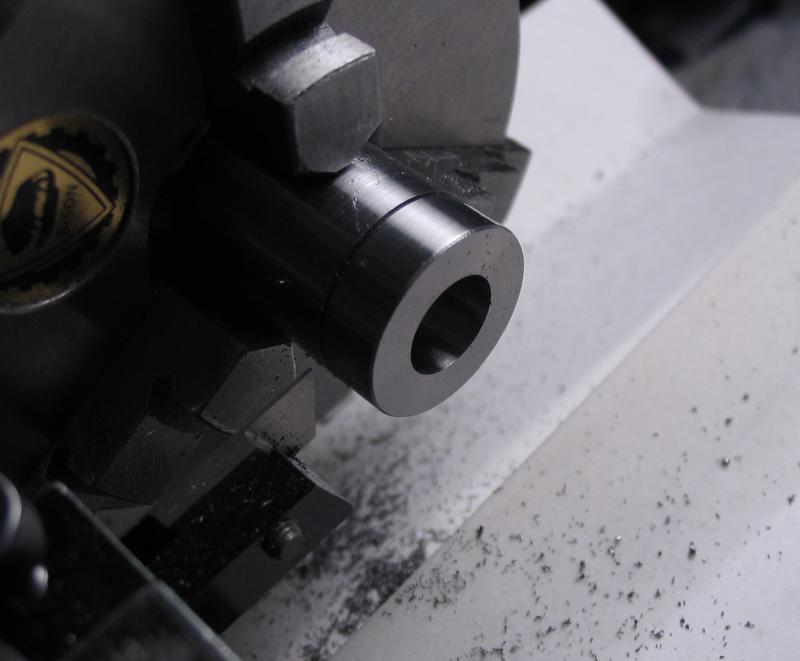
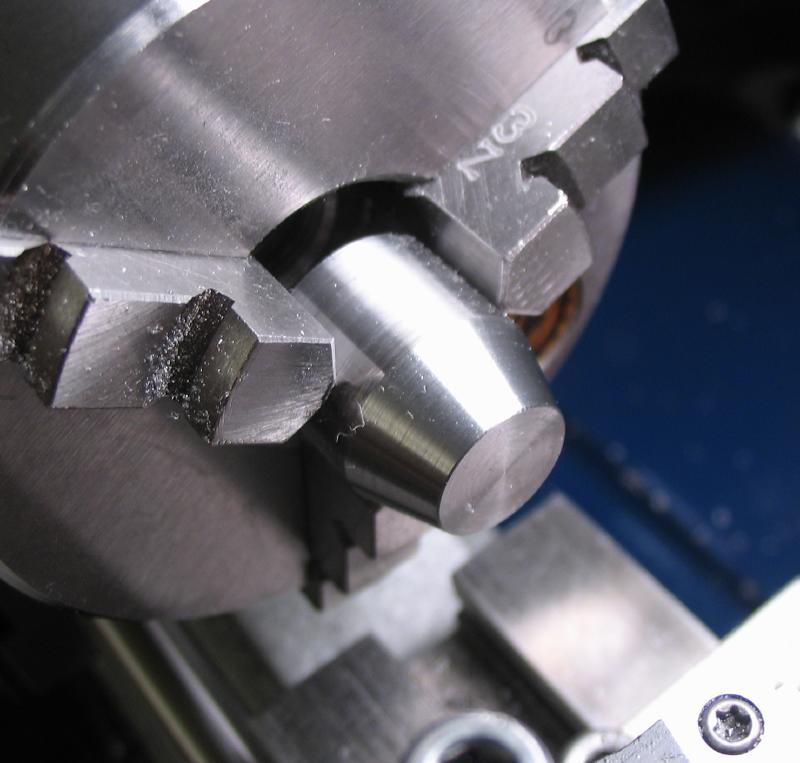
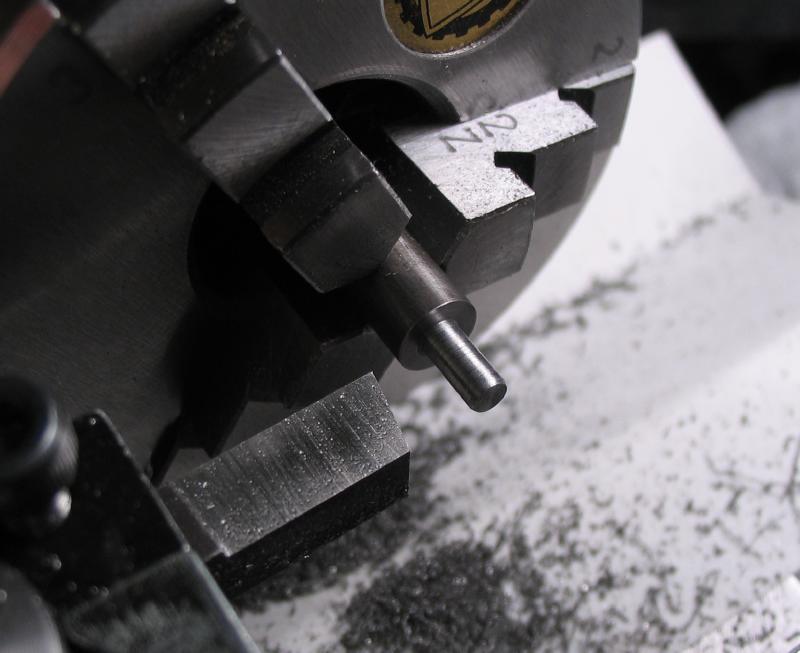
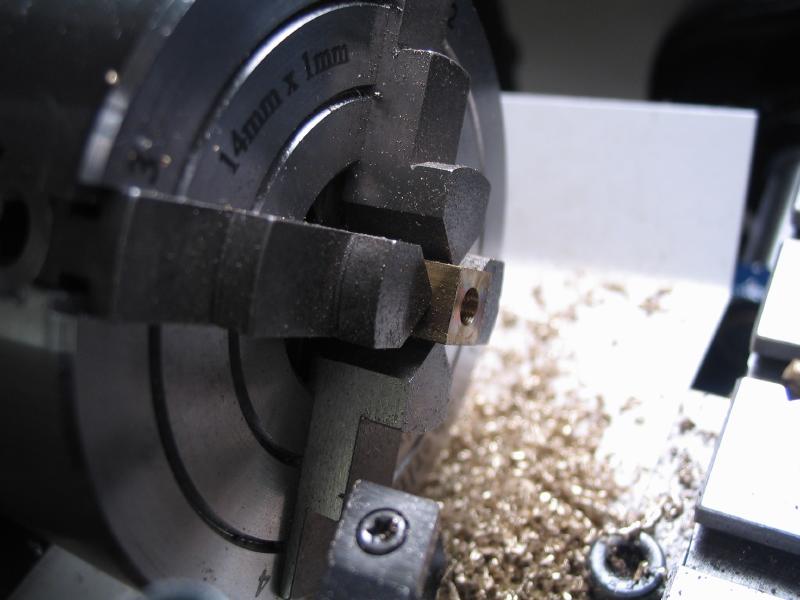
A piece of 5/8" mild steel rod was turned to 15.5mm and drilled and bored to pass the mounting bolt (8.05mm).

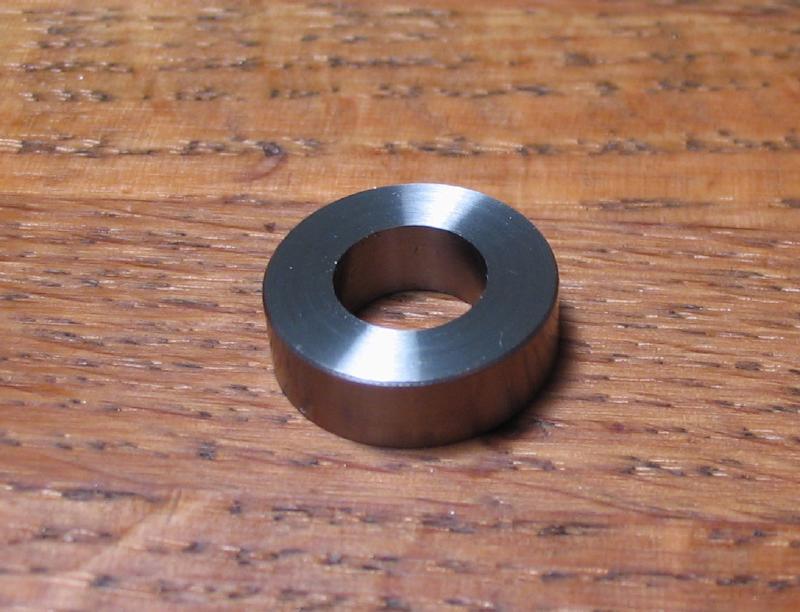
A 5mm washer is parted off.
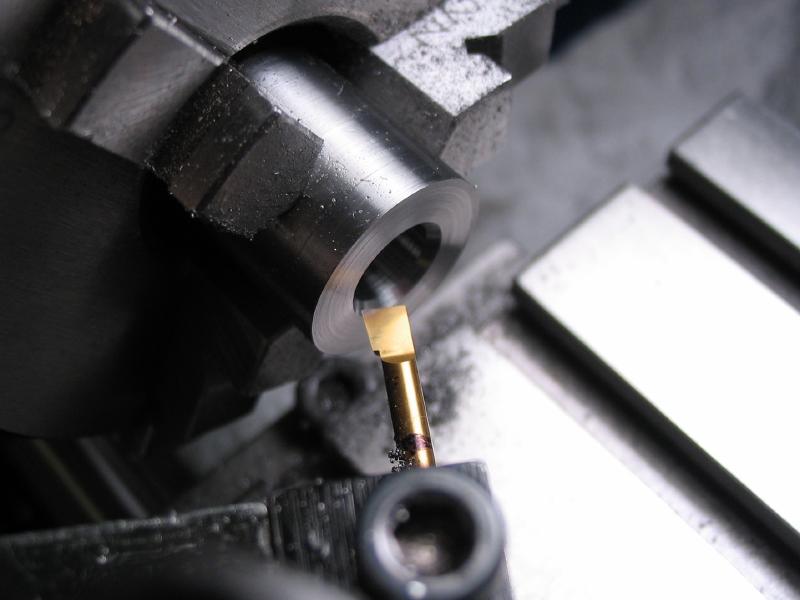
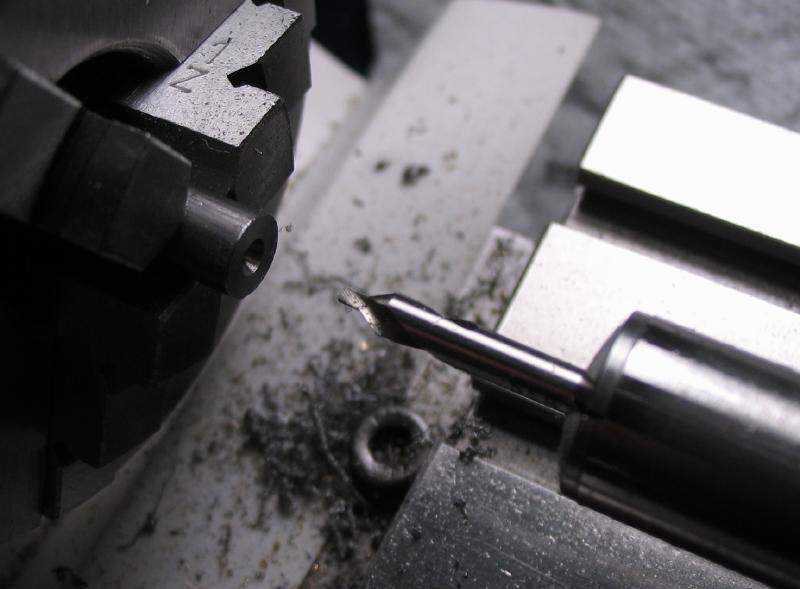
The remaining portion is bored for tapping M8x1.25mm and chamfered with the boring bar.
The work is tapped with a M8 x 1.25 tap.
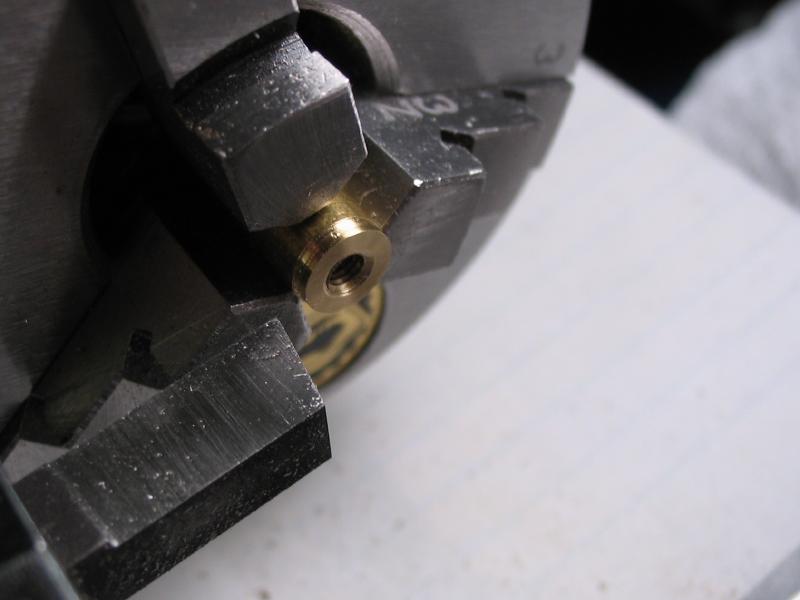
The work is reversed and a 20 degree taper is given to the top.
The work is mounted in the milling vice and setup square with the tapered surface. It was drilled 2.5mm, counterbored with a 1/4" endmill, and tapped M3x0.5.
The handle is started from 1/4" mild steel. The end is turned down to be threaded M3x0.5 with a die in the tailstock dieholder.

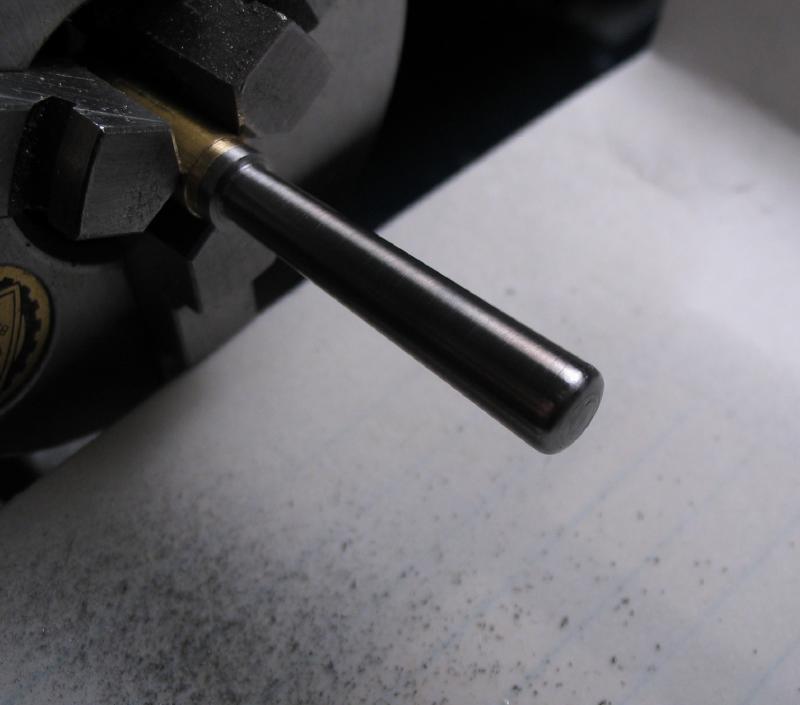
The work is reversed and center drilled for tailstock support.
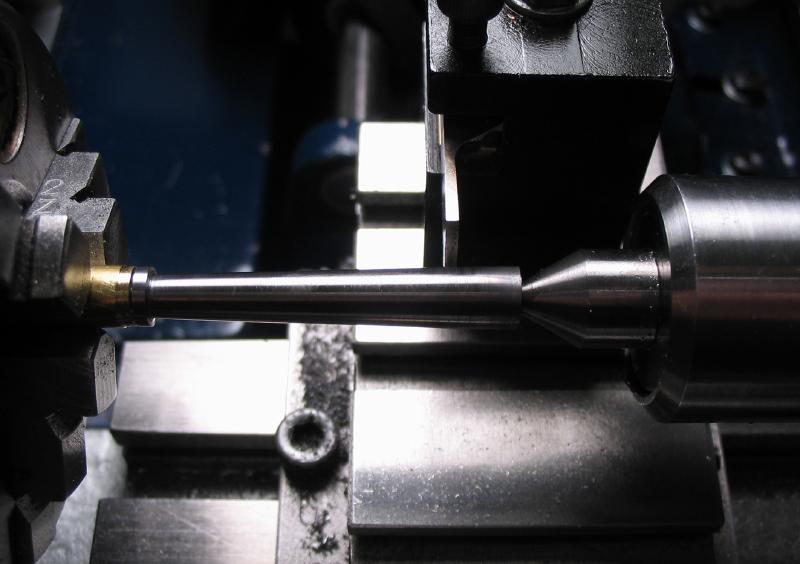
An arbor was made from brass rod, drilled and tapped M3x0.5 to hold the threaded portion of the handle.
The handle is screwed into the arbor and turned to a ~2 degree taper. The end is parted off and rounded with a file and lightly papered with 400 grit emery for smooth touch.
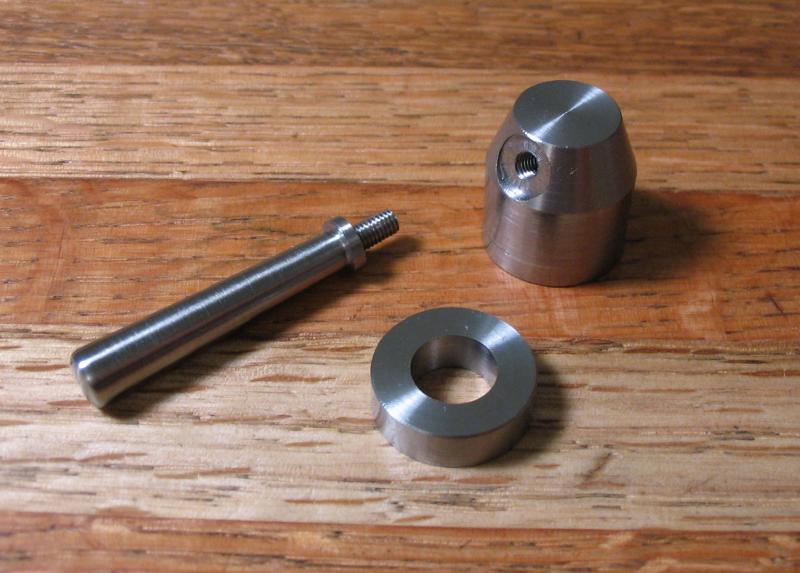
The resulting parts.
 |
 |
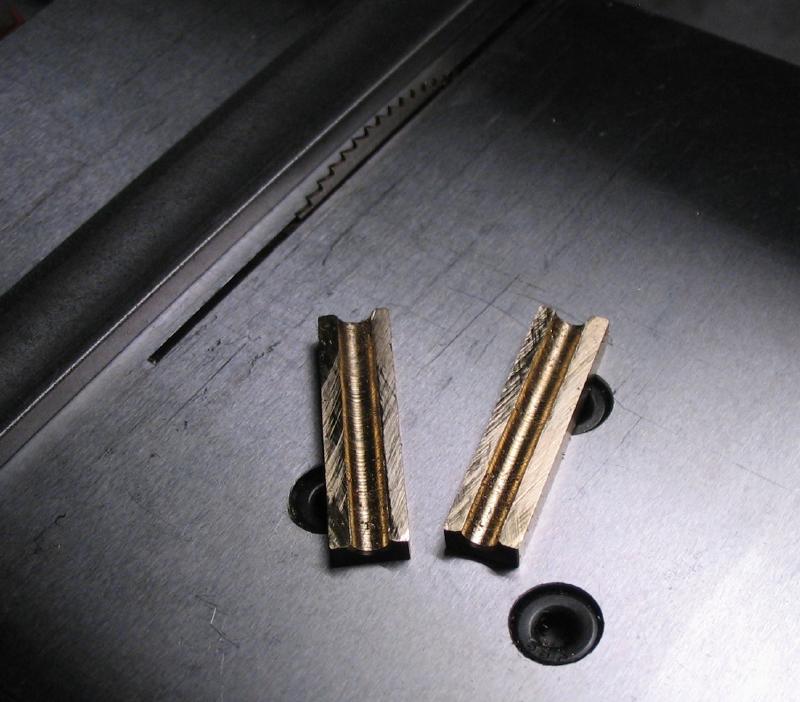
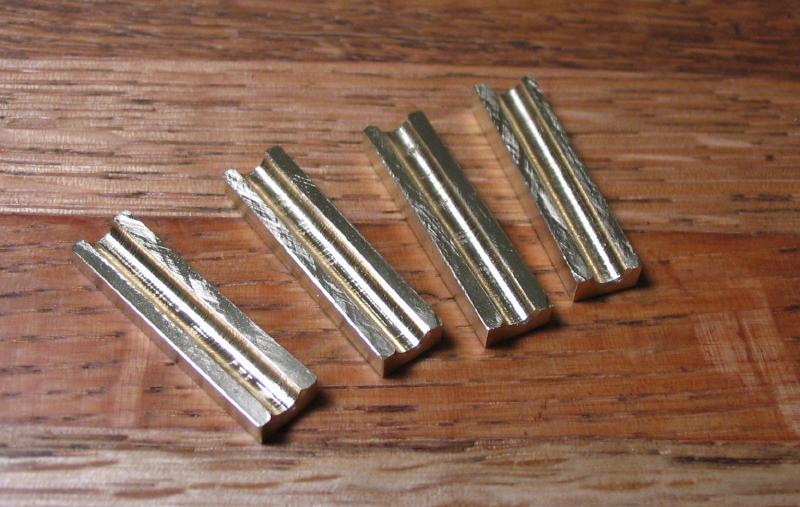
The tools bits are mounted on individual height beds. These were made from 1/4" square brass rod. One inch pieces are held in the 4-jaw chuck and drilled 1/8".
The pieces are sawn in half using the table saw attachment. A guide fence was setup with a piece of steel stock (1/8" x 1/2") and a toolmakers clamp.
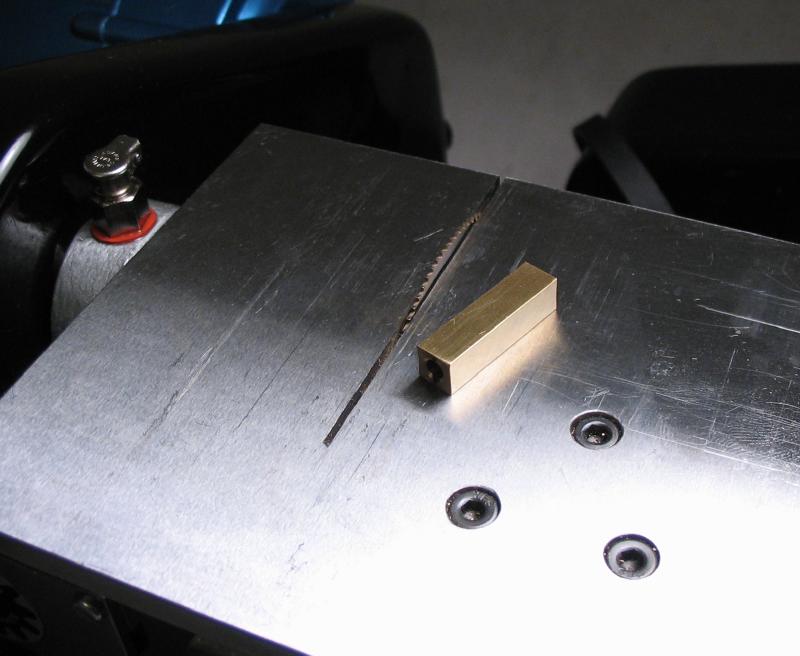
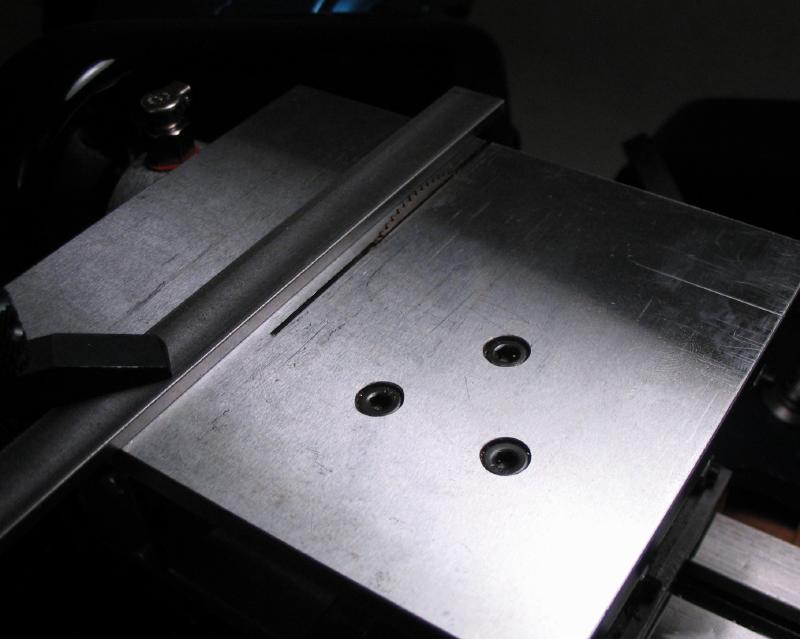
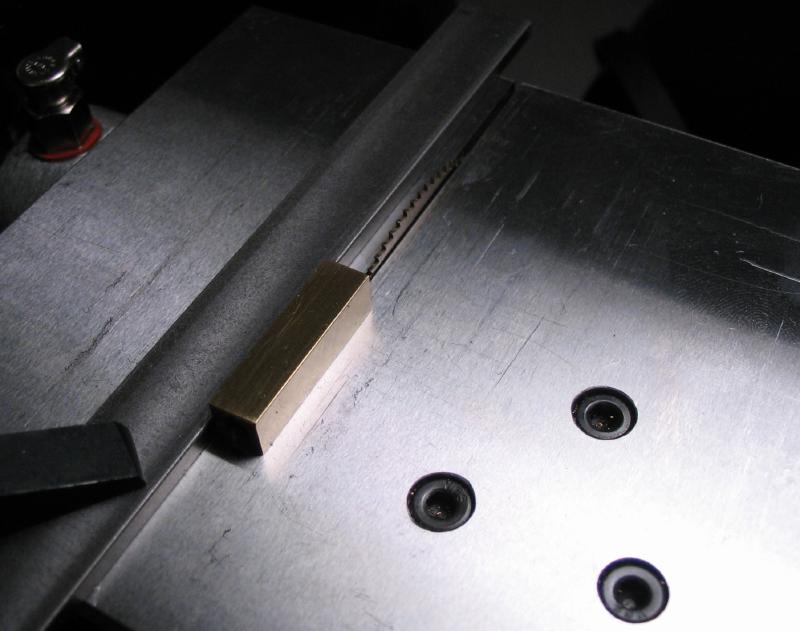
The height of the saw was set to cut only half, keeping my fingers intact.
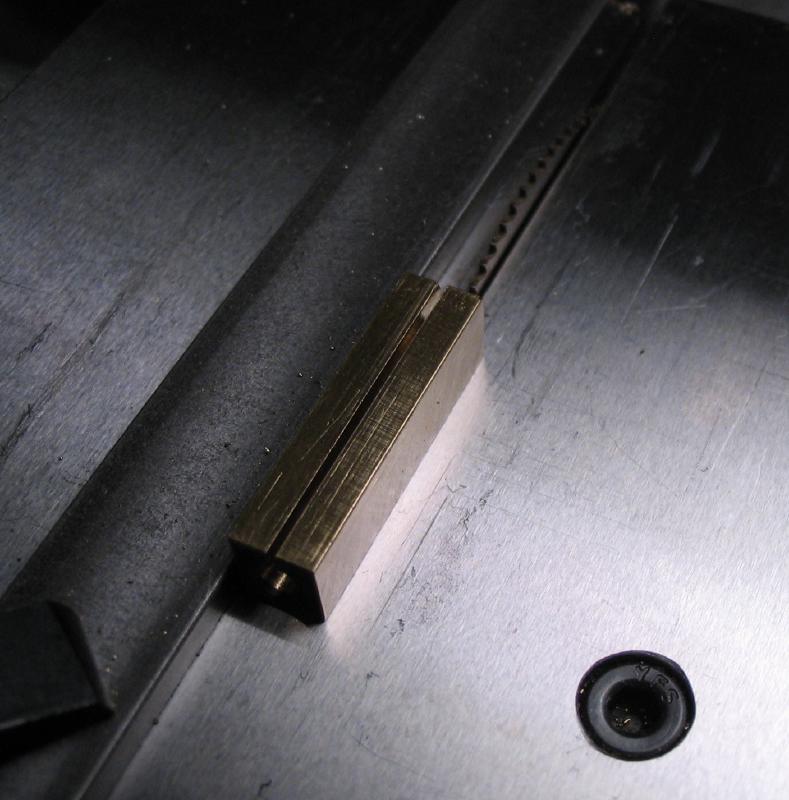
The work is flipped and the second cut made.
 |
 |

 |
 |

