Implements for bluing steel by heat treatment
In most of the projects found on this website, the steel components are often "blued" either for tempering the hardness or for producing the attractive blue color, frequently both. I am not referring to the various chemical treatments also referred to as bluing (e.g., wikipedia page on bluing steel). Heating steel in open air will result in oxidation at its surface, which appears as a range of color changes that are roughly correlated to temperature and temper. Dark-blue is usually a spring state, which is the best suited condition for many parts and the color is a desirable aesthetic in the horological realm. Heating is best done slowly and using an indirect heat source. Depending on the size of the work, an alcohol lamp or gas torch is usually used, although a temperature controlled oven would be ideal. The work is held by whatever is convenient, but I typically use some form of brass that matches the shape of the work so that the heat is transferred in an even manner, which results in an even color change.
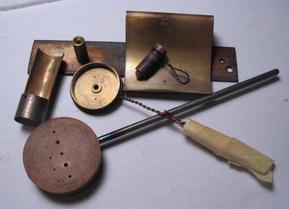
Shown below is a pile of brass tools that have been used at least once on other pages of this site. The repeated use and time has left the brass in bad shape, but they work...
Screw holding plate
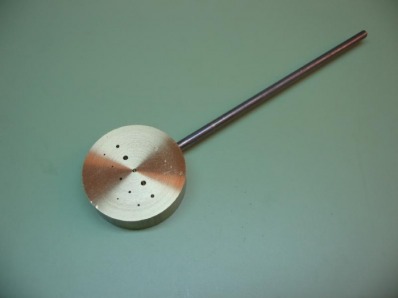
The tool shown below was made quite a while ago and is a very simple device intended for holding screws. The plate is drilled to hold various sized screws and is made from a section of 1-1/4" brass rod, faced on both sides and then drilled for a tight fit to a piece of 1/8" music wire that I happen to have laying about. I drilled holes to accept the various size screws that I had Bergeon dies for (0.3-1.5mm). Lacking a proper handle, the steel rod gets far too hot to hold, but it is often held it in a vise or third hand of the soldering station and the alcohol lamp moved around by hand instead to heat the plate and the screws removed from the plate with tweezers when the desired color is achieved.
A swarf cup
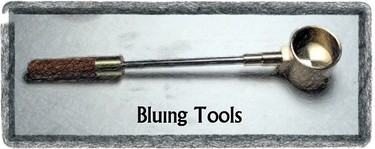
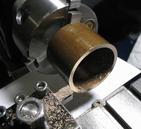
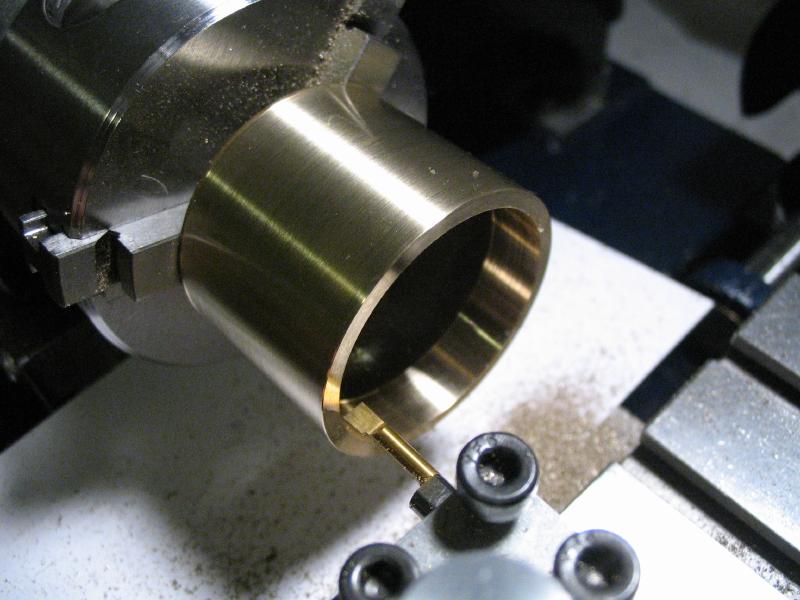
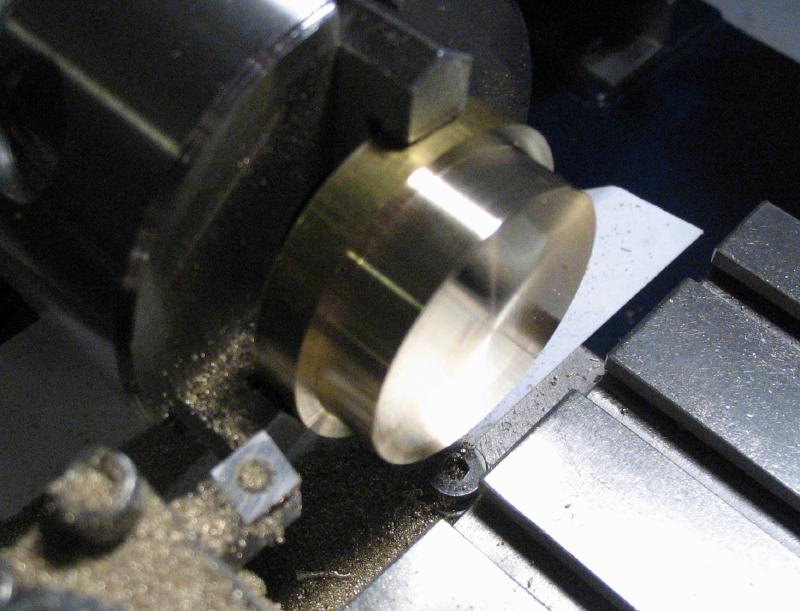
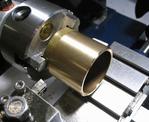
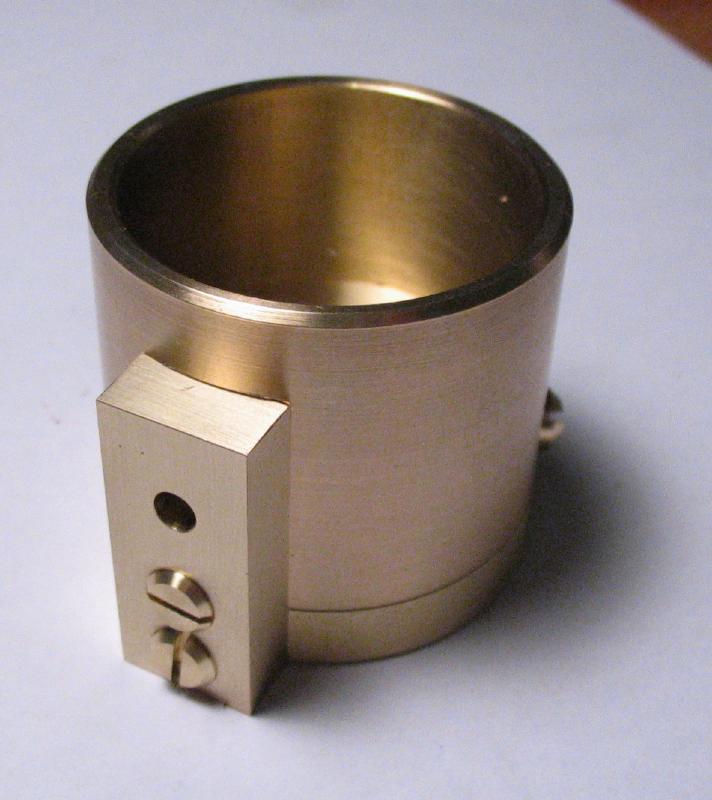
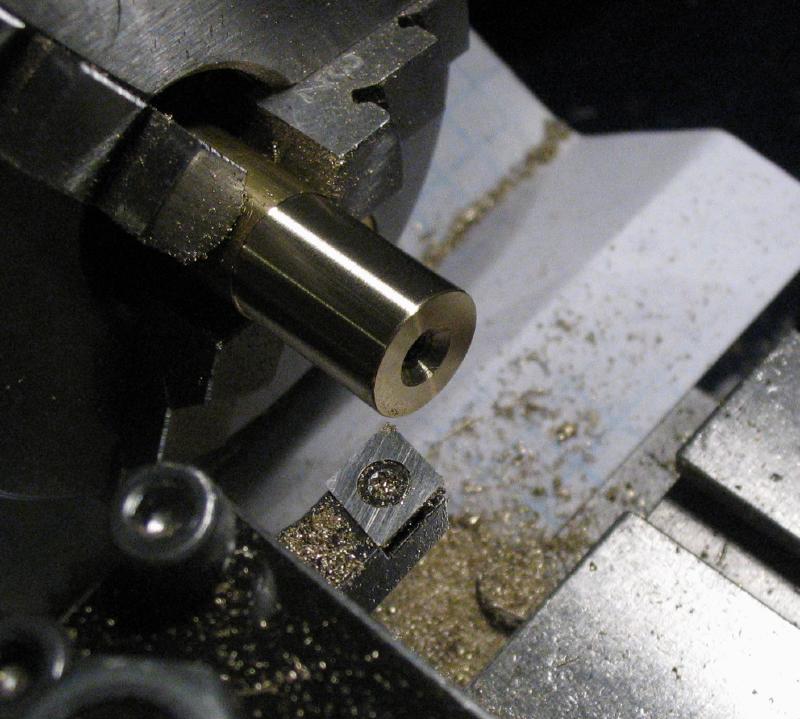
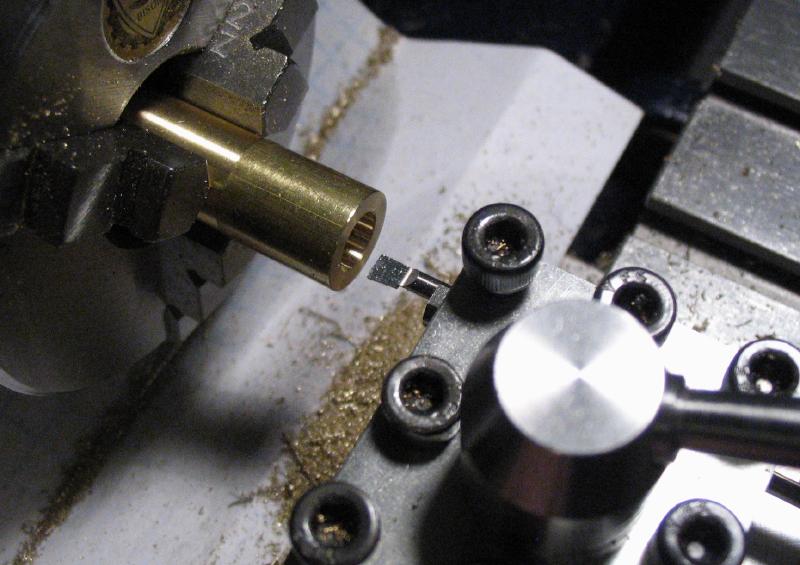
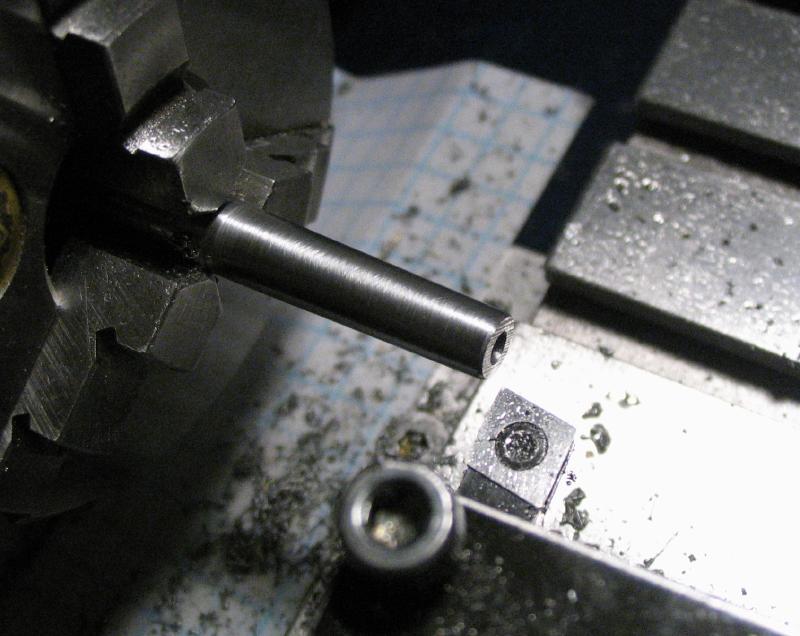
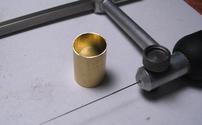
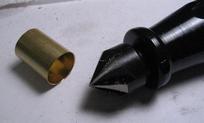
I previously used a small porcelain crucible filled with brass chips (i.e. swarf) for bluing small irregularly-shaped parts. It shattered while bluing a small batch of screws, so I needed to find something similar to use in its place. The project started with a short length of 1.5" diameter, thick-walled brass tubing that has been sitting on my bench waiting for a use. It was held internally with the 3-jaw chuck and the ends faced. The outside diameter was turned true as well, except for a short length next to the chuck jaws. The tube was bored to depth of about 8mm to produce a concentric and trued surface with the outside diameter. It was reversed on the chuck and the opposing corners chamfered for aesthetics and to remove that short length of unturned diameter.
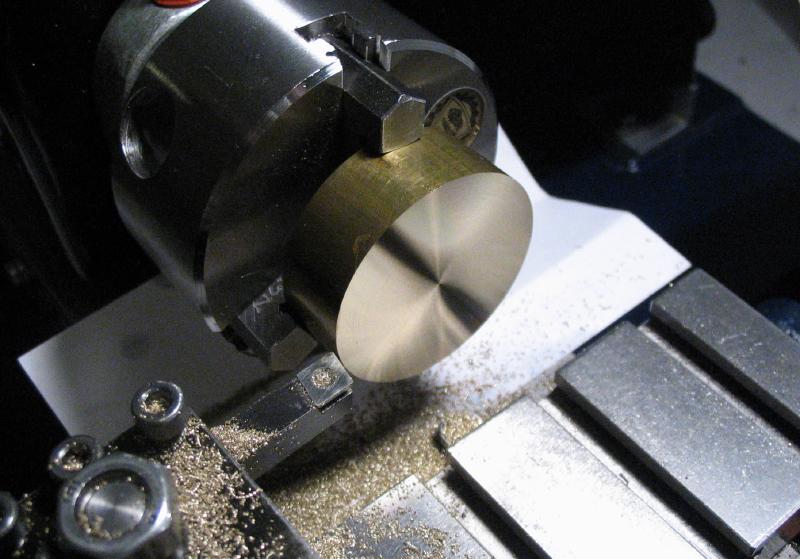
A base was made from a cutoff of 1.5" brass rod, which was faced on either side and turned down to fit the bore of the tubing above. It is likely much thicker than need be, however, extra mass is usually beneficial for this sort of tool since it slows the heating rate, which provides more control in achieving the correct color.
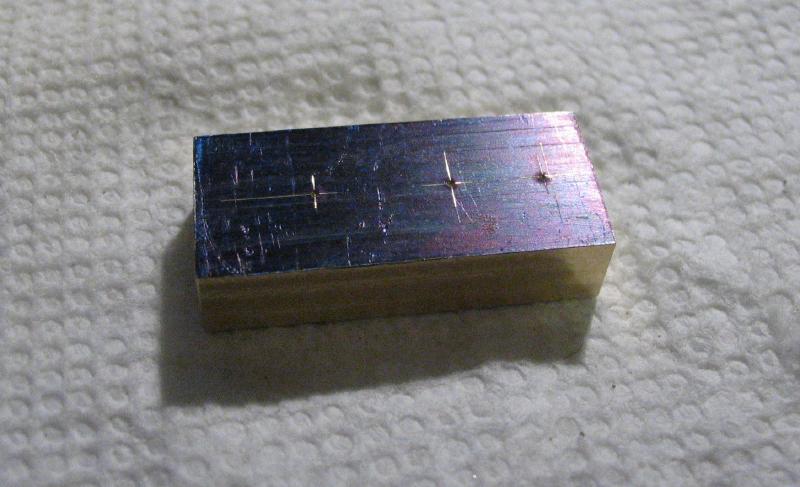
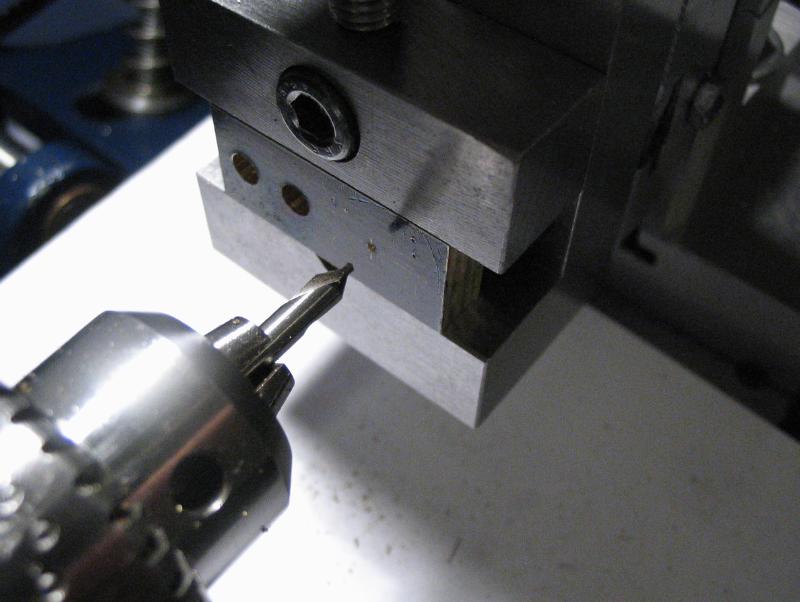
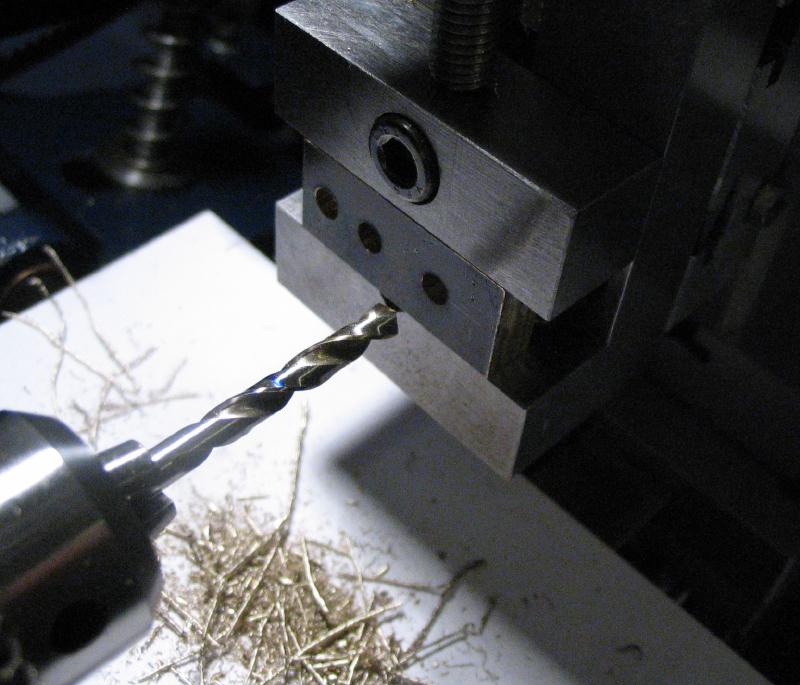
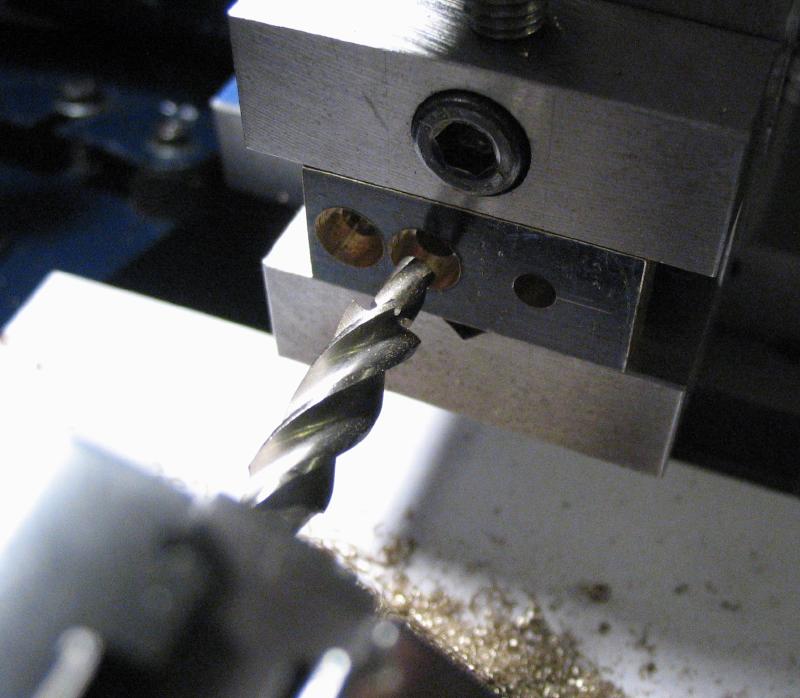
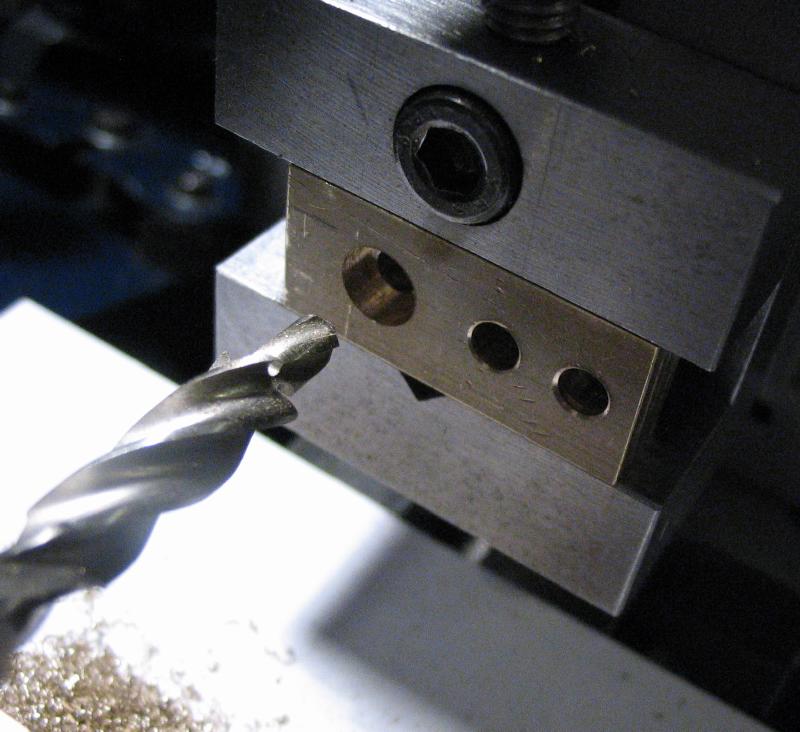
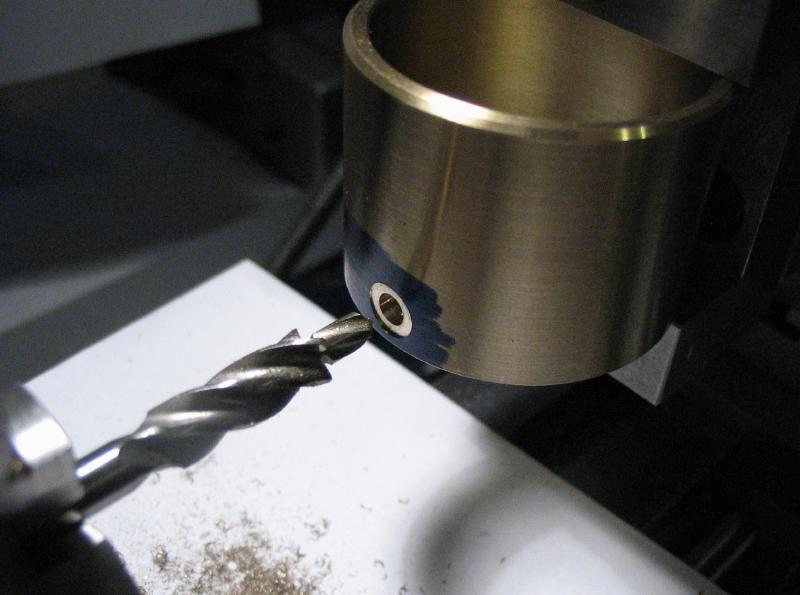
A small piece of 1/4" thick brass bar from the scrap bin was squared up by milling successive edges. Screw positions were laid out and center punched. The lower screws will go into the base, one of which goes through both the tube and base. The upper screw position is for attaching a post for the handle. The positions were found on the lathe and drilled through with a #29 drill (just under 3.5mm). An M3 counterbore tool was used to machine recesses for the screw heads and ream the holes to 3.5mm.
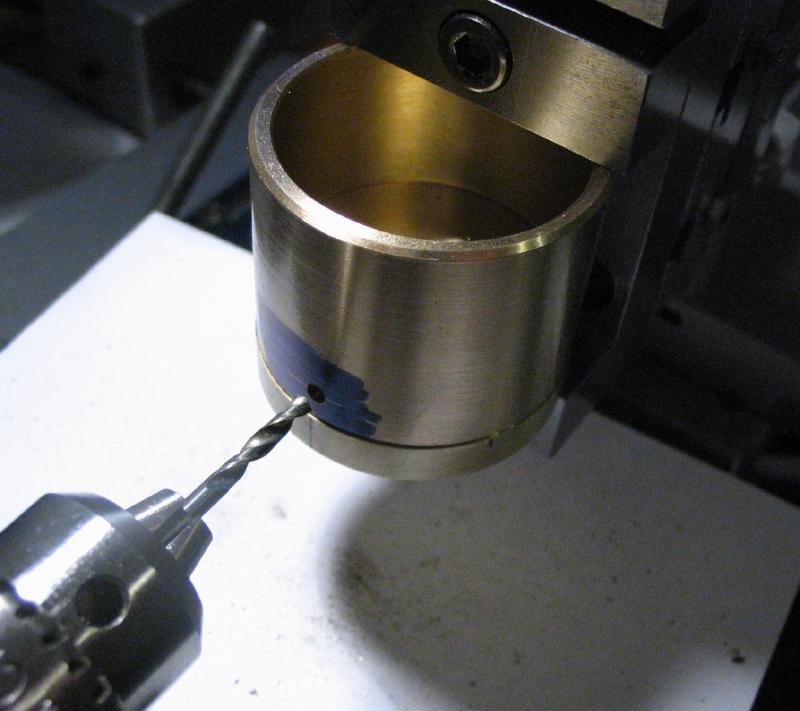
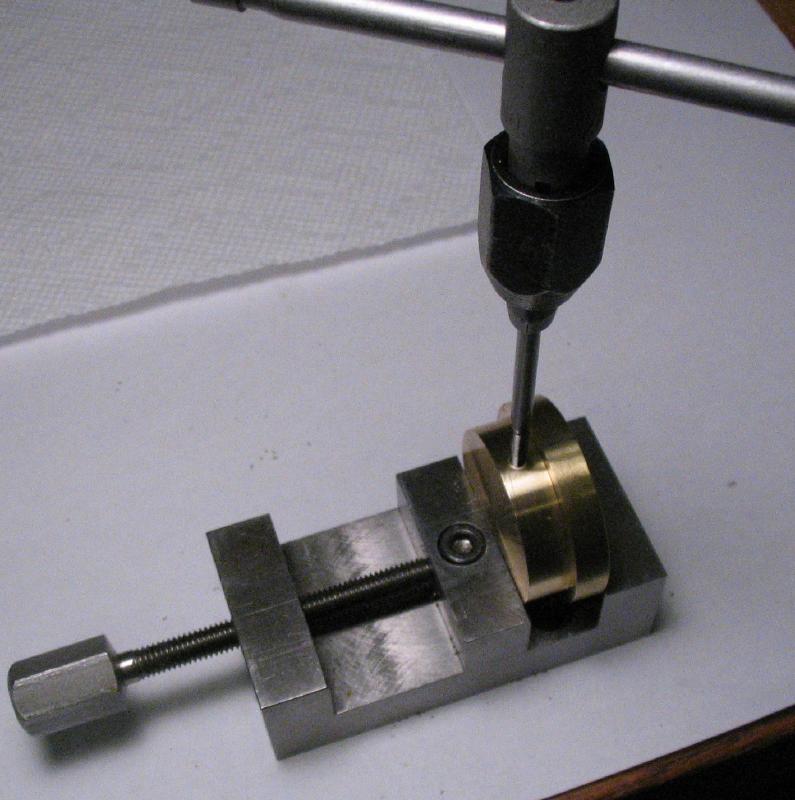
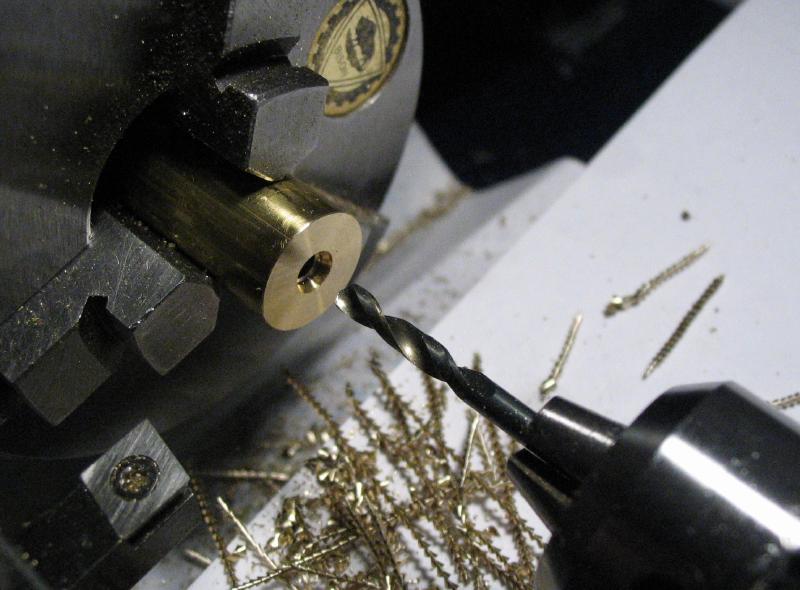
The tube and base were assembled and mounted on the lathe to drill through both with 2.5mm drill. The base was removed and the tube remounted to drill it open with a #29 drill and counterbored as above. The base was then tapped M3x0.5. The base and tube were reassembled and secured with a screw (made below), and the process repeated at about 120 degrees from the first screw position.
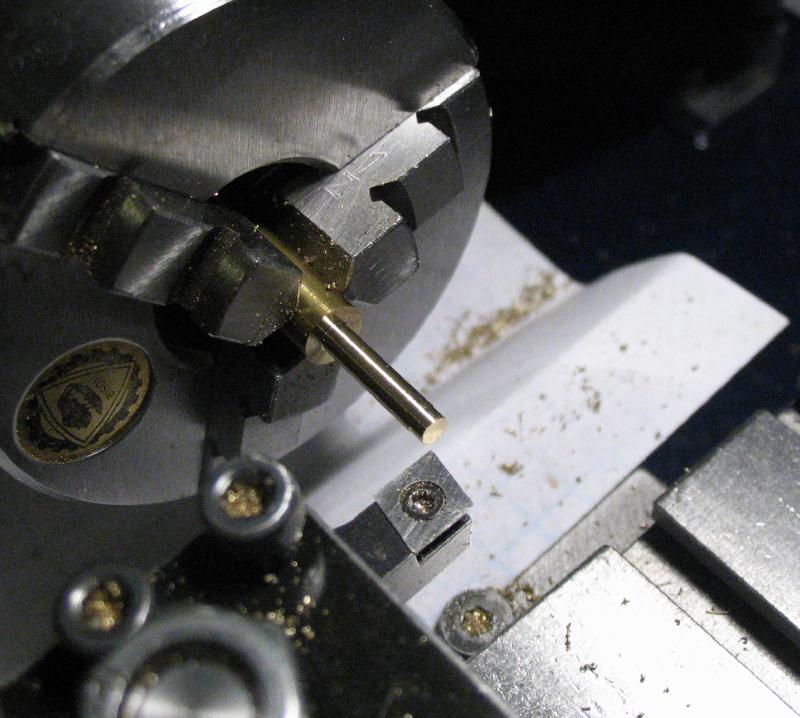
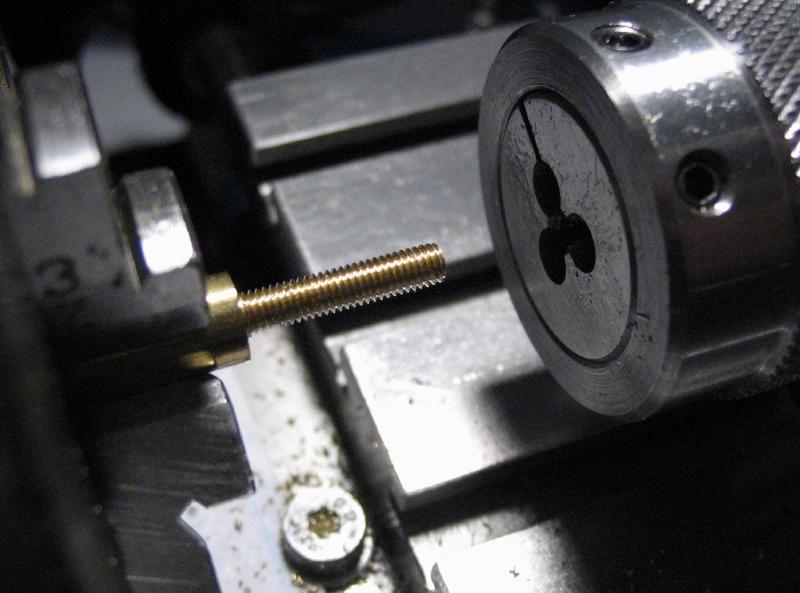
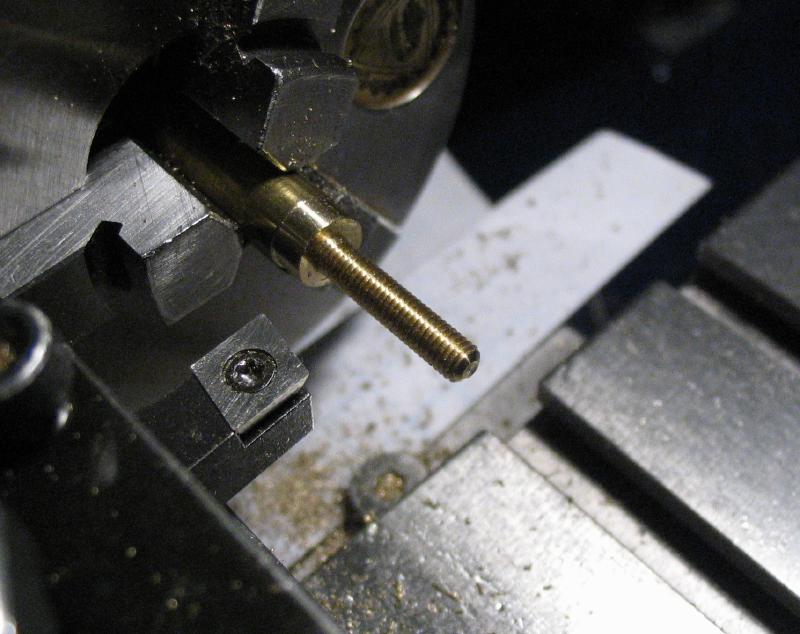
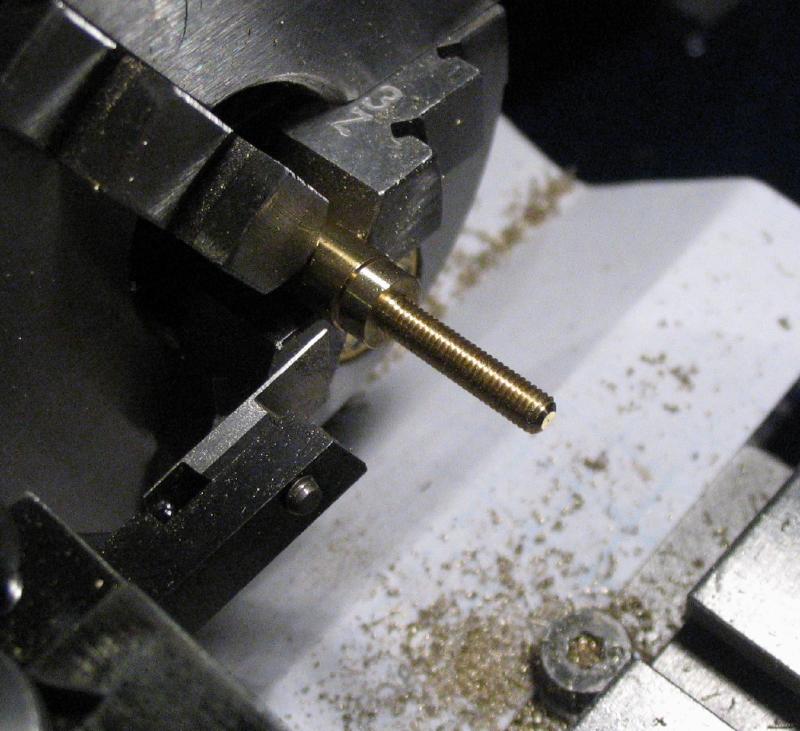
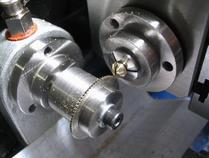
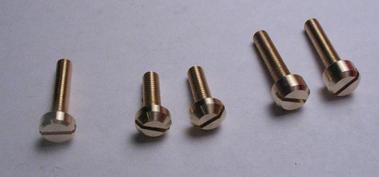
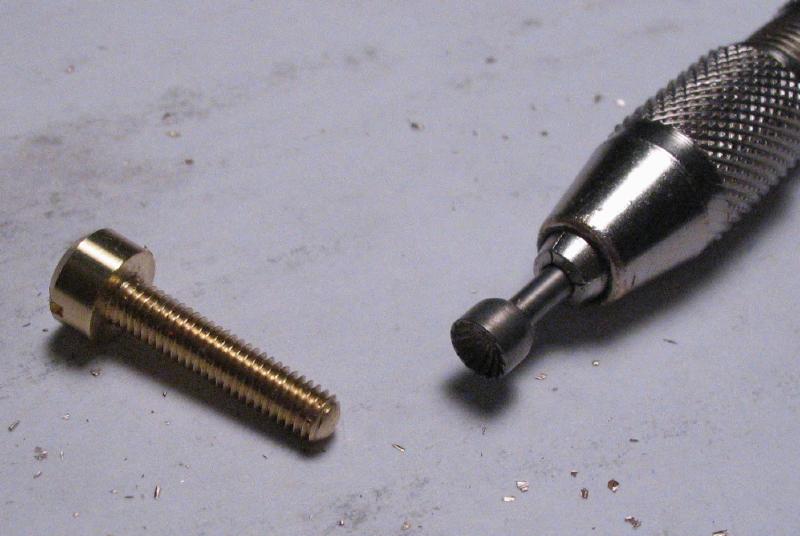
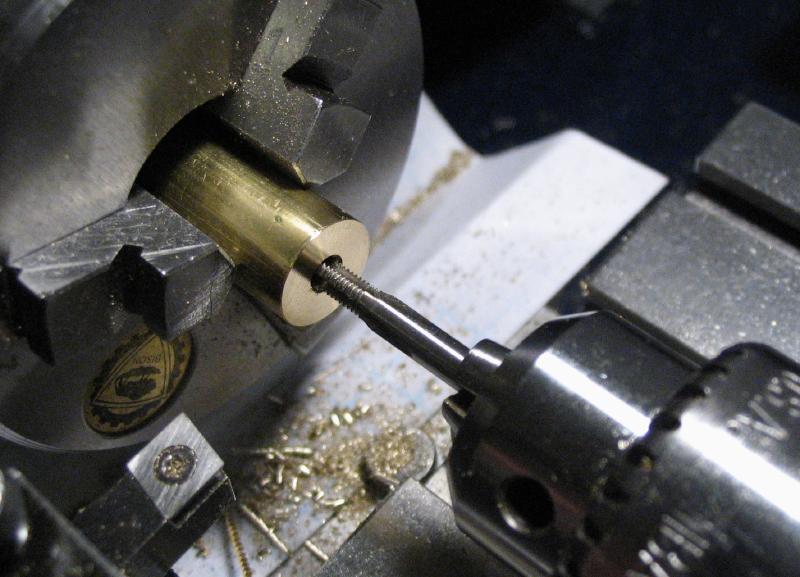
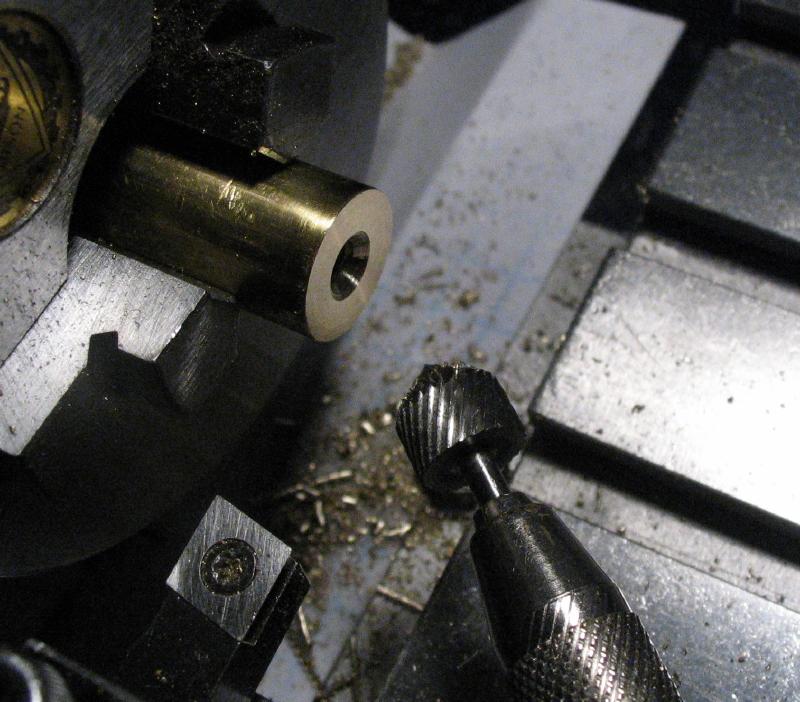
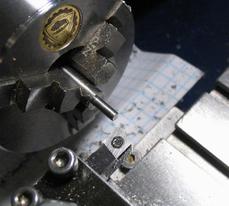
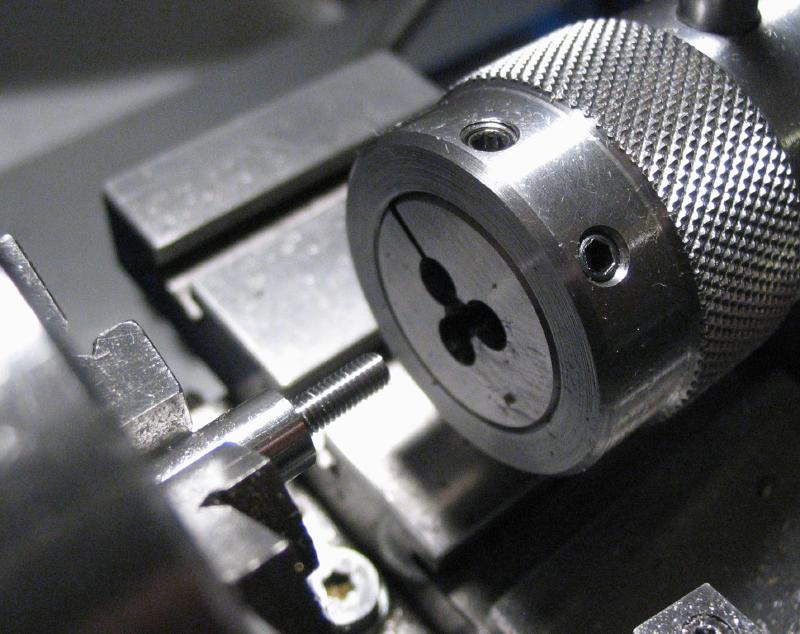
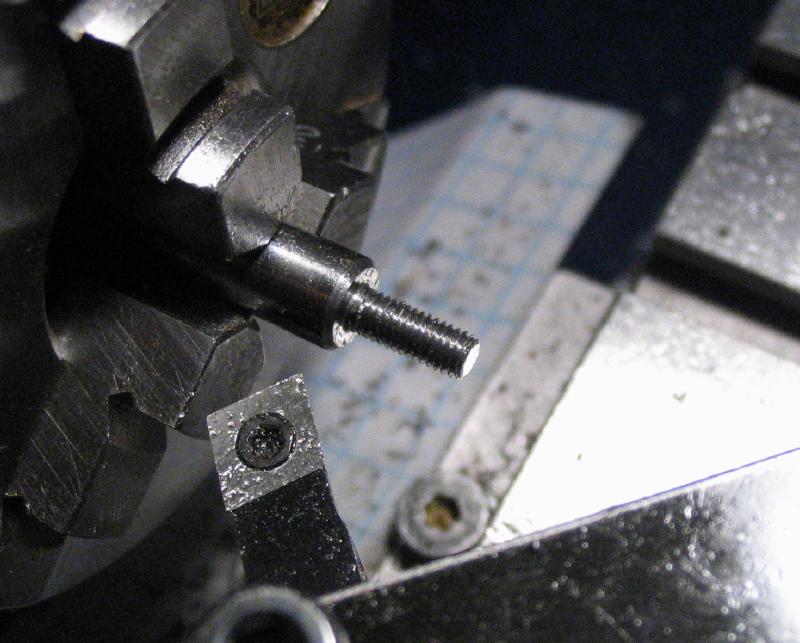
Five screws were made from 1/4" brass rod. The rod is turned to 3mm in diameter to lengths that match the threaded holes, which vary, and the screw head portion turned down to 6mm to match the counterbores. They are threaded using a M3 die and the tailstock die holder, and the end of the screws rounded over using a cup bur. The screws are parted off and the parted face turned true and chamfered. The screwheads were slotted using a small circular saw (0.028" in thickness) while held in a collet mounted in the dividing head, which is mounted on the vertical slide.
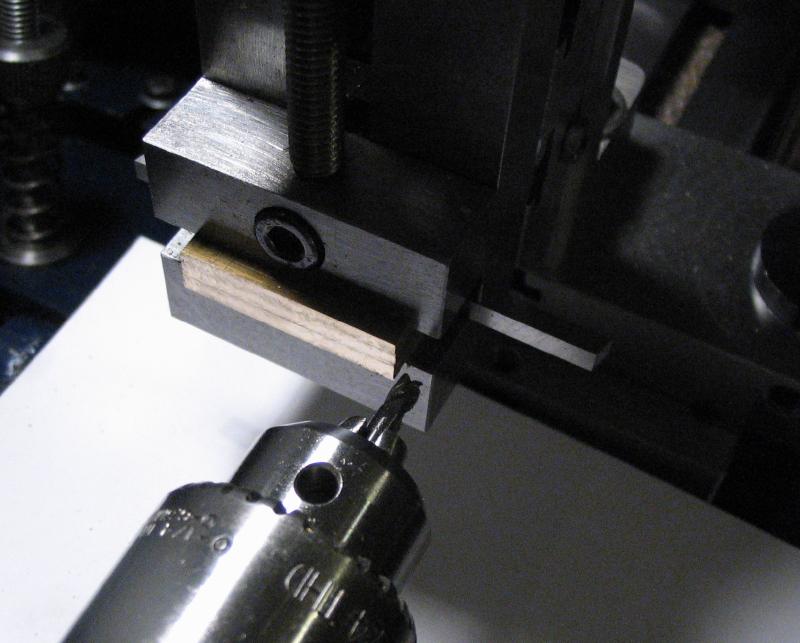
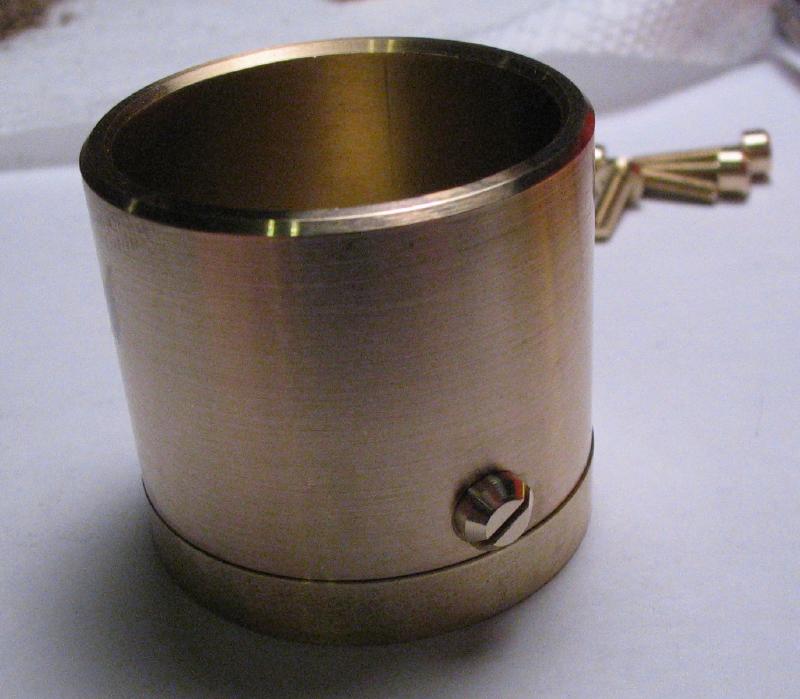
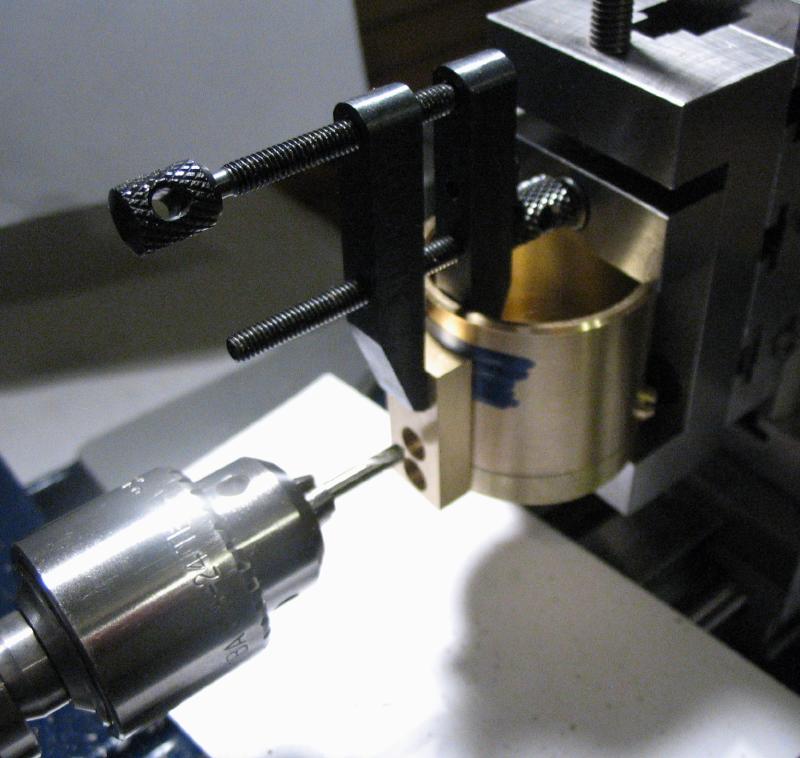
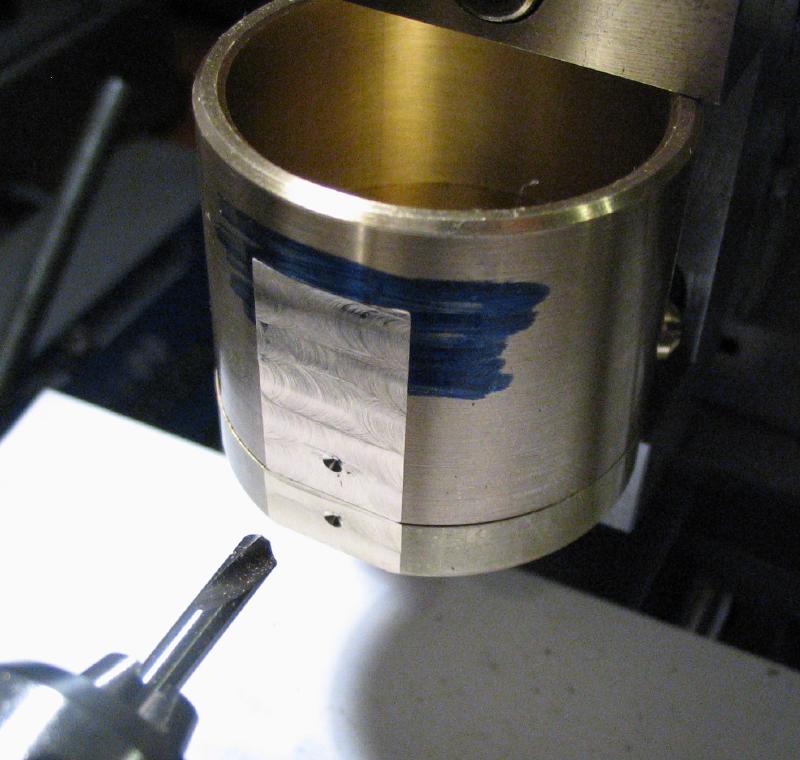
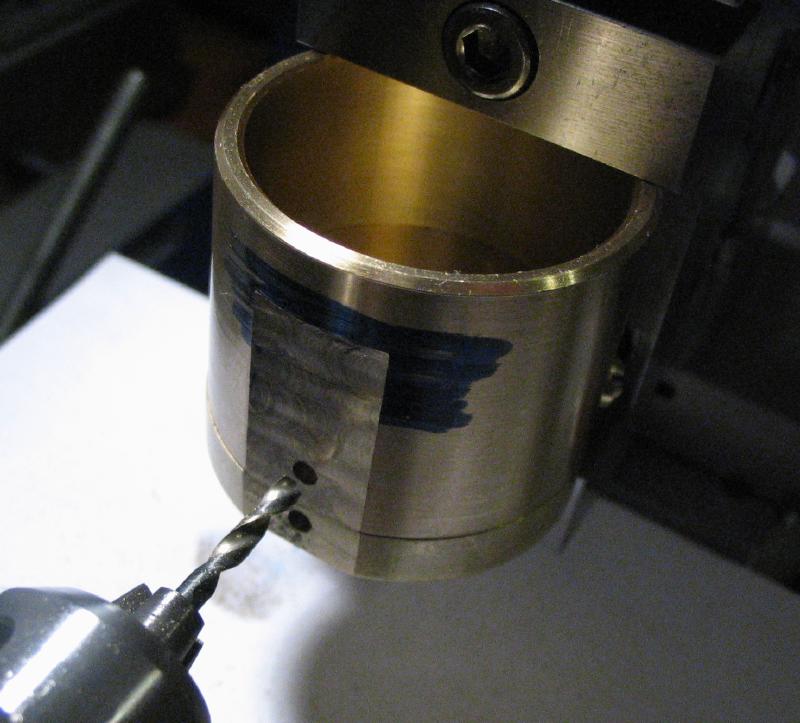
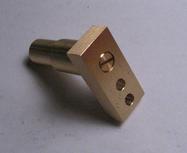
Shown is the result of the first screw being fit. Both screws were used to secure the tube to the base, and the work mounted in the machine vise on the vertical slide to mill a flat area to attach the handle bracket. The bracket was temporarily mounted using a toolmakers clamp and a 1/8" spotting drill used to establish the screw positions. The bracket removed and the positions drilled 2.5mm.
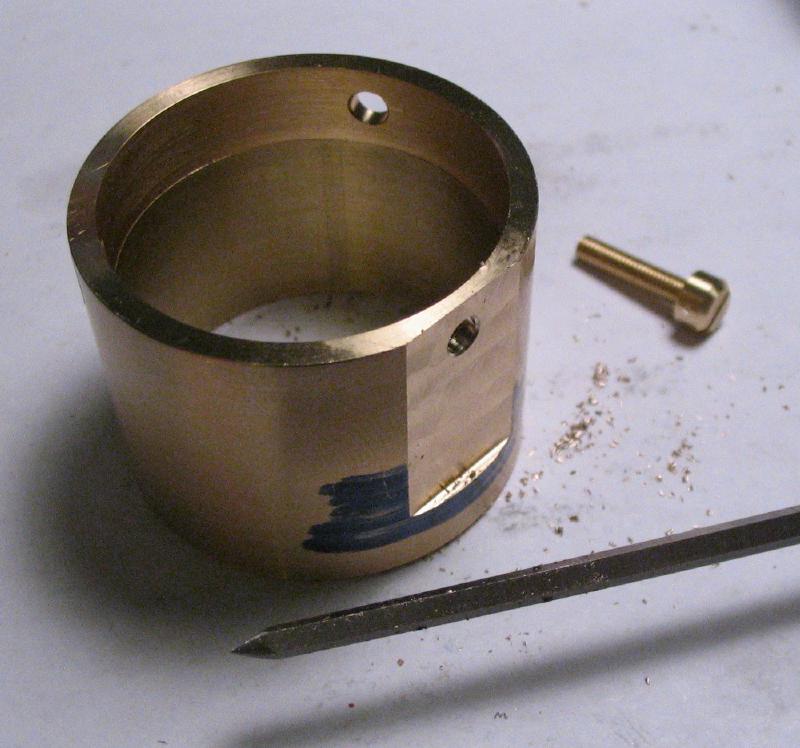
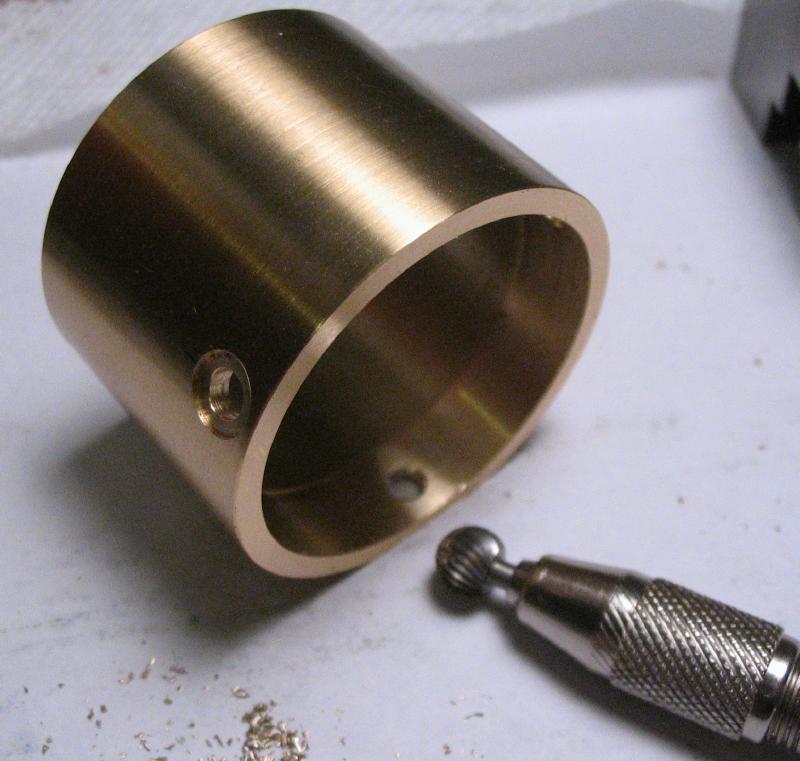
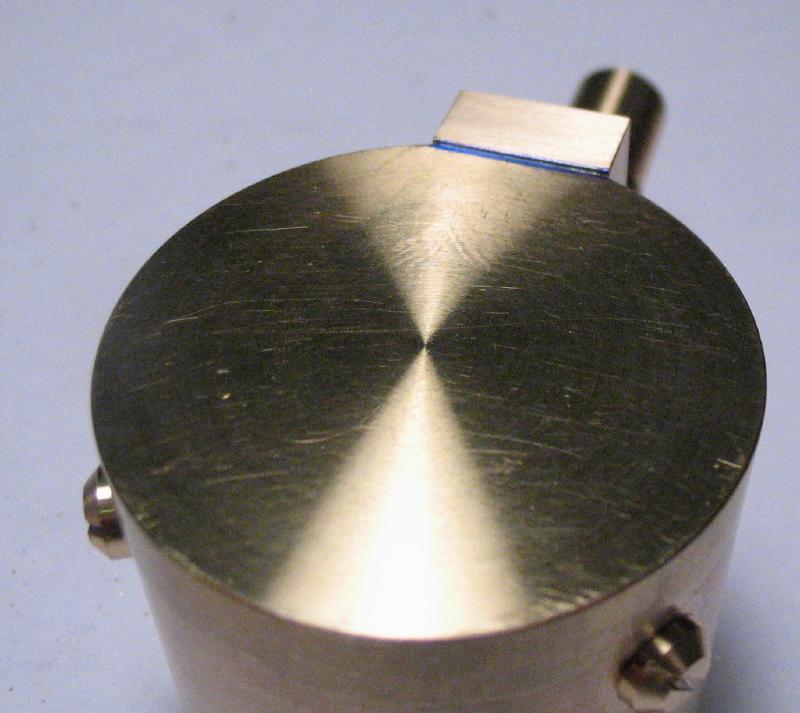
The base is tapped M3x0.5 (not shown) and the hole in the tube broached open to clear the screw. The various holes are all countersunk to remove burs; a jewelers' setting bur is usually used and a ball end bur is used on the interior sides where the other bur cannot fit. If not already done so, the screws were rounded over on their tips using a cup bur. A short length of the bracket extended below the base, this was marked with a blue pen and will be reduced by filing after disassembly.
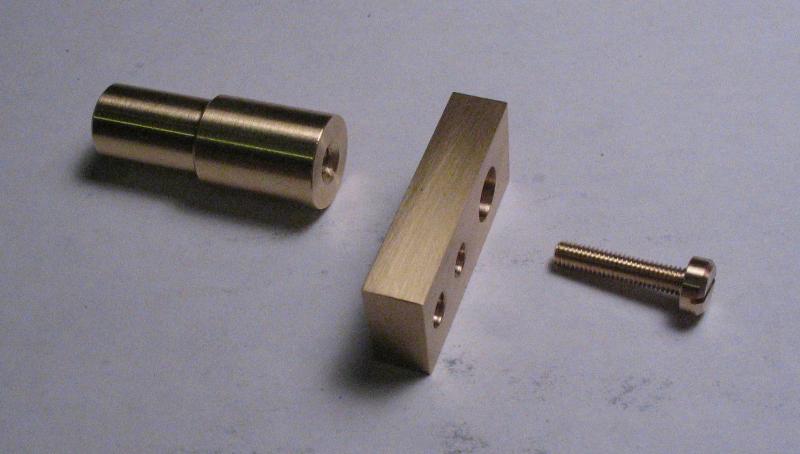
A short length of 7/16" brass rod was machined to fit to the handle bracket and accept the handle rod, which will be made from 1/4" drill rod. The brass rod was faced, drilled and tapped M3x0.5, and then turned down slightly to true the surface. The work was reversed in the chuck and the rod again drilled 2.5mm, and then bored open to 1/4" for about 5mm in length prior to tapping the hole M3. This end of the rod was turned down to a smaller diameter than the other end, and the corners chamfered 45 degrees using the compound slide.
The handle rod was made from 1/4" drill rod, turned, threaded and chamfered to fit the brass post. The reverse end was turned with a taper ending a little under 7/32" in diameter.
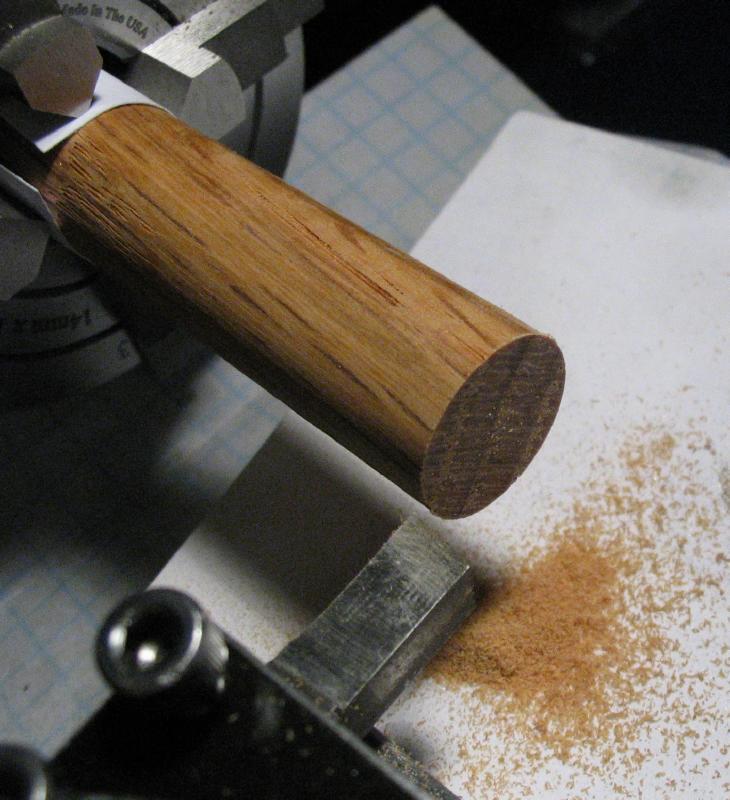
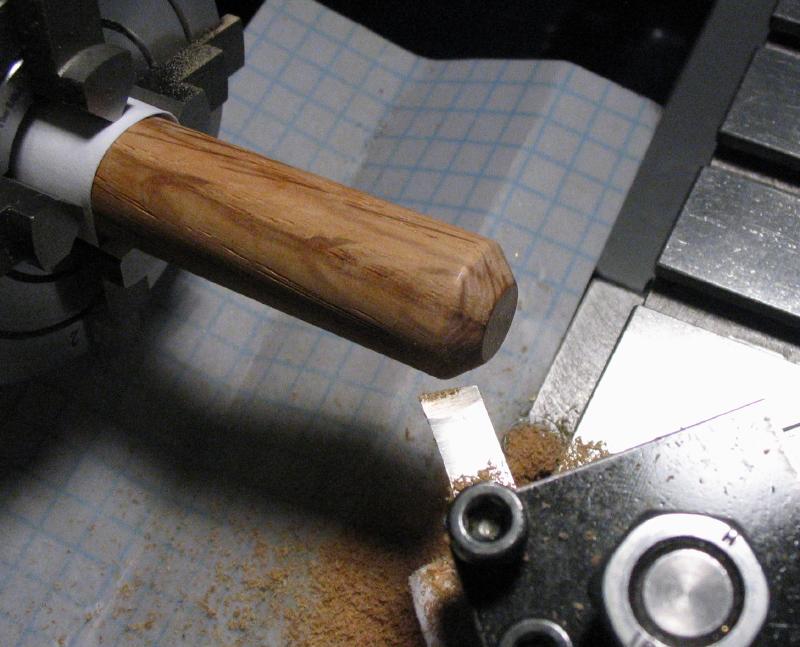
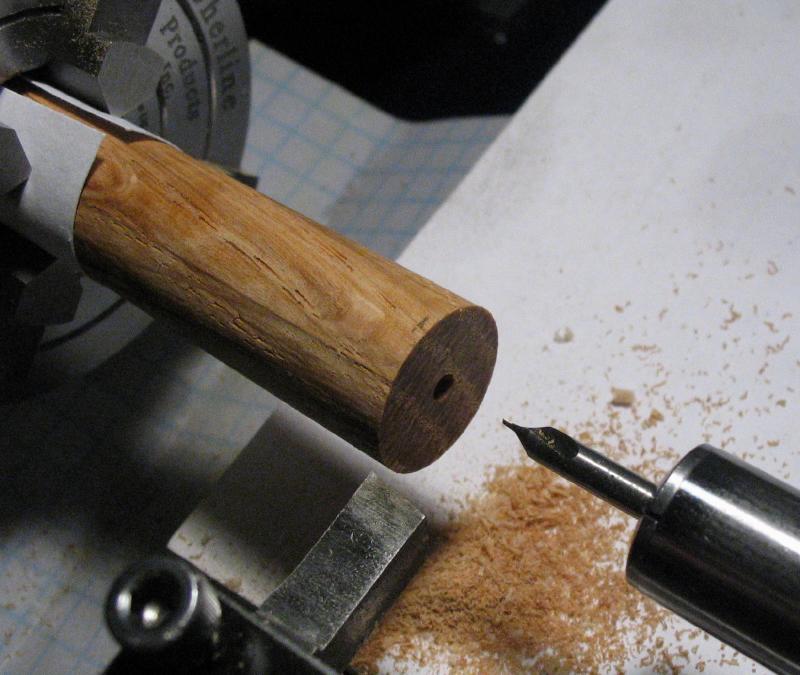
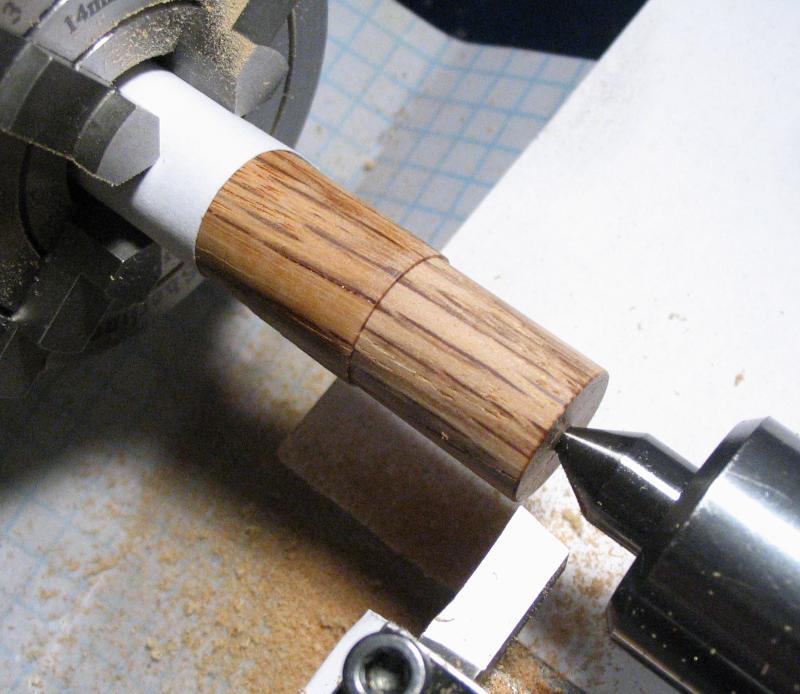
The handle was made from length of 5/8" oak dowel rod. It was mounted in the 4-jaw chuck and brought on center (or at least I tried to). One end was faced and chamfered with the top slide and with a file to make the end comfortable to hold. The other end was faced, center drilled and turned to fit a short length of brass tubing.
The brass tubing was sawed off with a jewelers saw, and the end evened up with a file. A large handheld pipe countersink is useful for clearing the bur on the inside of the tubing.
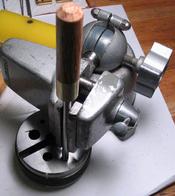
The handle was attached to the brass collar and drilled 7/32", which needed to be held in the tool post since there was not enough bed length to use the tailstock. The handle was then tapped onto the steel rod while holding it in the adjustable vise and the threaded tip inserted into a hole of the bench block.
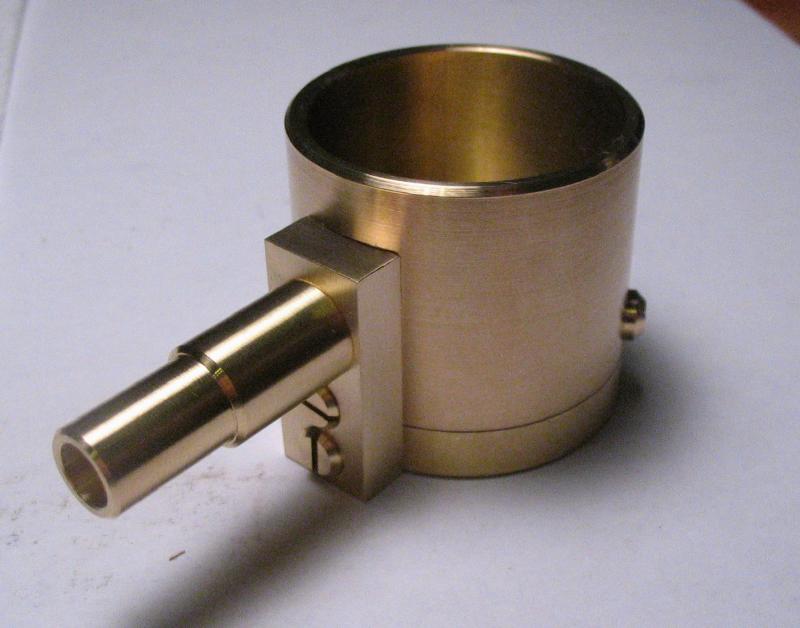
The finished tool is shown, although the handle bracket has not yet been filed flush with the bottom of the base.
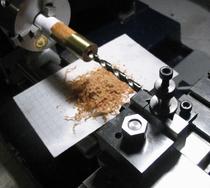
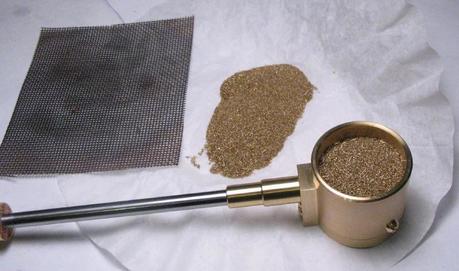
The lathe was cleaned before machining the parts of this tool, which are almost all brass. The swarf was collected and then washed in denatured alcohol and filtered through a coffee filter. After drying, it was sifted through a coarse screen to remove the larger sized curls of brass and other debris. The fine brass chips are a useful medium for bluing various shapes of steel parts since the chips conform to the shape and transfer heat. Fine grain sand is another option that I have previously used with success.
