Using tools to make tools
This section is to mention those various tools that are made and not described elsewhere. Since every tool that the watchmaker needs can not be purchased, it is quite common for a tool to be made. I originally planned to keep this on one page, but obviously this section has expanded significantly.
Note on some materials used in watchmaking
Using the proper material for a task is important. It directly influences how difficult the machining process will be and how useful the part will be when finished. Finding a good source of metals is important, and you may be fortunate to find a local supply. I usually order through internet, which has always yielded excellent quality metals, but shipping a box of metal across the country can be expensive.
I usually designate what type of metal I use for each project found on this site, and I keep to a fairly short list although occasionally a different grade is used because it is the only one available in a certain dimension. The names and grade numbers for metals and materials seems to vary from country to country and perhaps over time as manufacturers change formulas. However, with a little research an appropriate material can be identified.
Many steel parts (tool or watch part, etc.) will need to be heat treated to increase the hardness for their intended uses. Steel is purchased in the annealed state, which is its softest state, and are differentiated by the hardening conditions (i.e. the quenching medium - oil, water, air). There are small differences of composition that give the varying properties of each, and I think I have read recommendations championing the use of each of them. I typically use oil hardening (called "O-1") tool steel (also known simply as 'drill rod' or 'silver steel') for all my steel requirements in making watch parts. I use L.S. Starrett brand drill rod and gauge plate, and I choose oil hardening mainly due to its availability in metric sizes to fit my collets.
Starrett lists the following specifications for O-1:
O1 - color code Red
ASTM-A681-94
AISI/SAE O1 is a general purpose tool steel with good wear resistance, toughness and machinability.
Nominal Analysis (AISI 01)
Carbon ................... 0.90 %
Chromium ................. 0.50 %
Manganese ............... 1.20 %
Tungsten .................. 0.50 %
Vanadium .................. 0.20 %
Low carbon steel: When making something that is preferably made of steel but does not need a certain hardness or temper, a low carbon type of steel can be used. This type of steel is also called mild steel or cold roll steel (CSR) and may contain other additives making them softer, malleable, and/or 'free-machining'. The main advantage to these steels is that they are much easier to machine than tool steel. A common alloy is 1018, but I prefer 12L14, which is a leaded steel and machines very easily.
12L14
Iron (Fe) ....................... 97.91 - 98.7%
Carbon (C) ..................... 0.15% max
Manganese (Mn) .............. 0.85 - 1.15%
Phosphorus (P) ................ 0.04 - 0.09%
Lead (Pb) ....................... 0.15 - 0.35%
Sulfur (S) ........................ 0.26 - 0.35%
Brass "type 360" is leaded and free-machining. Type 360 is available in various round and square rod and thicker plate sizes (>1/8 inch). For small thickness brass sheet, I've used type 353, also called "engravers brass," which is also contains lead. Type 360 has the following specifications:
Copper Alloy Number: 36000
ASTM - B16
Typical Analysis in Percent:
Cu ....................... 60.0 - 63.0
Pb ......................... 2.5 - 3.7
Fe ............................ 0.35
Zn ............................. bal.
Starrett Catalog section for their tool steels.
| starrett_623.pdf | |
| File Size: | 1636 kb |
| File Type: | |
Making Hand Turning Gravers
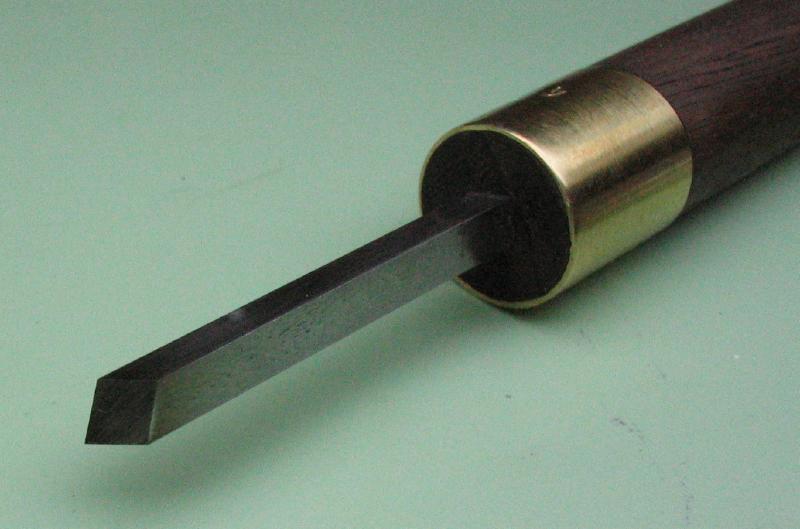
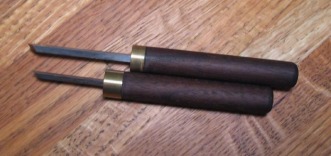
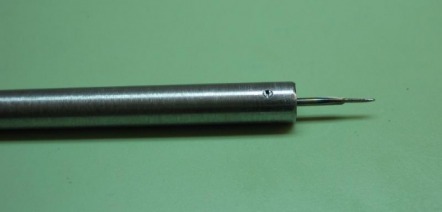
I needed to tackle some hand turning, and therefore resolved to make some good quality gravers. I follow the method, more or less, described by William Smith in his video which details the construction and use of hand made gravers using lathe tool bits.
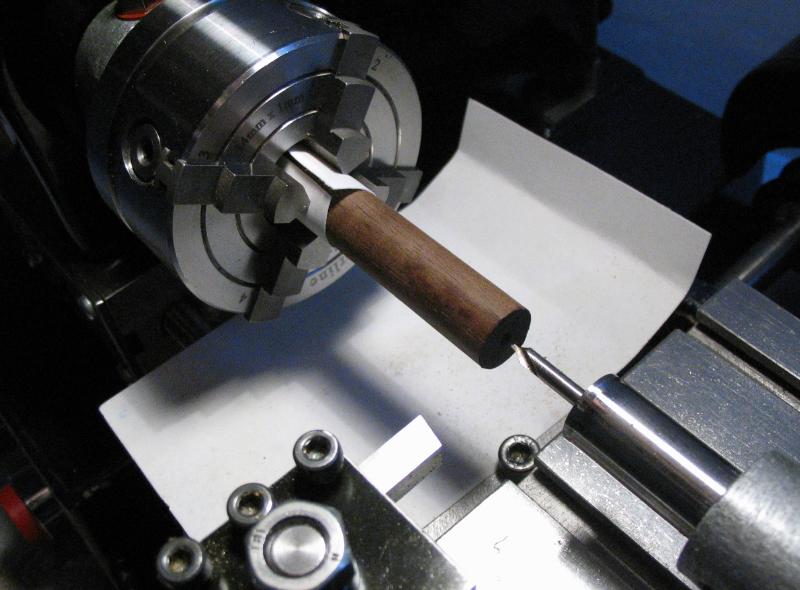
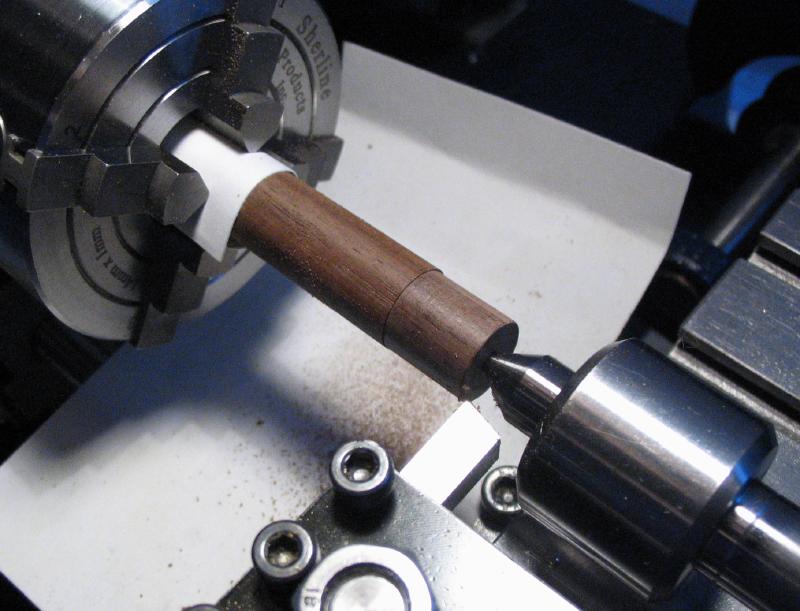
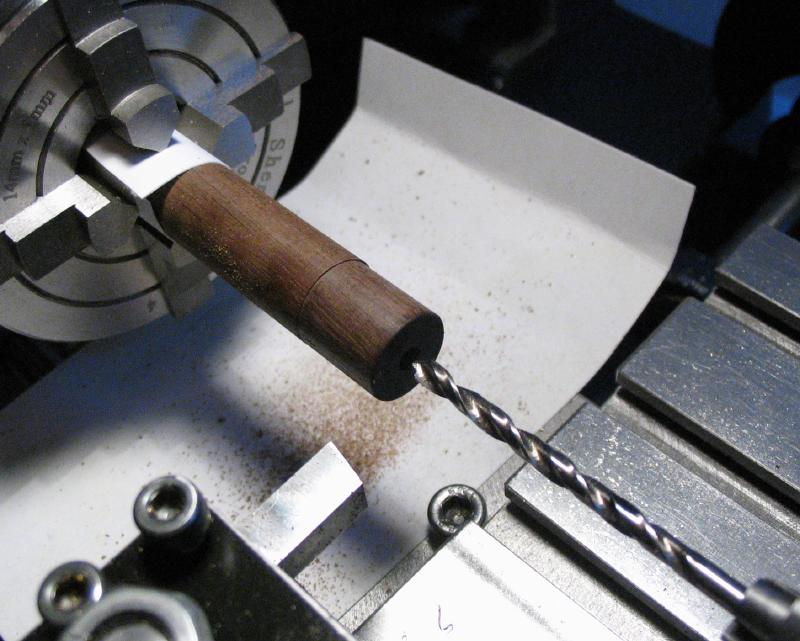
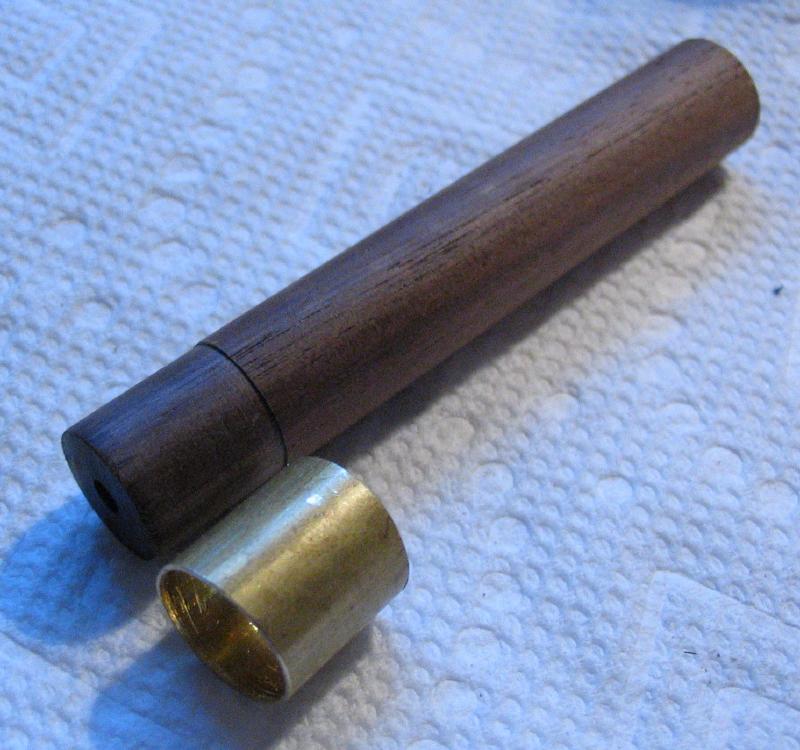
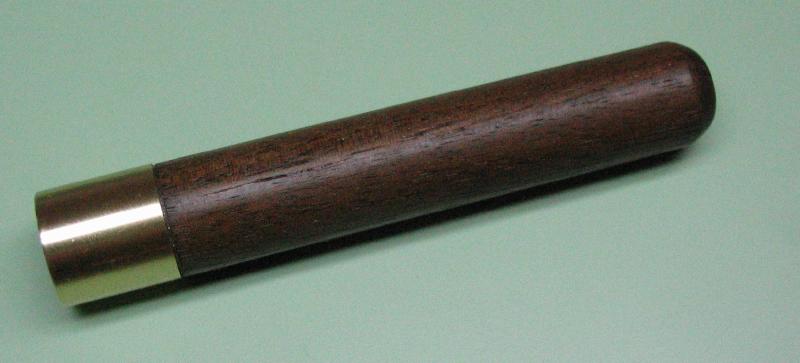
The handle is made first from ½" dowel rod. I chose walnut, since it was available to me at a local woodworking supply and I like it... The dowel is mounted in the 4-jaw chuck and adjusted to turn fairly true. It can then be center drilled, and with tailstock support, it is turned down to form a shoulder that is a snug fit with 1/2" brass tubing.
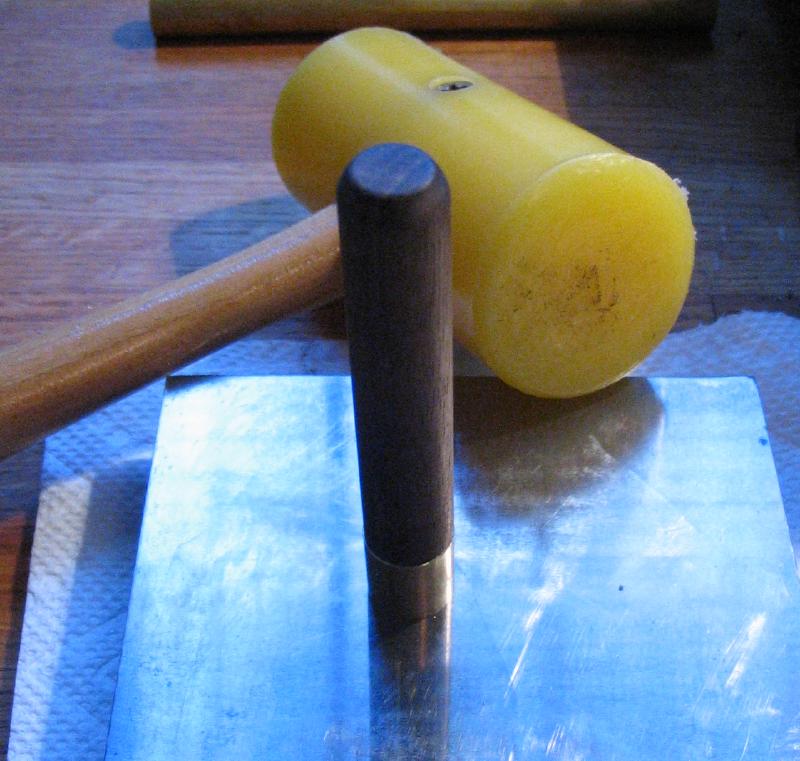
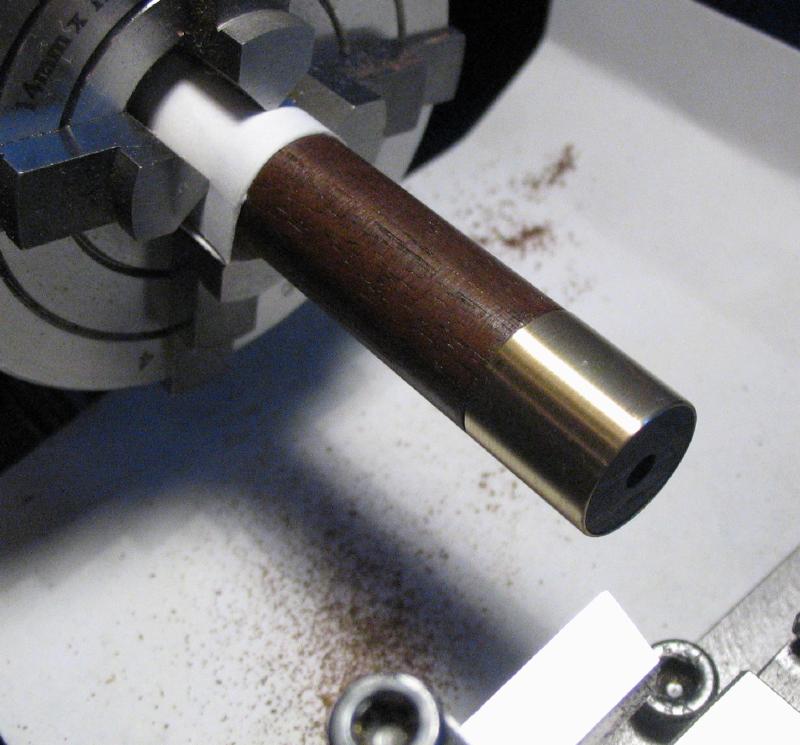
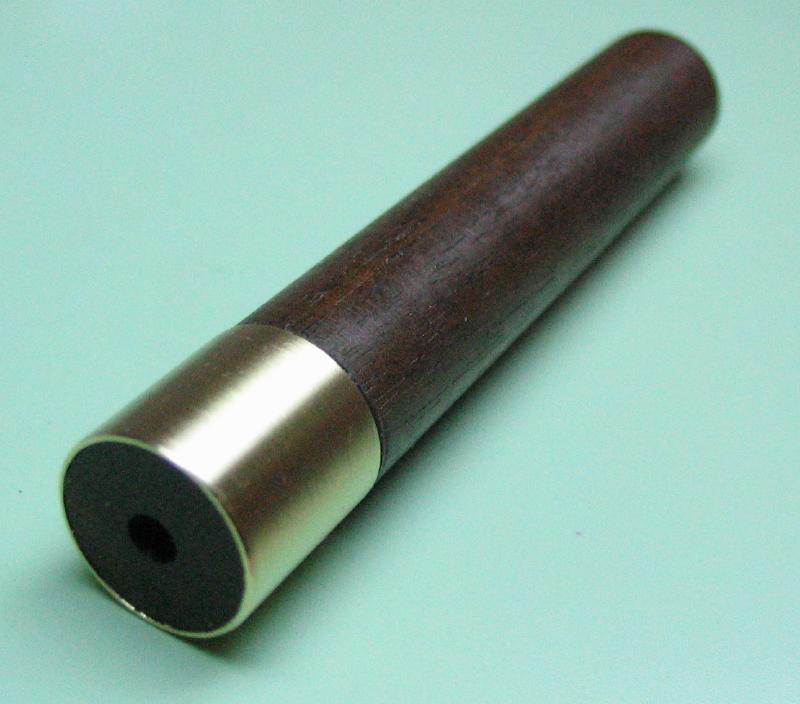
The brass collar is cut from ½" OD brass tubing and hammered onto the end. After which it is turned flush with the end of the handle and lightly turned to improve it's appearance. The purpose of the collar is to help keep the wood from splitting and keep the tool bit in place.
The handle is then reversed in the chuck and the end chamfered to give a rounded and comfortable feel in the hand. The length of the handle is such that when held in the hand, the end butts into the palm of the hand and the tool bit extends a short distance beyond the index finger while holding it as it would be during use. This provides a comfortable grip with full control of the graver during use.
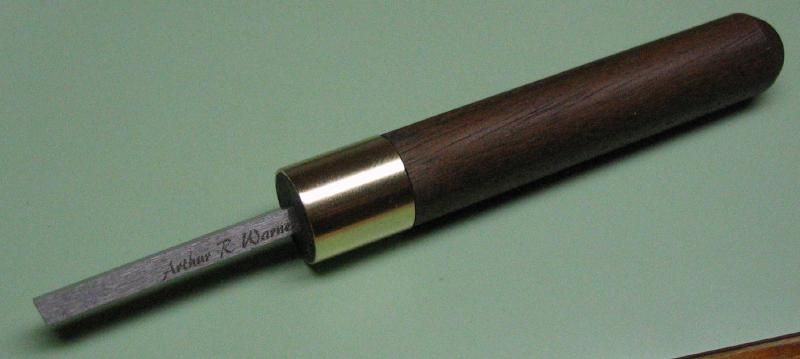
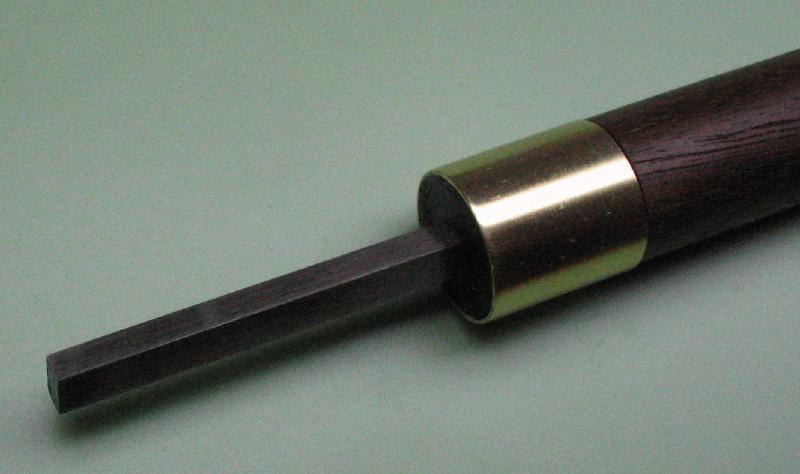
The end of the tool bit blank is coned slightly and held tightly in a vise. The handle is then tapped on the tool bit with a mallet.
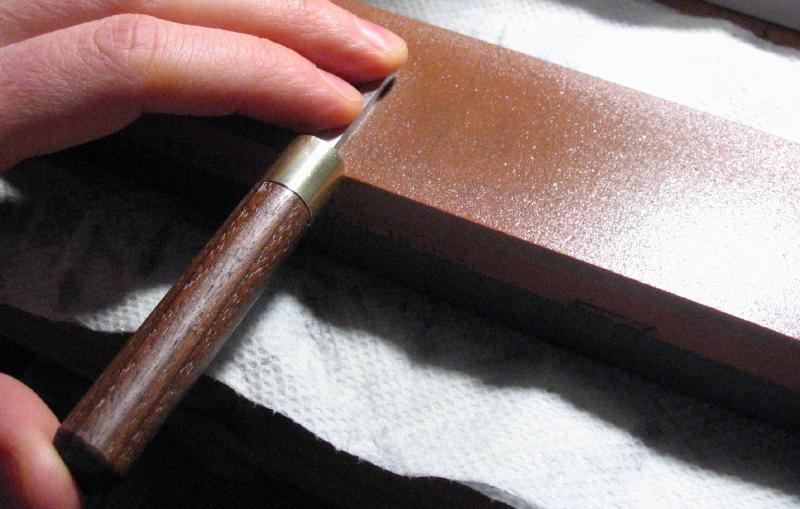
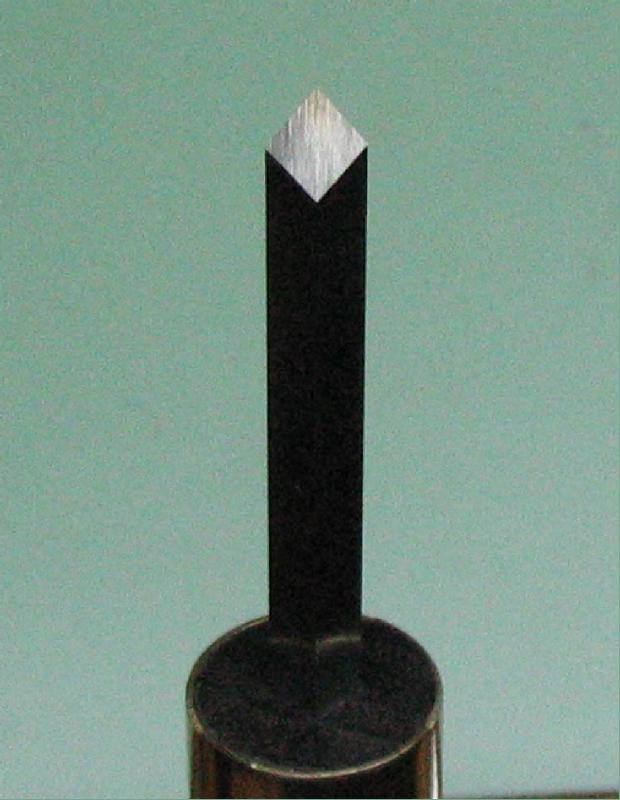
The sides of the tool bits have a fairly rough finish left from the manufacturer. This rough finish presents itself at the cutting edge of the finished graver as a very fine saw-like edge that results in rough finish on the work. Therefore, the rough finish of the tool bits need to be ground smooth, which was done on an India stone, and takes a fair amount of patience to get a polished mirror finish.
The tool bits are 1/8" square and can be found in differing grades of toughness. There are various brands of tool bit, I have used Mo-Max brand from the Cleveland Twist Drill company, and Arthur R Warner brand. The one made above is M-42 HSS (8% cobalt). Various types of steel were briefly discussed on this page above, and high speed steel (HSS) is another, quite different, type of steel. The grades of steel differ in the alloy composition and usually designate a level of cobalt in the harder forms (e.g. 5% or 8% cobalt). HSS is used as is, and practically speaking, is not heat treatable. The various grades differ in hardness, which relates to its ease of grinding and its durability in staying sharp. A selection can be made and experimented with to find what works best for the work at hand or preference, etc.
Another toolbit that is useful in making gravers is made by the Glendo Corporation. They produce the GRS brand of tools and engraving type gravers and graver blanks. They offer graver blanks in smaller sizes than 1/8" as with lathe tool bits, for example, 3/32" square HSS tool steel. Their brand of steel is referred to as GlenSteel. They are the smallest width HSS tool bits that I could find.
Bill's thoughts on HSS tool steel compared to carbide are as follows;
"Carbide gravers are very brittle, chip easily, must be sharpened on a diamond lap and require so much time to keep them in good condition that they are unsuited for general hand turning and the turning of most tempered steels. However, some steels (high grade watch staffs, French clock arbors, etc.) are so hard that one must resort to their use. Thus, when a carbide graver is needed, there is absolutely no substitute of which I am aware. As such, I have the greatest respect for them. However, the determining rule for saving time by avoiding their use should be: Use carbide gravers only when no other grave[r] will cut the metal at hand and only after the gravers described below have been tried and have failed. Each of those described below is far harder than an ordinary high carbon steel graver, and the hardness and wear resistance increases in the order listed.
The old fashioned high carbon steel gravers which have been the mainstay of the horological world for hundreds of years consume much time when being sharpened. Since shaping them on the bench grinder will draw the temper and ruin them, all sharpening must be done by hand on a bench stone or a special wet grinder. The gravers to be described here do not suffer this problem. Though harder than high carbon steel gravers and slightly more prone to chip, they can be reshaped at the bench grinder quickly and without harm provided one does not let them go red or cool them in water during the shaping process. Once properly shaped, the honing takes only a few strokes. Thus, far less time is consumed keeping them sharp than is required by either the carbide or the traditional high carbon steel gravers. Additionally, since they will cut almost any steel encountered in clockmaking and most of the steels encountered in other applications, they readily replace the carbide gravers for all uses except for a very few steels that are difficult to manage. However, both types of gravers are required and should be kept at hand."
"... [The grinder] gives the graver a diamond face that has the same curvature as the grinding wheel—a most important point as will be shown later. As the graver is used it either develops small chips or the edge and/or the point wears away and requires either rehoning or reshaping followed by honing. Usually one rehoning can be done before reshaping is required. The amount of hollow grind remaining at the center of the diamond face determines whether to reshape and hone or to rehone. After the initial shaping (at the bench grinder—no red heat and no water cooling allowed), the graver must be honed. The time-honored stone for this is the fine side of a 2" x 6" coarse/fine India bench stone. I know of no satisfactory substitute. A Carborundum is definitely a no no! With the stone lying on the bench in front of you, hold the end of the graver with a pencil grip and place the diamond face as flat against the stone as possible. Because of the curved surface caused by the bench grinder, the graver will rest on its point and its heel and neither the right and left corners of the square will be touching the stone. So, tilt the top of the graver slightly to the right until the point, heel and right corner of the square touch the stone. Now, make long strokes with pressure. (This is quite important. Two short strokes which total the length of one long stroke will roll the graver twice as much as the single long stroke.) Eight or fewer such strokes (usually five) should bring up the two right hand edges of the diamond face. Now, with the face flat against the stone, tilt the top of the graver slightly to the left until the left corner of the graver touches the stone. Make long strokes with pressure. Again, eight or fewer strokes should bring up the other two edges of the diamond face. If more strokes are required, something is being done incorrectly. Now, lay the graver flat on each of its two cutting edge sides and, pushing along its axis, hone away any feather raised when honing the diamond face. All three graver types described are honed in this manner. This is all the sharpening required for general turning and roughing cuts..." "...Remembering that only a polished tool cuts a polished surface, a graver to be used for making a polished cut should have a polished cutting edge. Following the shaping at the bench grinder and the honing on a fine India stone as described above, for finish cuts, the graver must then be polished on a hard Arkansas stone. As a general rule, a hard Arkansas stone is almost completely white—only slightly off white, is very slick and offers almost no resistance to the graver during honing. Such stones polish more than they cut. A soft Arkansas stone usually contains more color, has a rougher surface and is not satisfactory for this use. It cuts more than it polishes..."
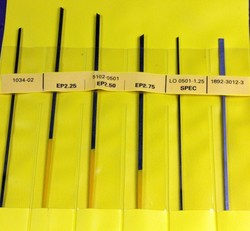
Shown below are a few other types of gravers available. A set of gravers offered by Bergeon is shown below that includes Vallorbe square HSS gravers in widths of 2.25, 2.50, and 2.75mm, square carbon steel graver in width of 1.25mm, as well as a lozenge shaped carbon steel graver in a width 1.75mm. The set also included a burnisher (No. 1892-3012-3) for the ends of pivots.
|
| ||||||||||||
A Box for My Movement
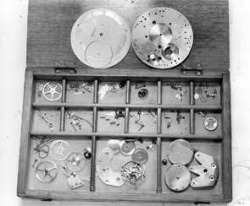
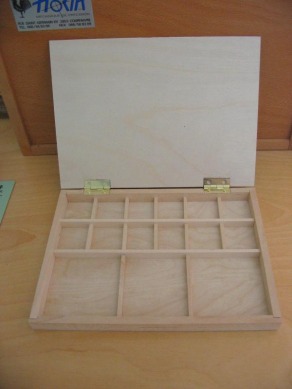
After making a few components, I realized I needed a storage box to keep my finished components in a safe, organized place. It is constructed out of strips of boxwood from an arts and crafts supply shop. I modeled it after a box that I seen in a photo of George Daniels' workbench. An exception is that his doesn't appear to be large enough to fit the mainplate or dial in the box, so I made it a bit larger.
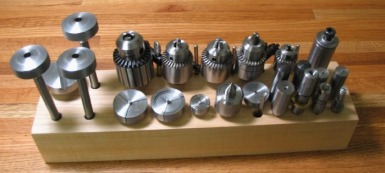
While on the subject of woodworking; having run out of drawer space; here is a very simple block of wood drilled to hold the various arbors, chucks and drawbars while they are not in use.
A Bolt tool
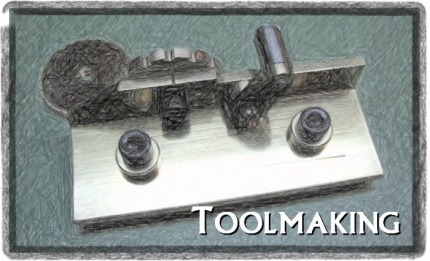
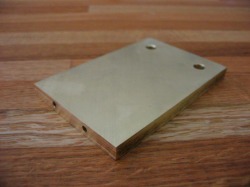
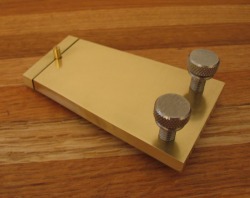
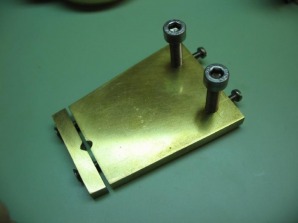
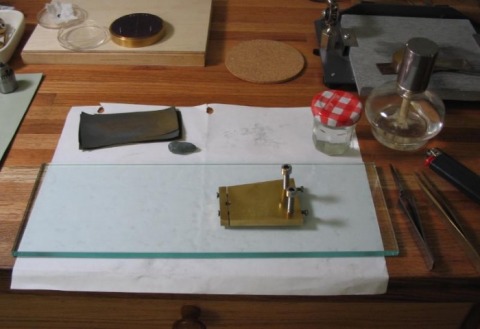
Also referred to as a 'frog,' it is a simple jig for polishing screw heads and other flat components. I used a 2" x 3" x ¼" piece of brass plate to start with. After lapping fairly flat, the vertical slide and milling vice on the lathe are used to mill the edges square and drill holes for the clamp piece and height adjustment screws. The clamp piece will be held with 3mm screws and the height screws will be ¼-20.
After using the tool a few times, I found the 1/4-20 threads a bit too coarse and the overall length of the tool too long, so I sawed it down and re-tapped it for 5mm threads and also added set screws so that the adjustments could be secured.
A Depth Transfer Gauge
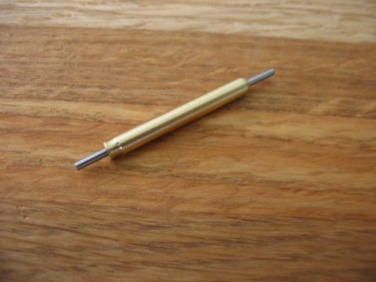
A simple little tool for checking depths and lengths while machining a part without the need to use a caliper or rule, which can be awkward at times. It is a piece of brass rod, drilled through and a small lip turned one end and rounded on the other. A piece of drill rod is fit and slightly bowed to give a friction fit. I got the idea from Bill Smith's video titled, Tooling the Workshop.
A Saw or Grinding Table
I picked up a copy of "21st Century Watchmaking" by William O. Smith (not to be confused with the other Bill Smith of clockmaking fame). It is a very interesting book, demonstrating the production of flat components by a novel method, namely grinding the parts from gauge plate using the lathe and various cutoff discs and polishing wheels that are readily available from jewelry supply houses.
To facilitate the grinding, a saw table is used to hold and position the metal stock and apply to the grinding wheel. Cowells does make a large size saw table that mounts to the cross slide, it is not exactly suited for this purpose. Mr. Smith describes making various sized/shaped saw tables to use with different wheels and polishers. Here is the making of one of the saw tables...
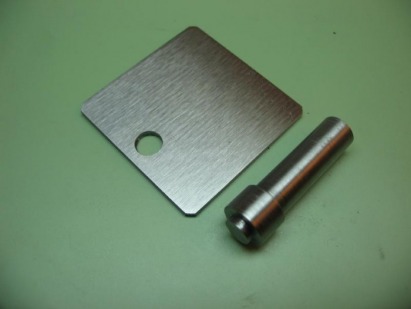
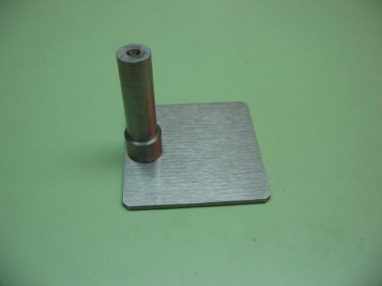
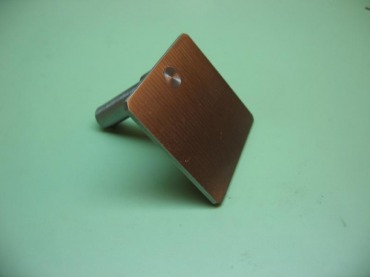
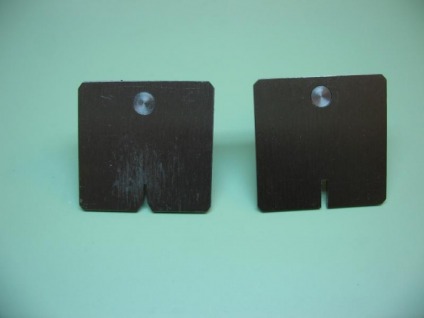
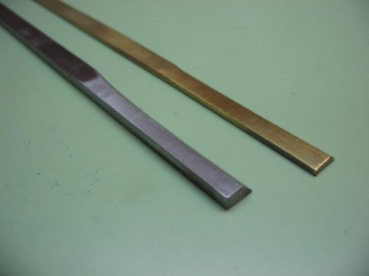
It is designed to fit into the T-rest mount. The T-rest has a 5/16" shaft, so a post was made from 10mm O-1 drill rod to fit the T-rest base and has a shoulder at the top to fit a piece of 1/16" x 1½" O-1 gauge plate which has a mating 6mm reamed hole. The corners are relieved and it was lightly lapped to give a flat, smooth surface. Mr. Smith describes making the table from brass plate, which would have been easier to work with, but I thought the steel plate would provide a more rigid, longer lasting surface.
The two pieces are then riveted together
A slot is then milled to fit an aluminum oxide grinding wheel and another is filed to allow clearance for various knife edge polishing wheels
Tapping attachment to the Staking Anvil
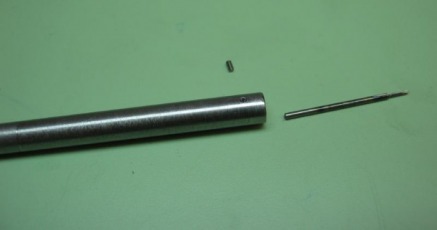
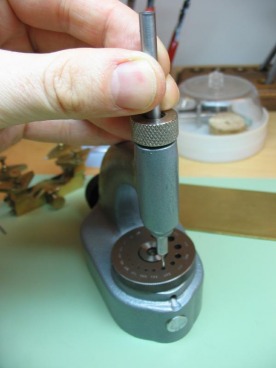
A stake-sized attachment was made that accepts the small Bergeon threading taps. A piece of 5mm O-1 drill rod is drilled 0.05 oversize to accept the tap shaft and a 1mm set screw is made and fit to the secure the tap in place. Tapping can then be performed on the staking anvil to maintain uprightness.
Polishers
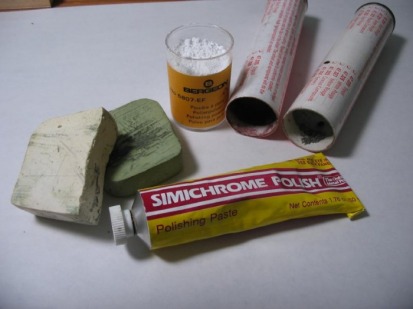
Choice of polishing media is quite broad. Classic texts refer primarily to oilstone powder and diamantine. These powders are mixed with oil to produce a paste. There are currently numerous prepared polishing pastes that can be purchased, as are various powders that can be used the same. I have been unable to find a source of 'oilstone' powder, however, emery paste mixed with oil seems to be a good alternative. Finer pastes are chromium oxide ('green' paste) or 'white' paste. The companies that produce these pastes do not provide much in the way of detail as to the actual composition. One can only experiment with them. I have certainly not exhausted the possibilities.
Diamantine can still be purchased through Bergeon, and is used in the same manner as described in the texts. Simichrome, a German made brand of fine metal polish, produces a very fine finish as well.
