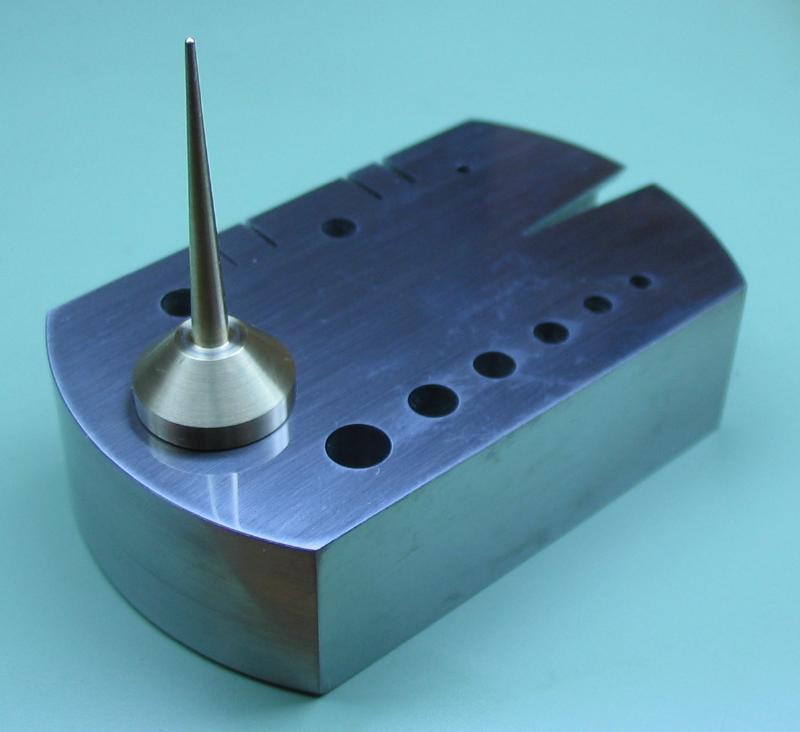
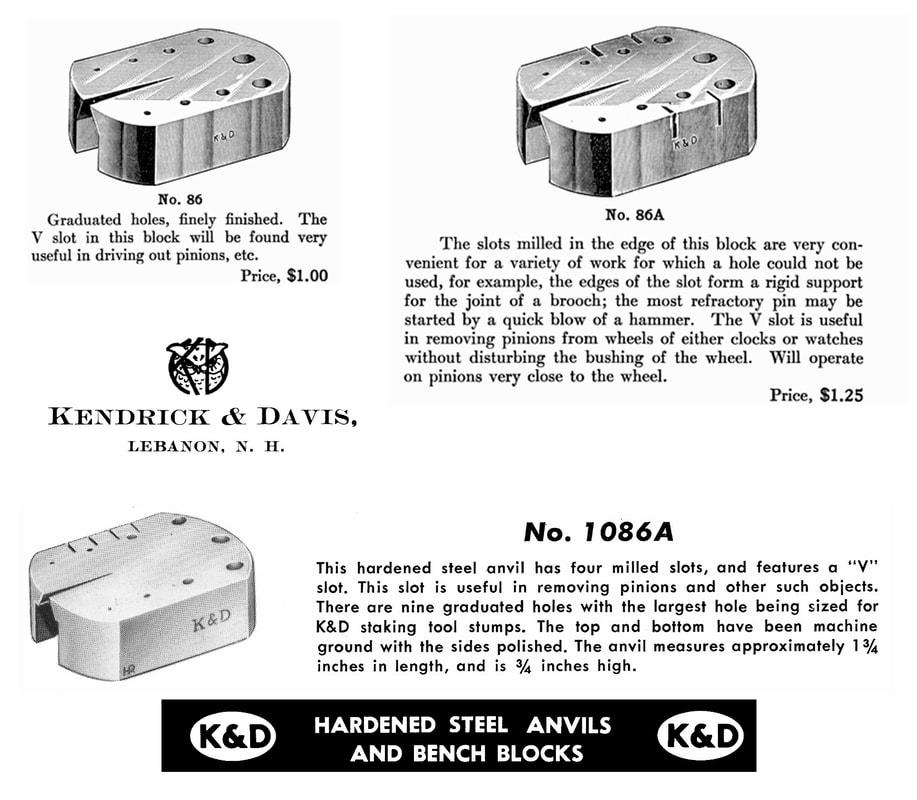
A small anvil or 'bench block' was made and the design is inspired by those made by the Kendrick and Davis tool company. Below is a collage of images taken from old catalogs that depict the variations of the tool over time. These are still available from watchmaker's tool distributors, in various designs and configurations, although K&D is no longer producing tools as far as I know. My block will not be hardened and may therefore be prone to "bruise or dent," which is noted in an early K&D catalog as a known issue with "other blocks."
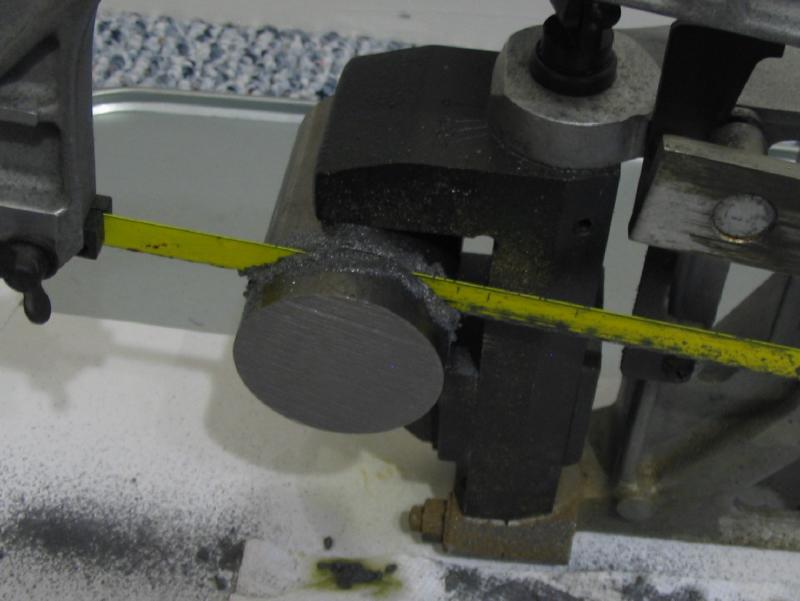
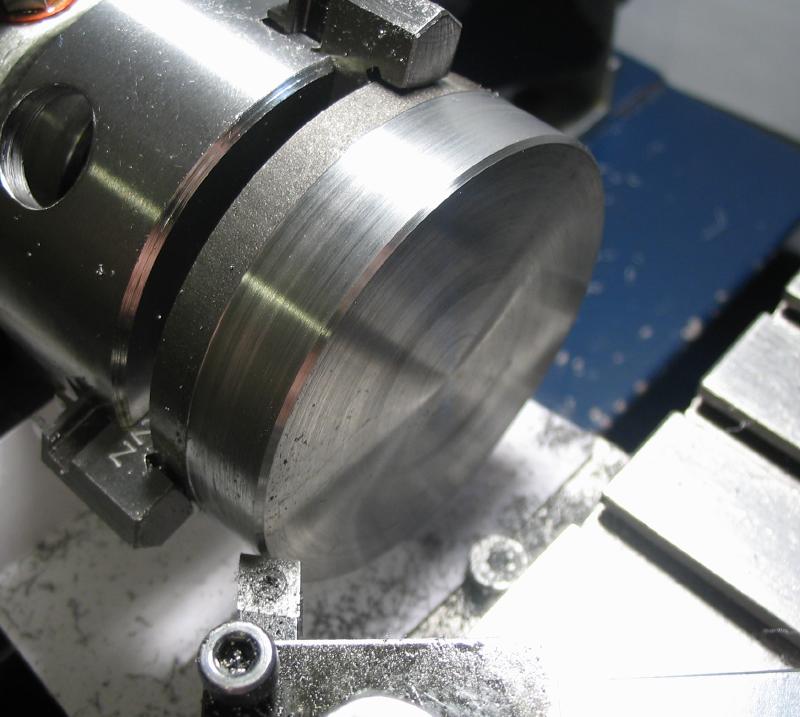
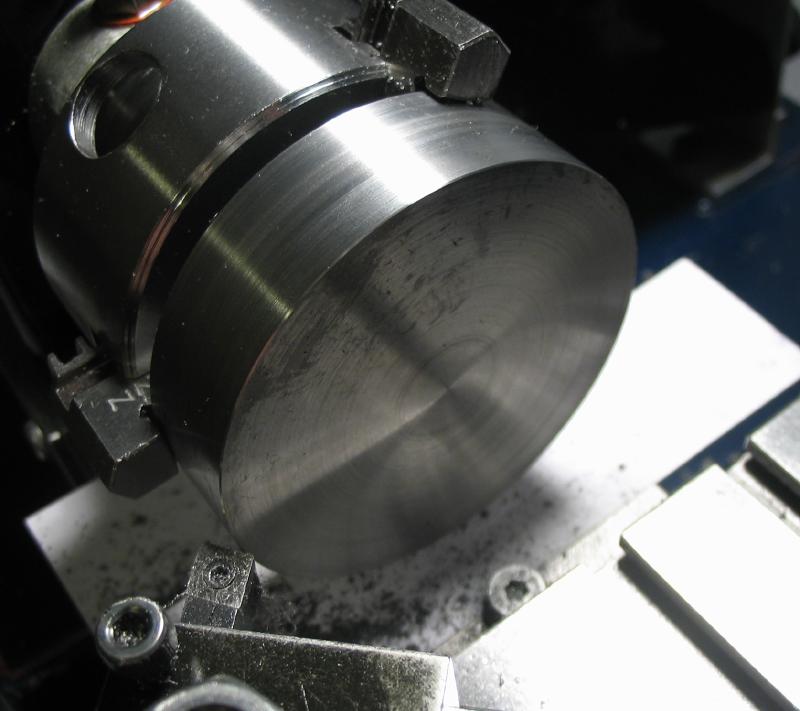
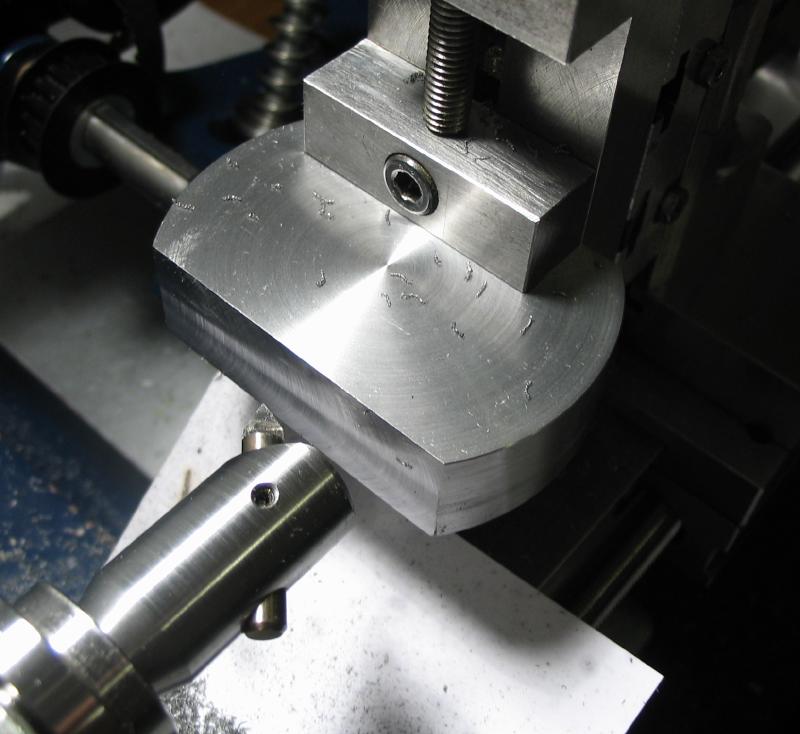
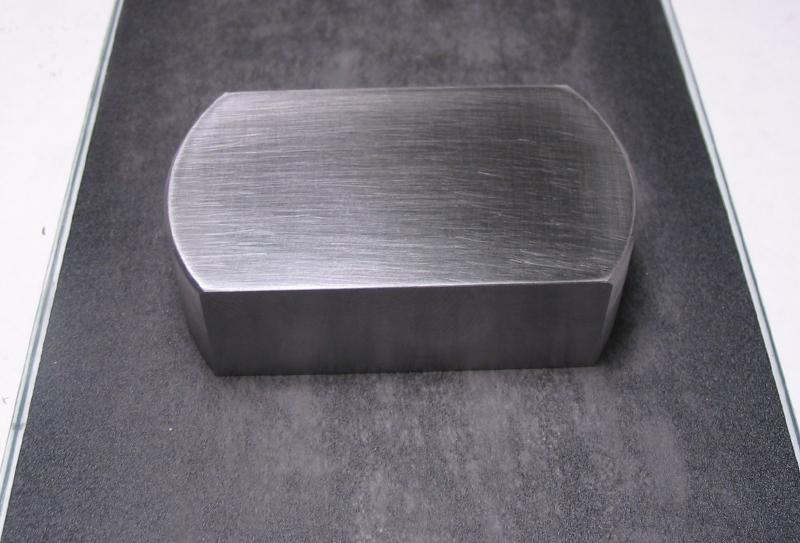
The block was started from a roughly 5/8" length of 2 3/8" diameter cold roll steel rod. I had marked the steel as 1018, however, it may be 12L14 grade based on its relatively easy machining; it is a cold roll type of steel for sure. A disc was sawed off on the Hand-I-Hack and the faces turned to produce a flat disc. The sides were trimmed off using the power hacksaw as well and then straightened up using a fly cutter while mounted on the vertical slide of the lathe. The resulting width is about 37mm.
|
|
|
|
|
|
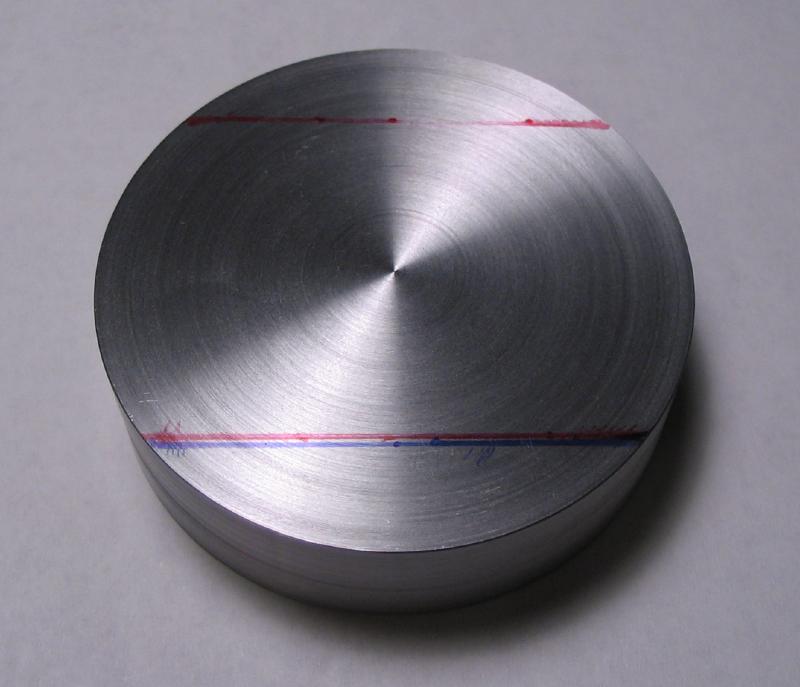
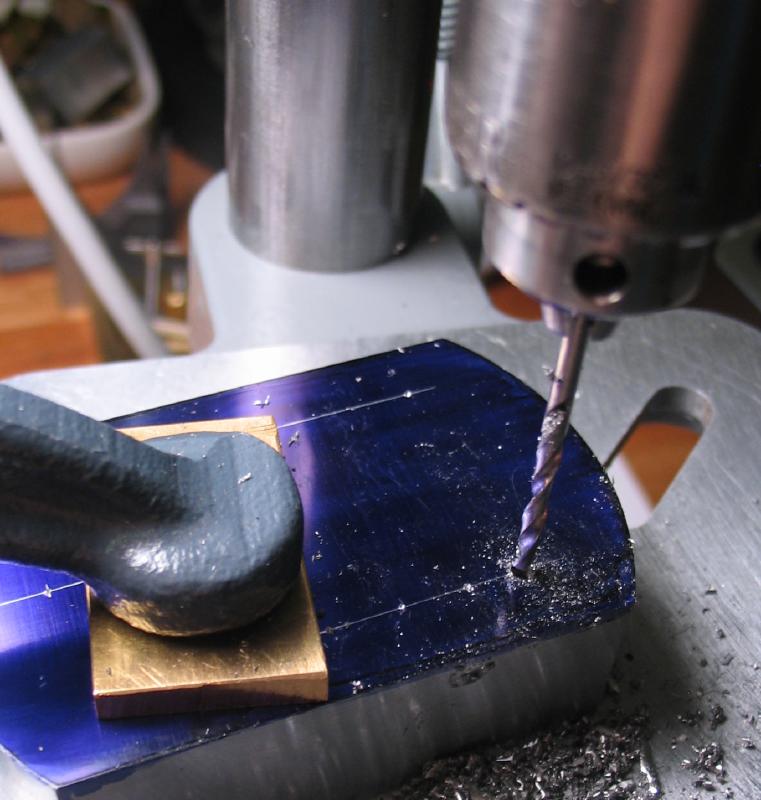
The surfaces were smoothed to remove tool marks using 400 grit emery paper that was affixed to a glass plate. The positions for various through holes were laid out, attempting to keep them evenly spaced, and then center punched.
|
|
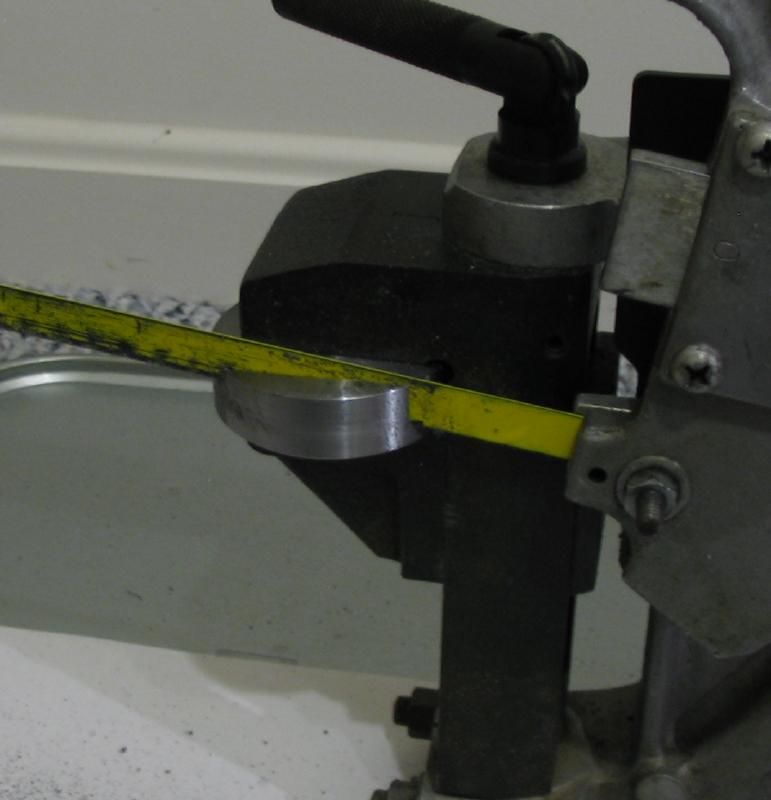
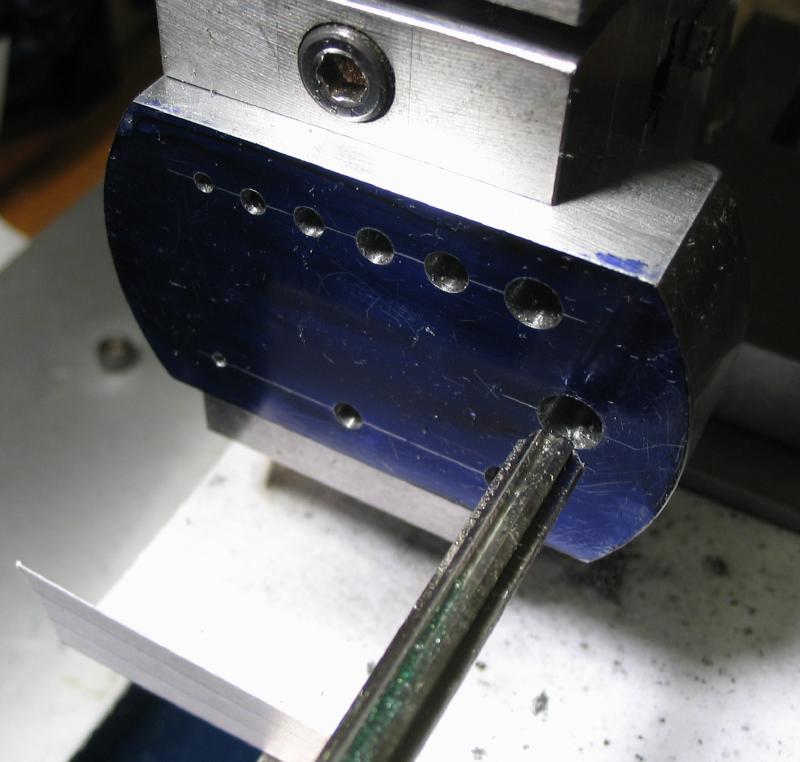
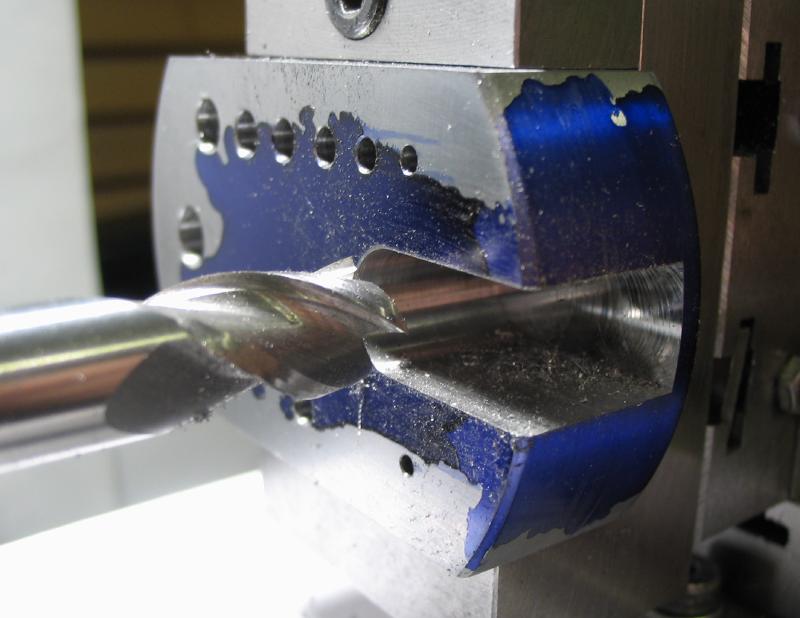
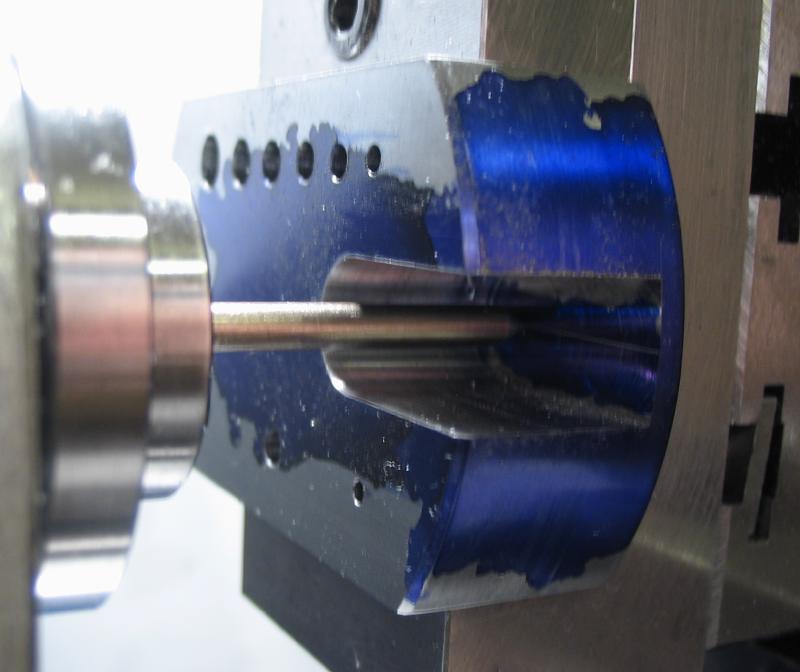
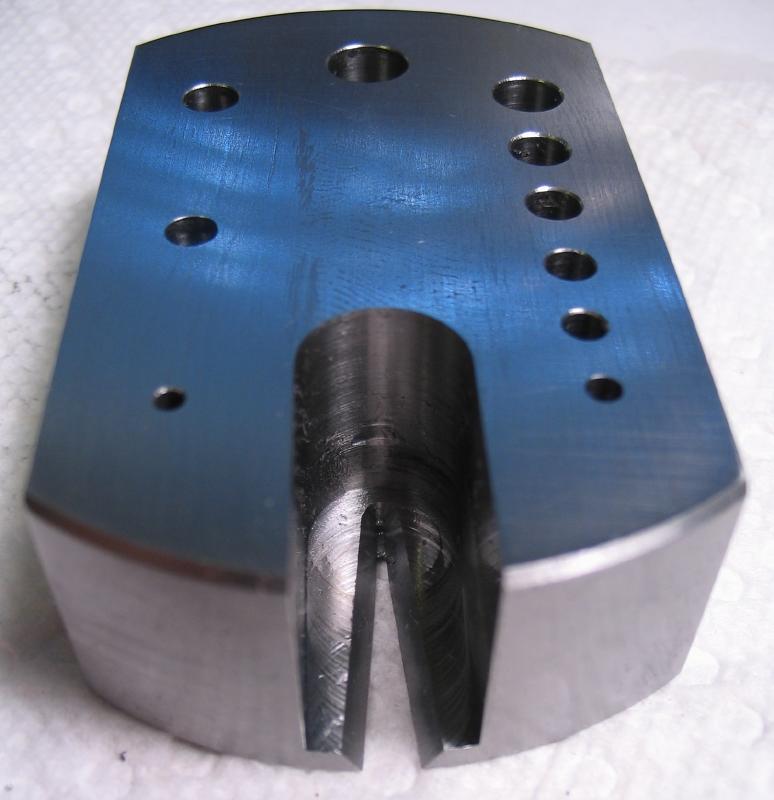
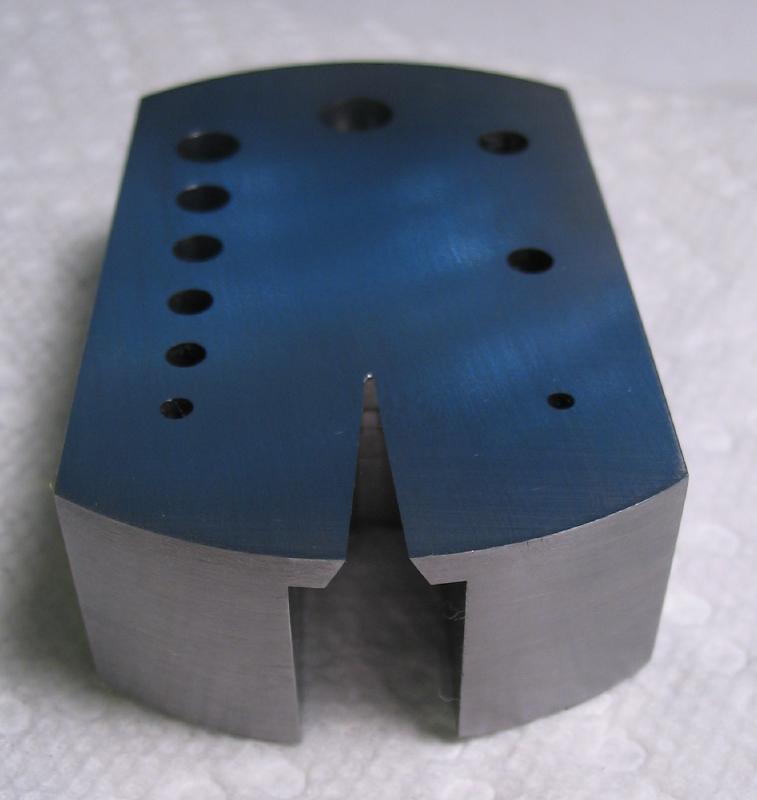
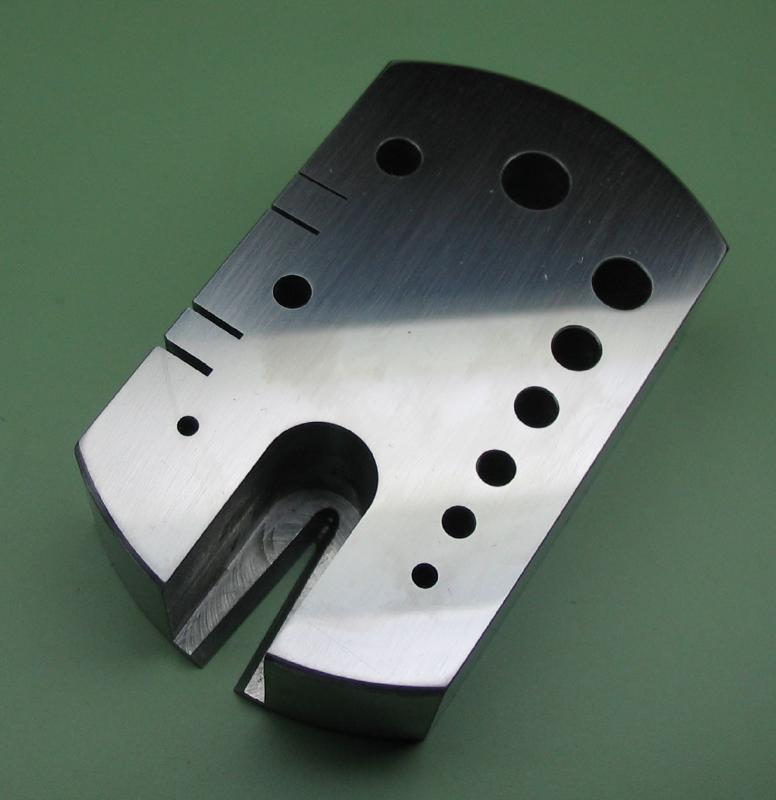
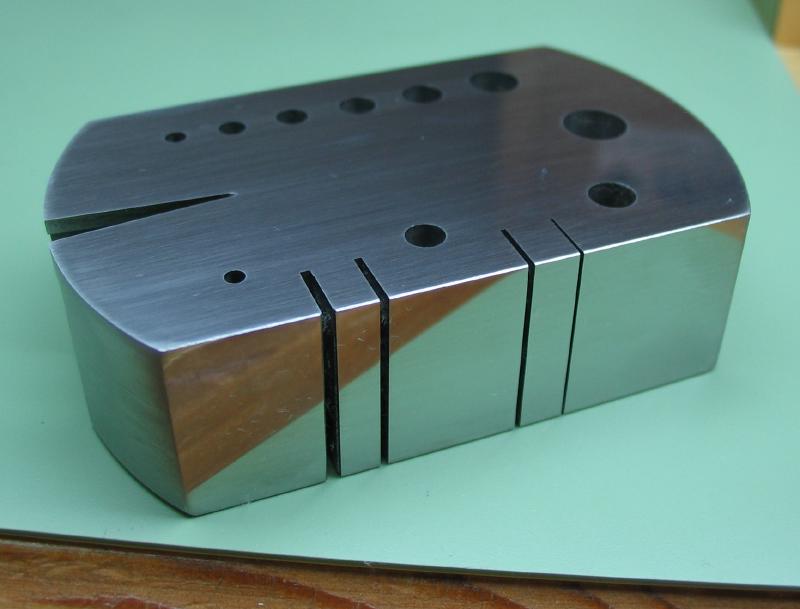
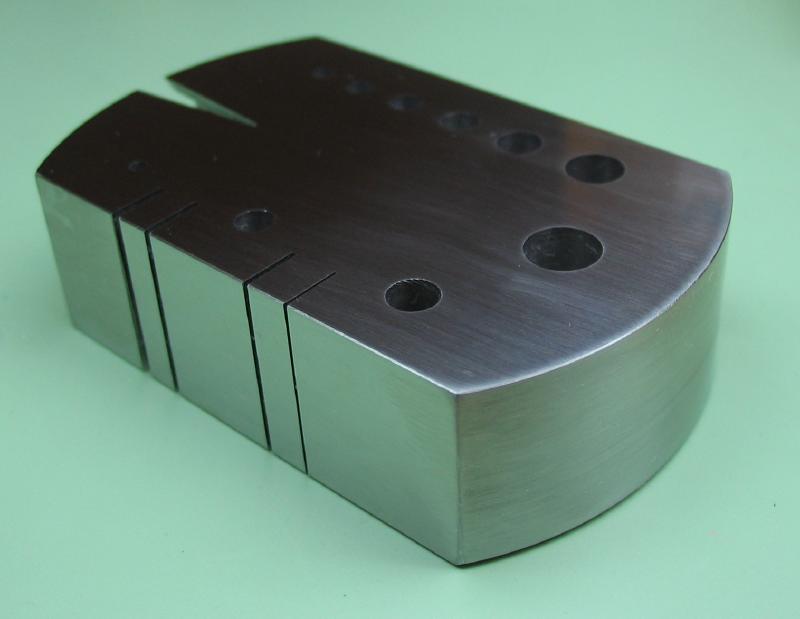
The hole diameters correspond with those for which I had reamers. One side is imperial: 1/16", 1/8" and 5/32" and the other side metric: 2, 2.5, 3, 3.5, 4 and 5mm, as well as 6mm in the middle. The drilling and reaming was carried out on the drill press, except for larger diameters that needed to be carried out on the lathe.
|
|
|
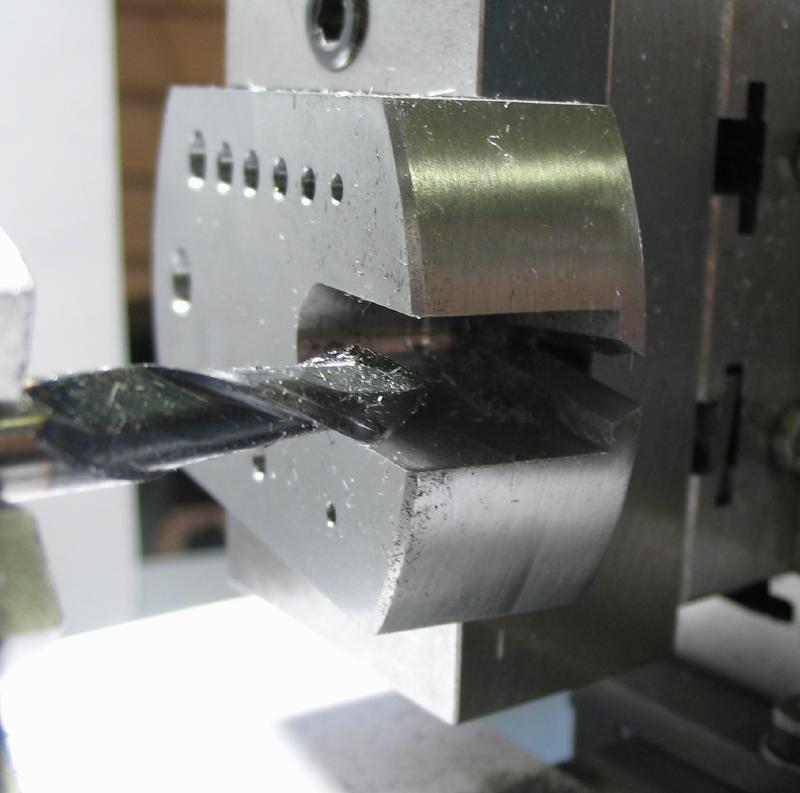
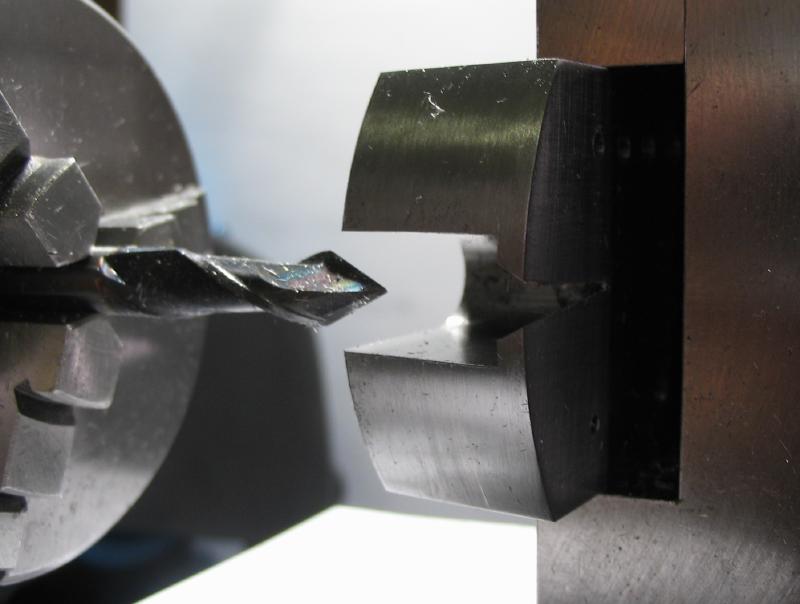
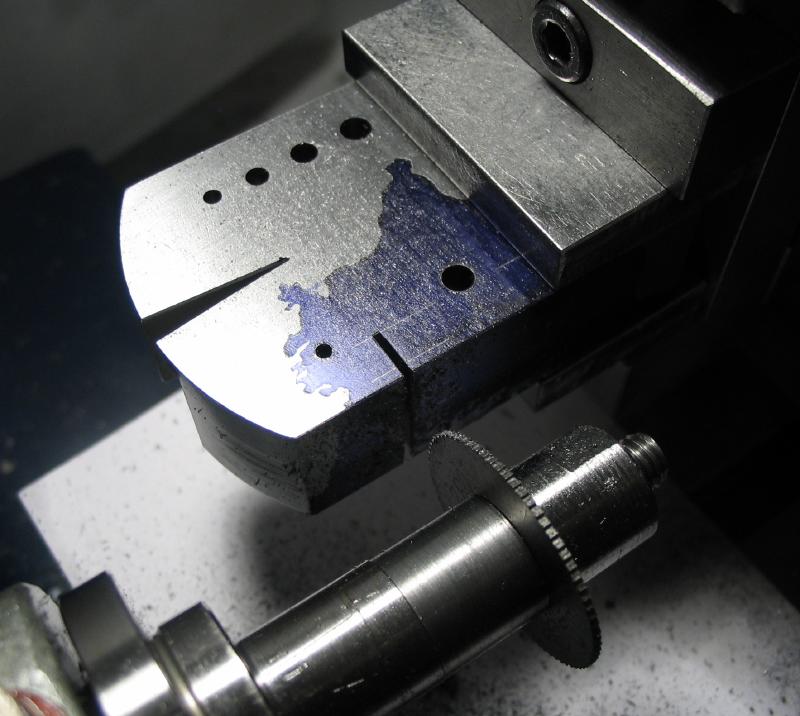
The v-slot was started by milling a slot with a 3/8" endmill for about 20mm in length and to a depth that left 2mm of material remaining. While still in position, a center point was used to scribe a line.
|
|
The center line was followed with a 0.010" thick slotting saw. The work then rotated and offset in the vise by about 10 degrees. A 1/4" diameter and 60 degree point mill-drill was used to open the slot and provide the V-shape and beveled edge at the same time.

|
|
|

|
|
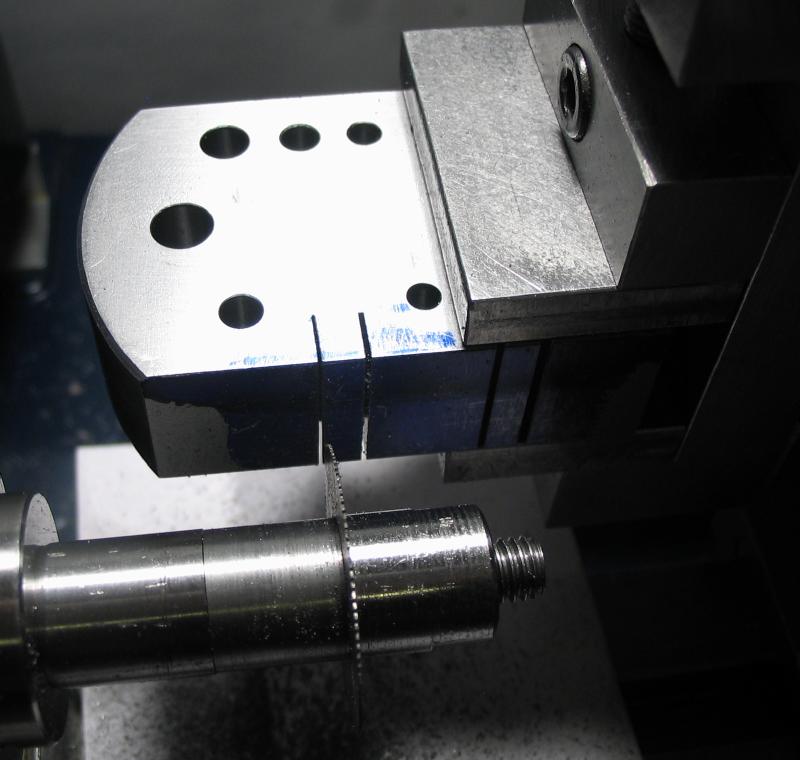
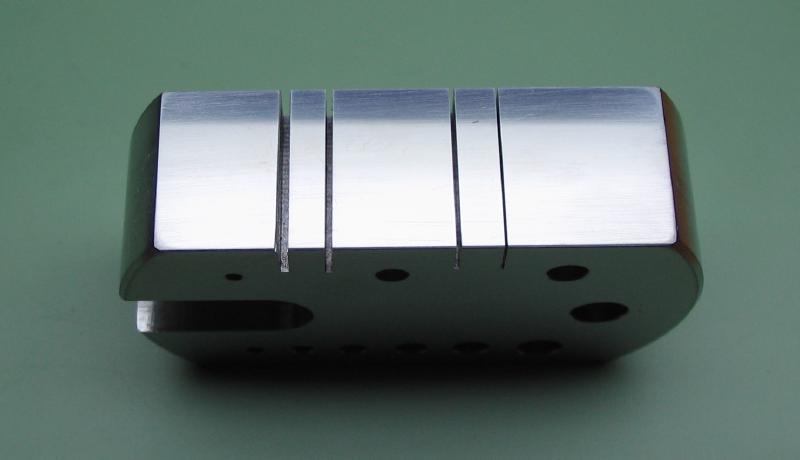
Slots were sawed for the full width of the block using available slotting saws. I chose 0.012, 0.020, 0.025. and 0.032", which are roughly 0.3, 0.5, 0.6, 0.8mm. The setup in the vise proved to be not very rigid, and the larger slot especially suffered some malformation.

|
|
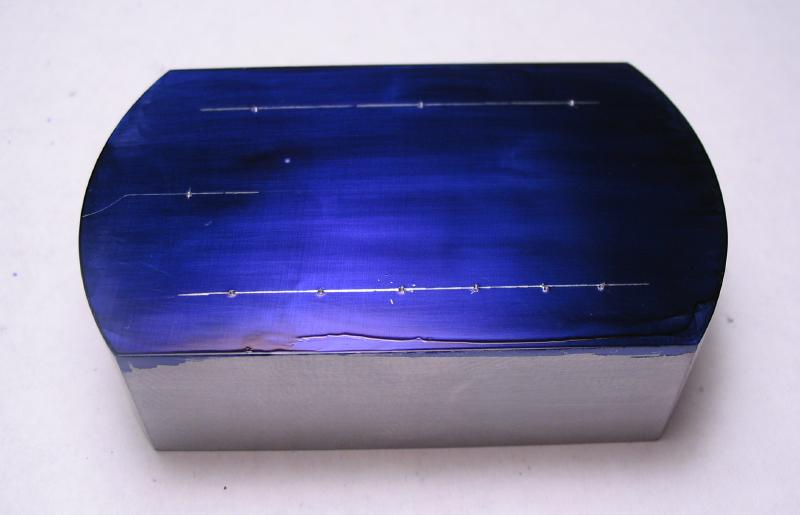
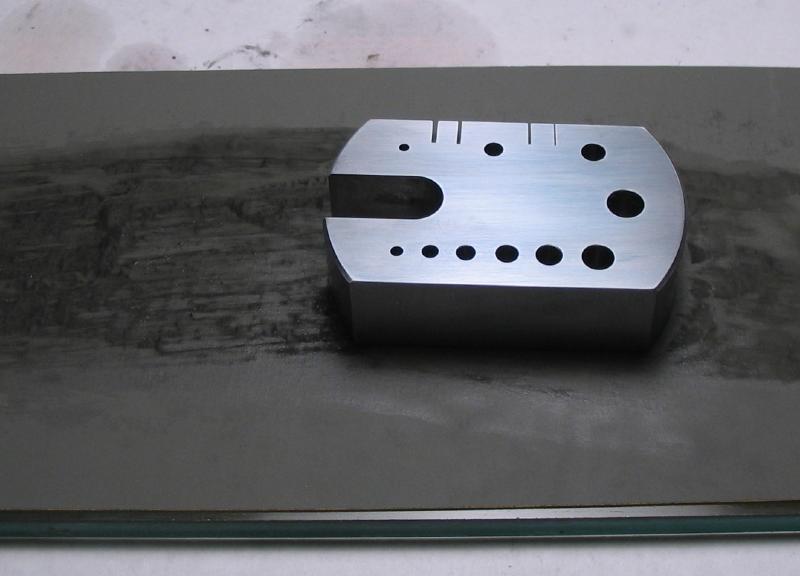
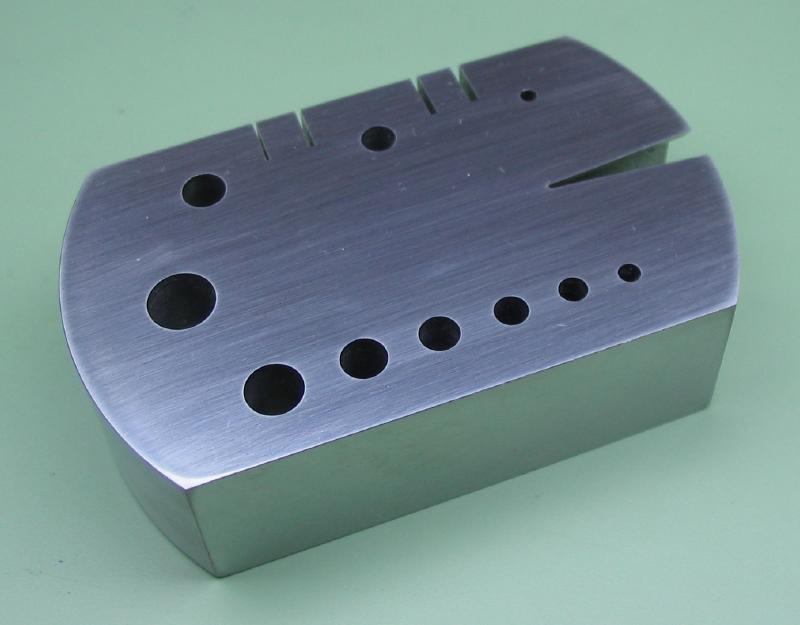
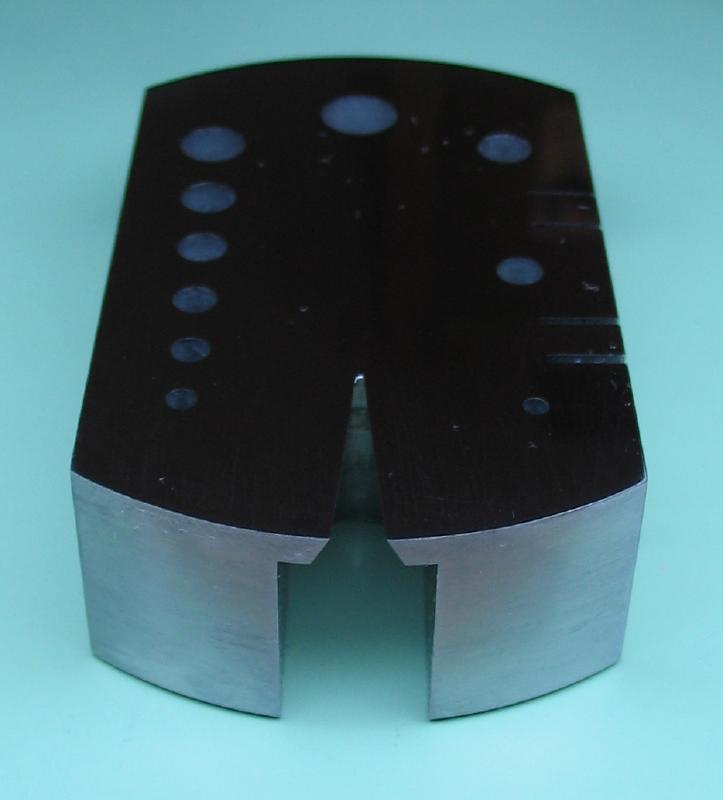
The flat surfaces of the block were rubbed on various grades of emery paper, ending with 2000 grit and the results are shown below.
|
|
|
|
|
|
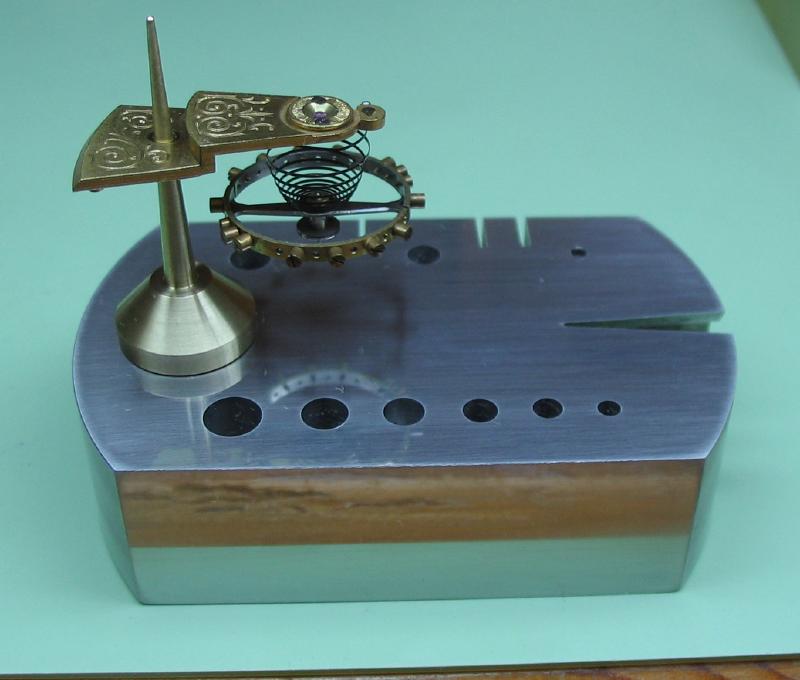
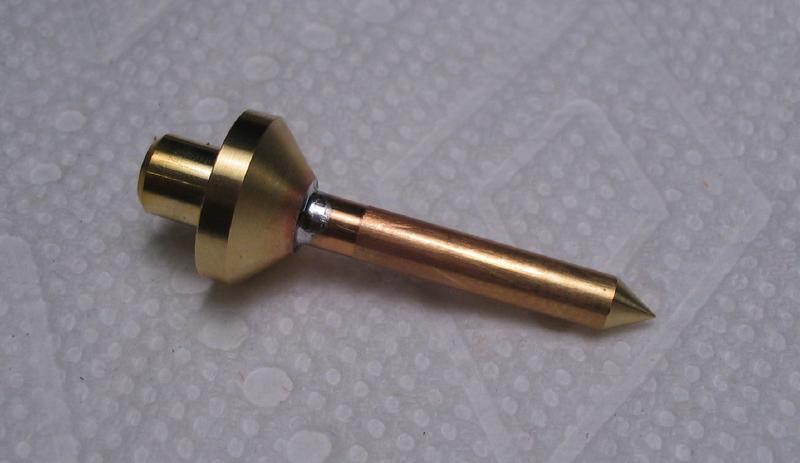
A common accessory on the watch repairer's workbench is a 'balance tack.' This usually consists of a tapered pin onto which the balance assembly can be supported for making examinations and adjustments or to just safely hold the balance assembly while attending to something else.
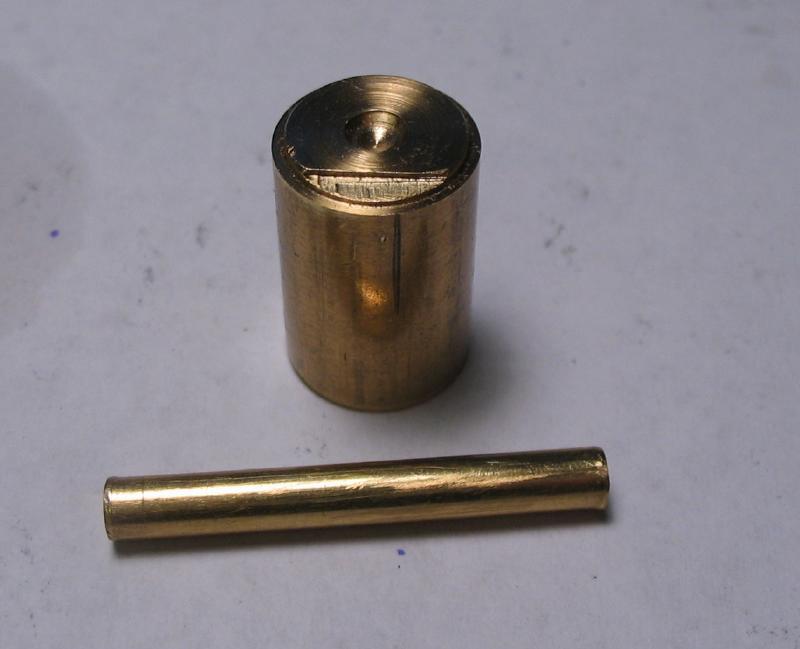
A balance tack was made to fit the 6mm hole of the bench block, and I used a couple pieces of brass rod from the scrap box, including 5/32" and 1/2" diameters of about 30 and 15mm lengths, respectively. The 1/2" rod was mounted in the three jaw chuck and the end turned down to 6mm for about 6mm and chamfered.
|
|
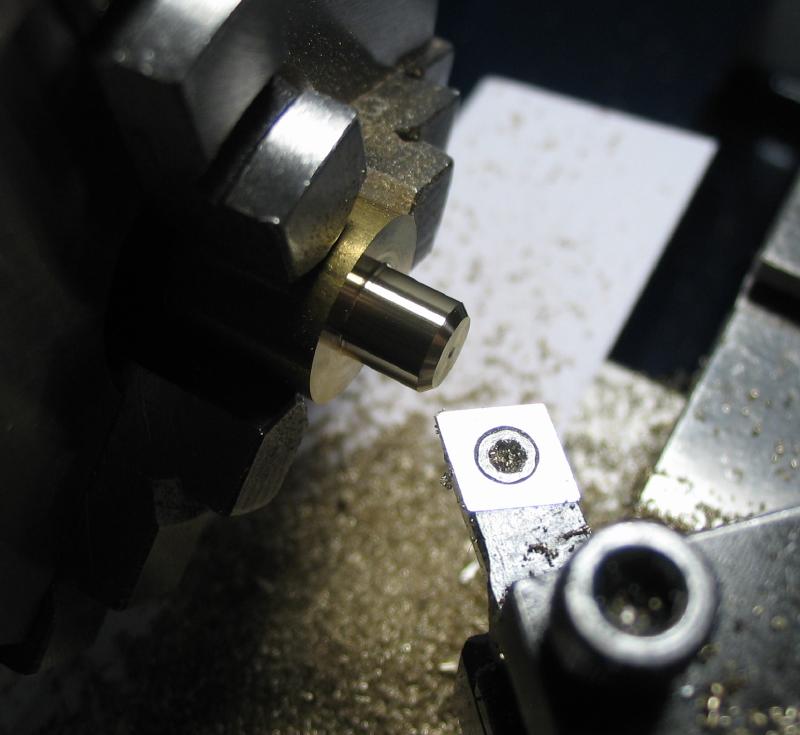
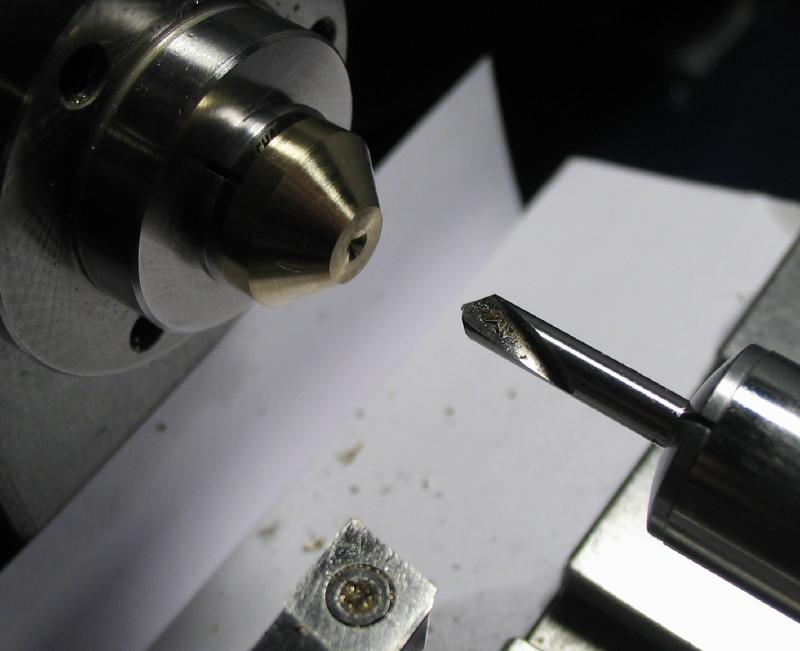
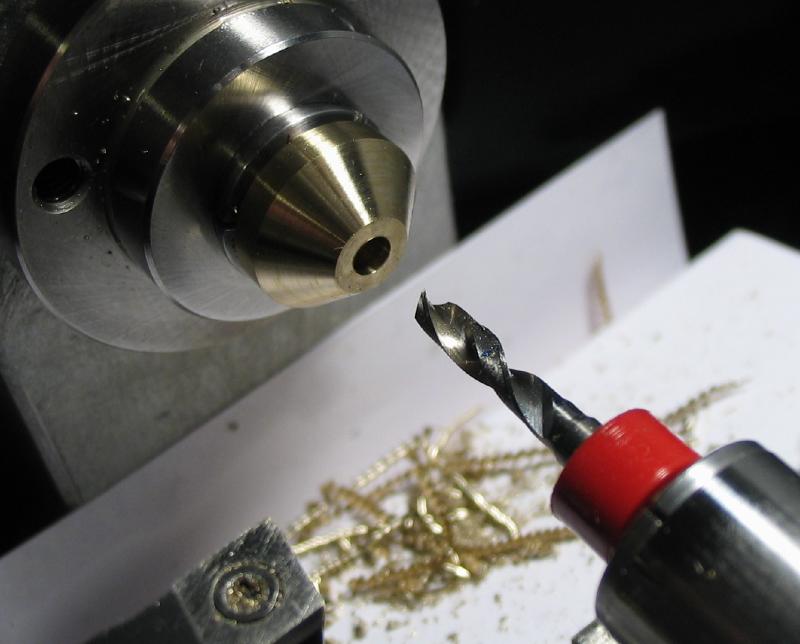
The work was reversed into a collet and faced, chamfered 45 degrees and spot drilled. It was then drilled 2.8mm to a depth of about 5mm, the hole reamed 3mm, and finally countersunk.
|
|
|
|
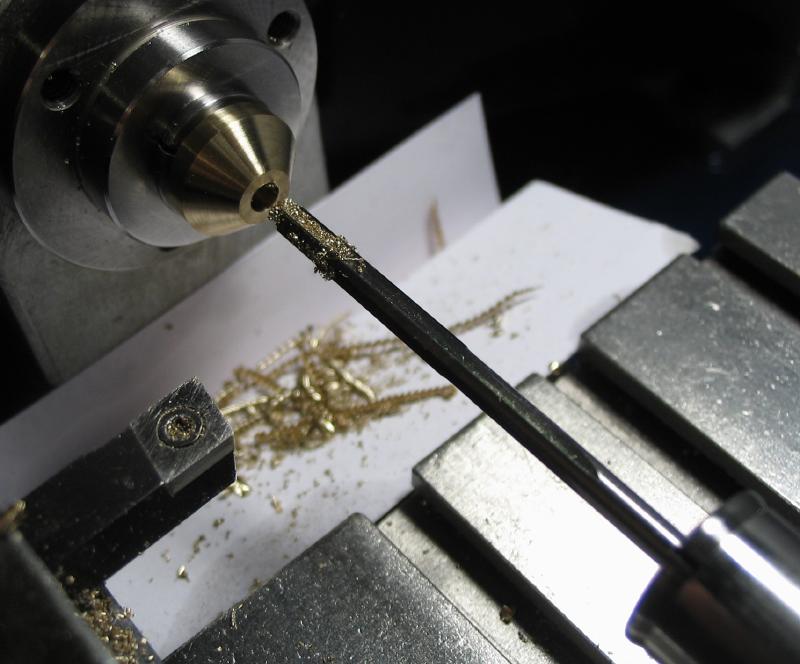
The 5/32" rod was turned to 3mm and to fit the hole in the piece made above. The reverse end was turned to a 60 degree point, but this was primarily to just remove the bulk of the material from this end while it can be held rigidly.

|
|
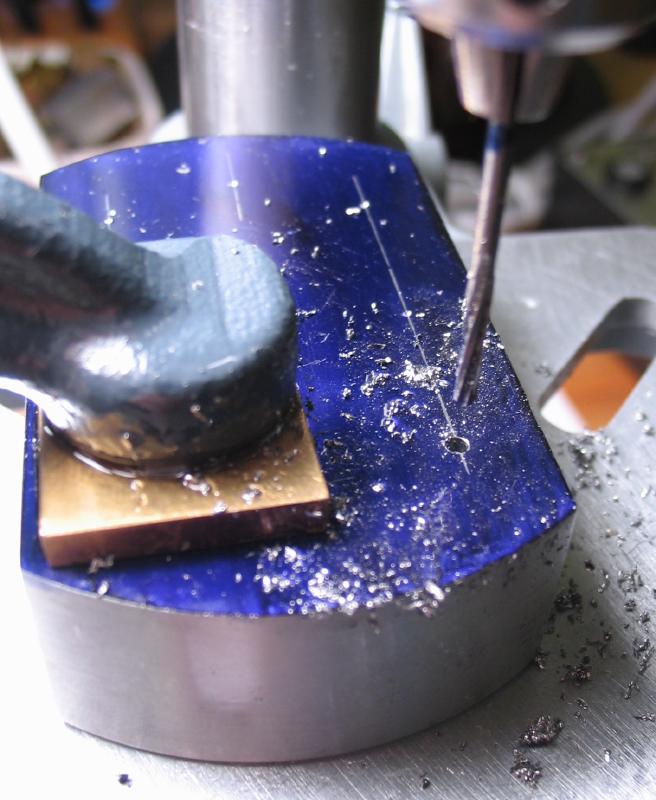
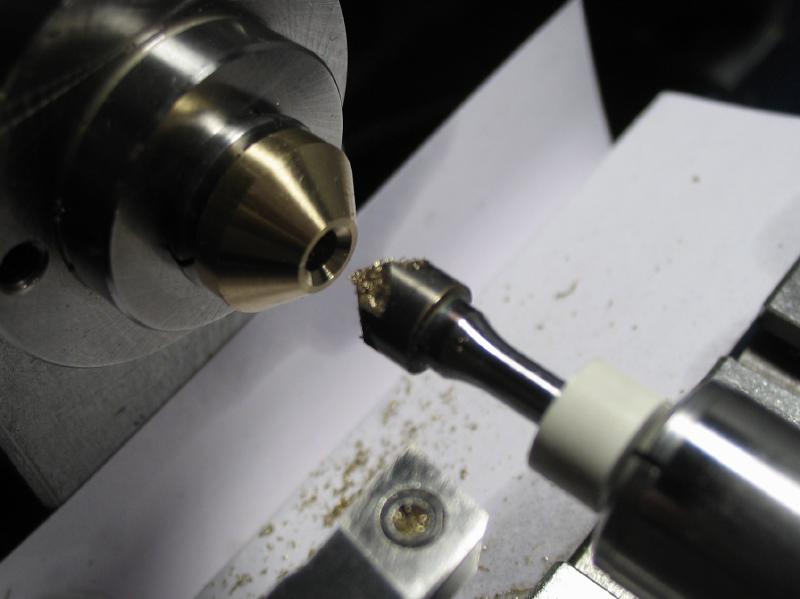
The two pieces were cleaned and assembled with a drop of flux and a ring of Stay-Bright solder around the joint. The photo on the right is the aftermath from heating with a butane torch.

|
|
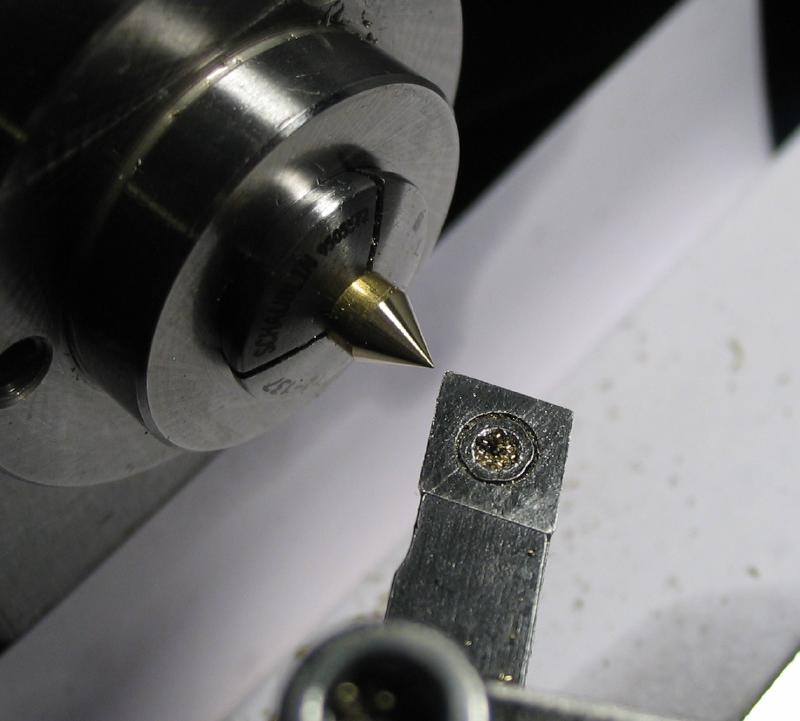
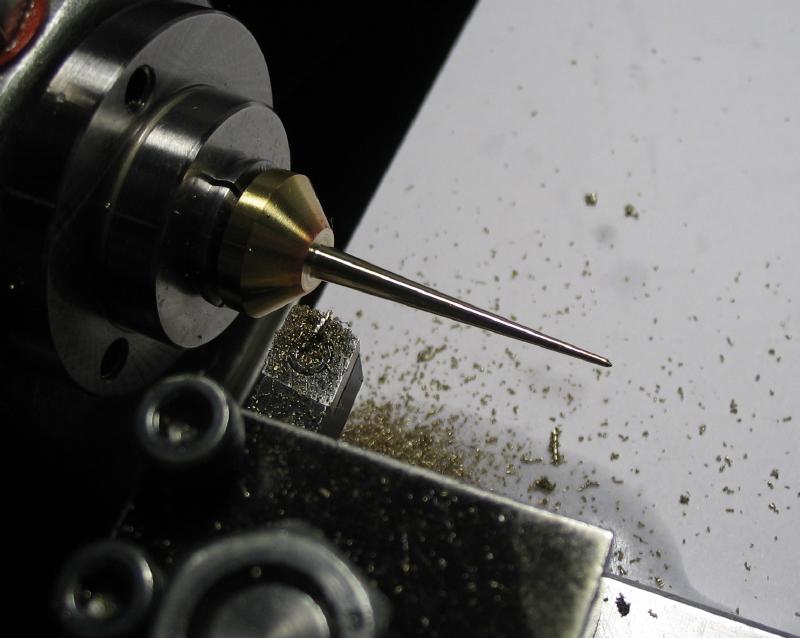
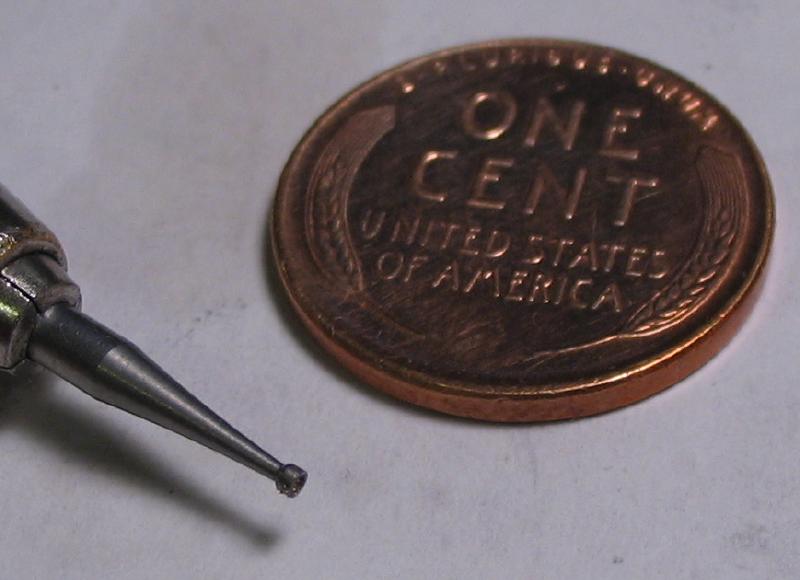
The work was returned to the lathe and turned with about a 3 degree taper. The tip was rounded with a fairly small cup bur and the surface smoothed with emery paper.
|
|
|
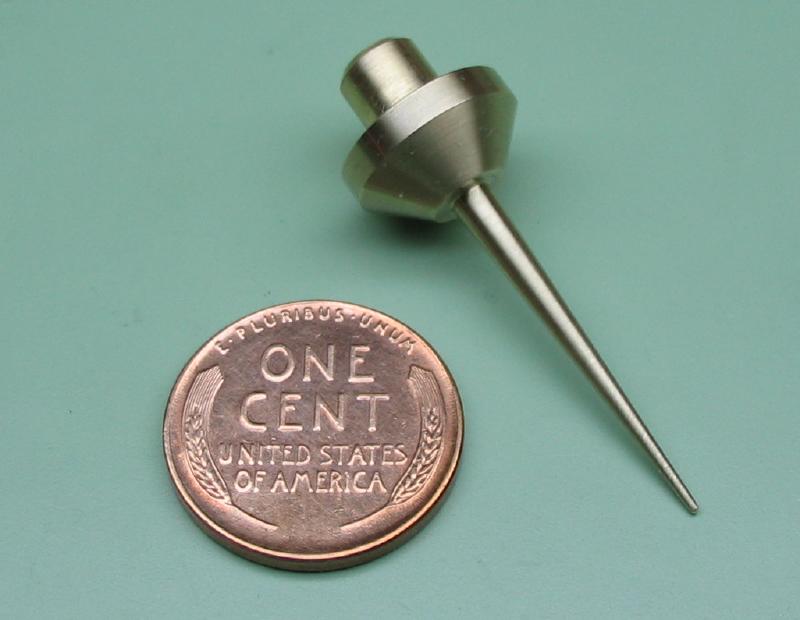
The tack is complete and installed in the block and ready to be put into service.