A Choker Chain
This page will for the most part be a repeat of the chainmaking page. I went about this in much the same manner as before, and since I took some photographs, I decided to create another page for it.
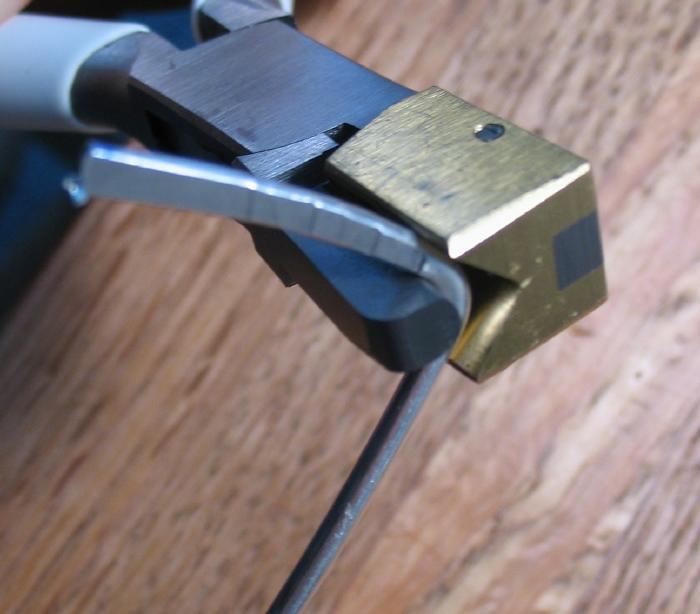
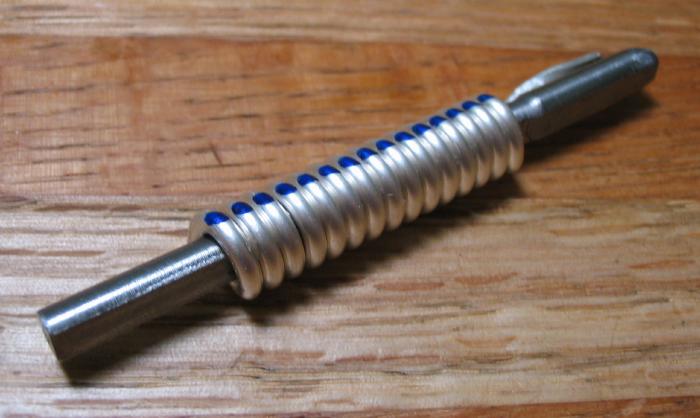
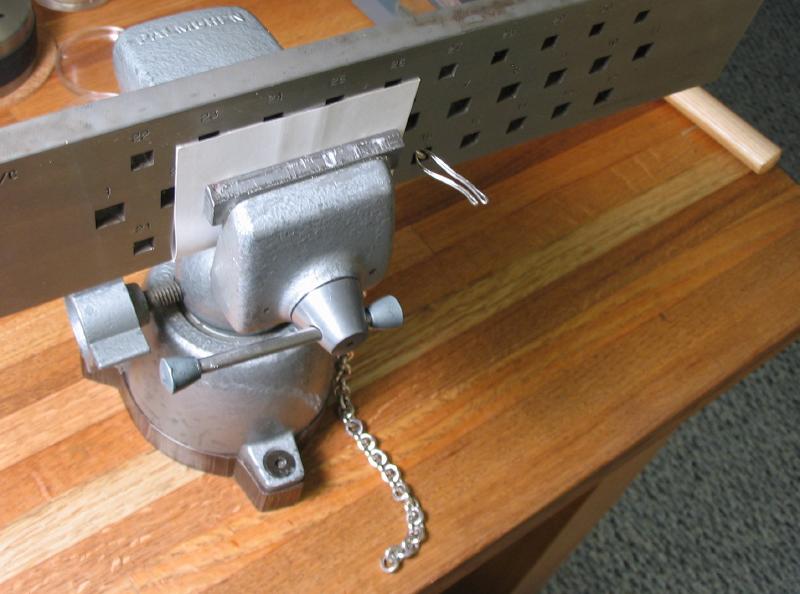
The end of one foot sections of 12 gauge Sterling silver wire are bent with bow closing pliers (brass jawed, German made), and hammered to a taper on the bench block with a goldsmith's hammer.
The end of one foot sections of 12 gauge Sterling silver wire are bent with bow closing pliers (brass jawed, German made), and hammered to a taper on the bench block with a goldsmith's hammer.

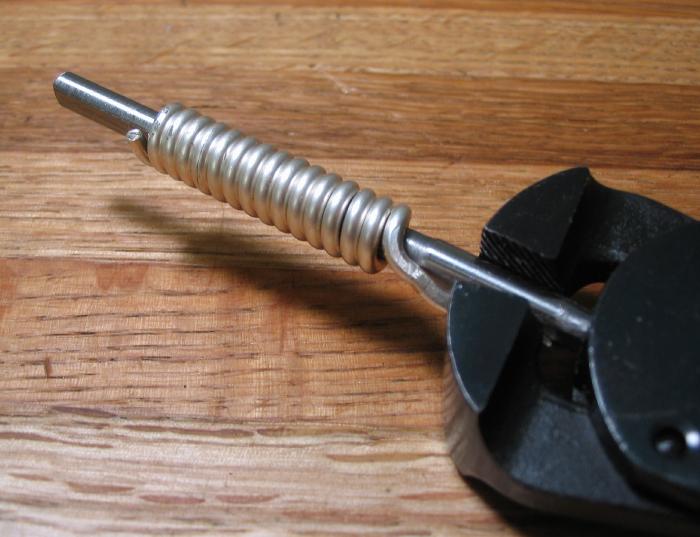
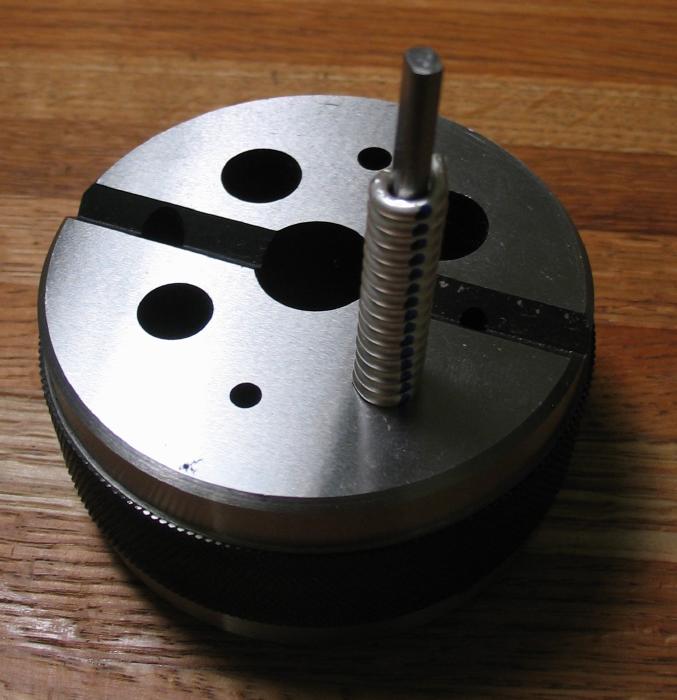
The wire is held in a hand vice and the other end held in the bench vice. The wire is then coiled around an oval shaped steel rod. The end is marked for sawing later, this is done because the coil will distort slightly while removing from the oval rod.


The rod can be removed by lightly hammering with assistance on the toolmaker's block.
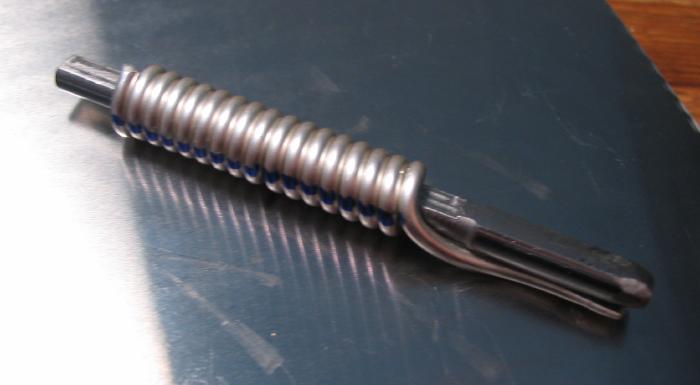
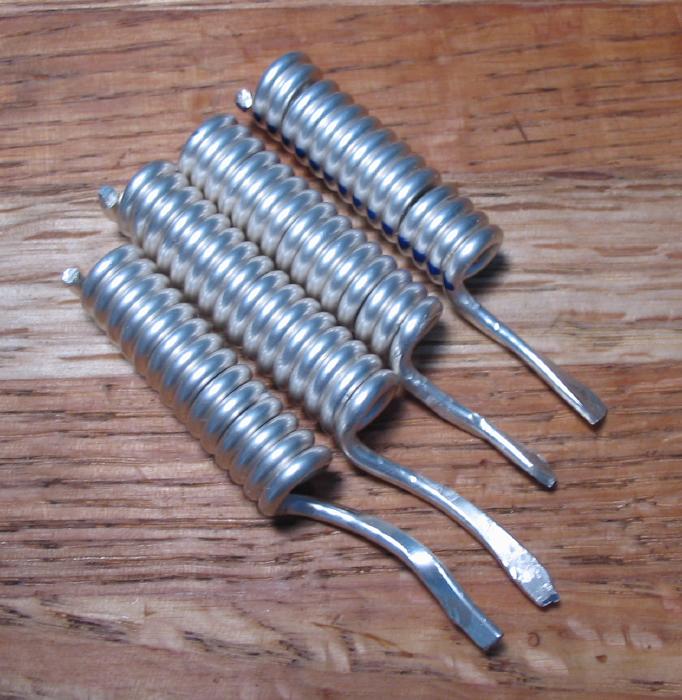
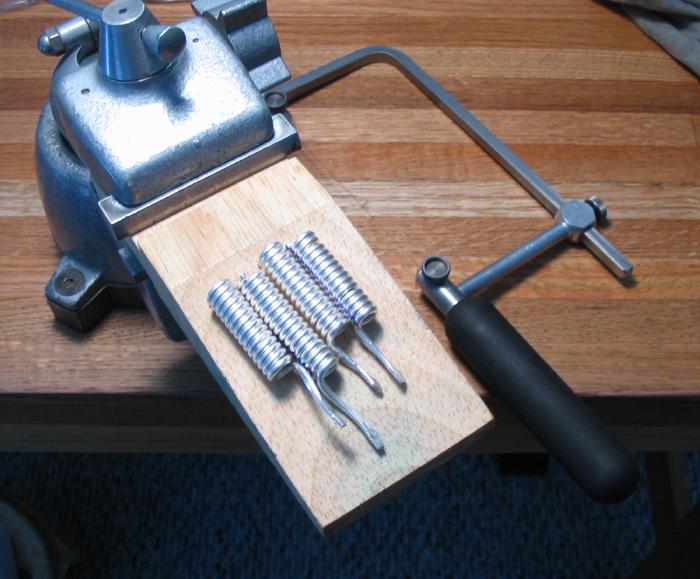
The coils are sawn lengthwise with a fine blade saw, I used a 6/0 jeweler's saw on a bench pin held in an adjustable vice.
 |
 |
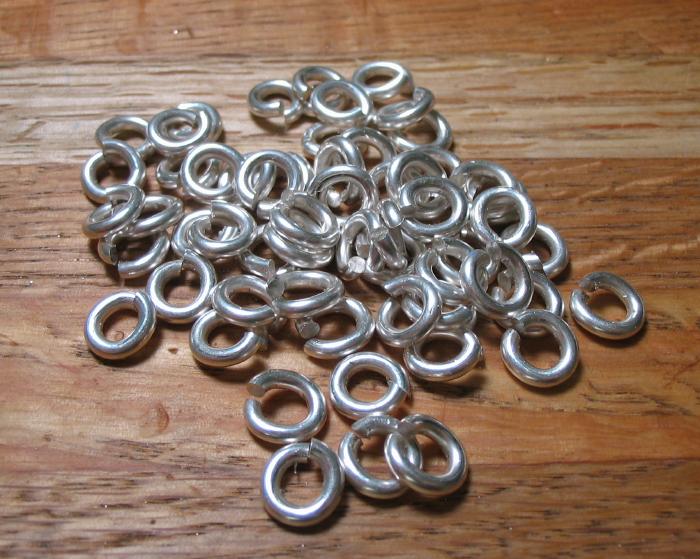
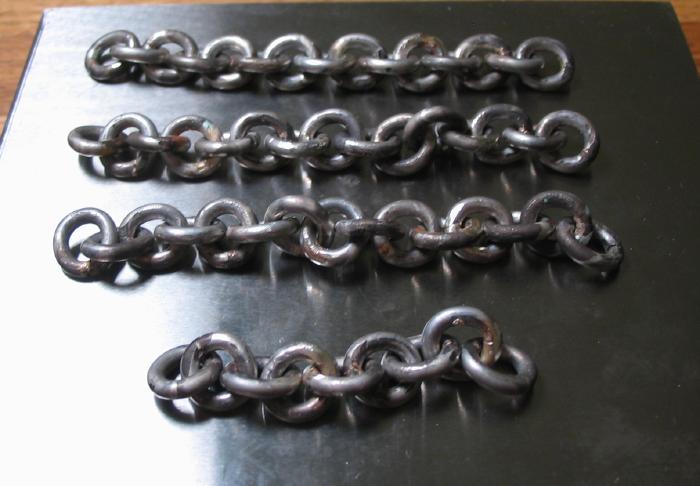
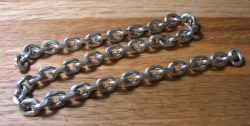
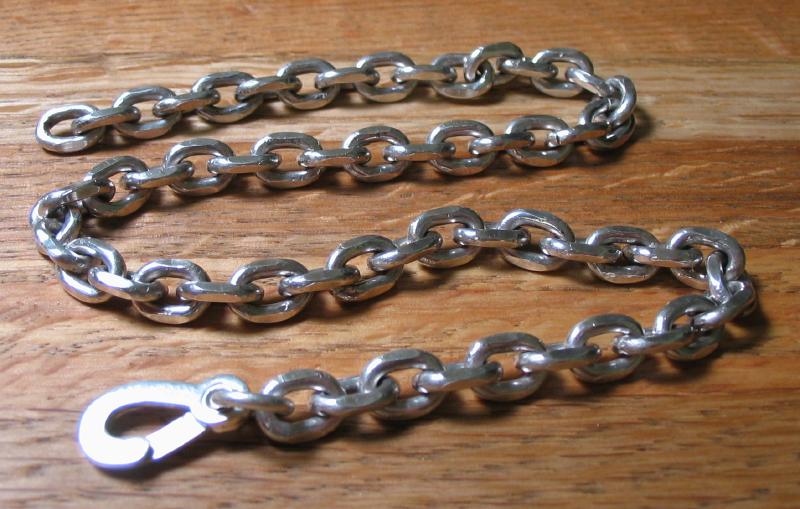
Resulting jump rings
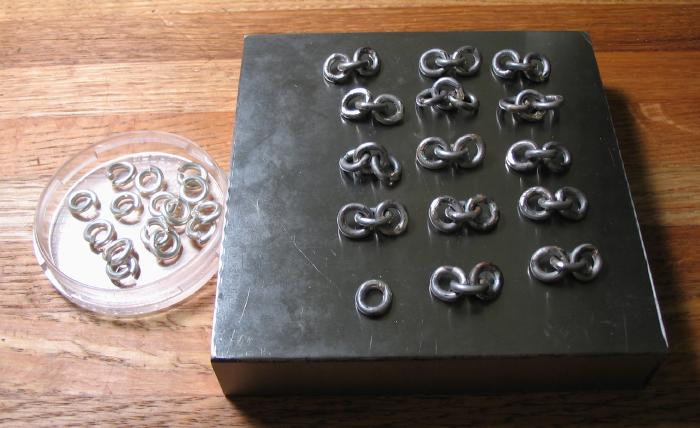
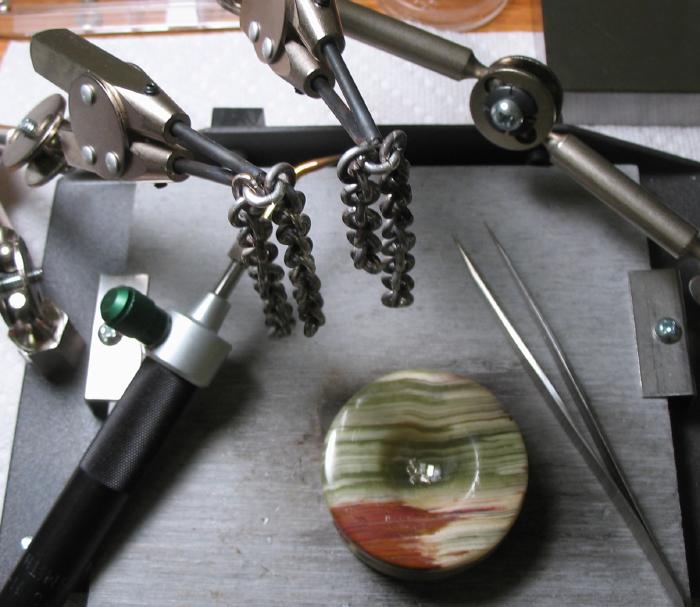
The resulting jump rings are divided in half, and one half soldered closed. The additional rings are used to join the closed rings together, these sections of three are then joined, and so forth until a completed length of chain is made.
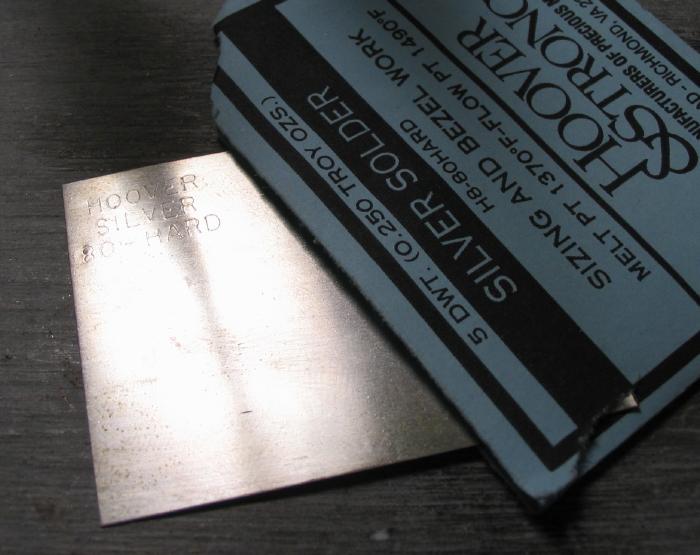
I am using "hard" silver solder and a propane/oxygen torch to solder. I changed from a powdered flux (as on the chainmaking page) to a flux solution, which works equally well and is much easier to use.

 |
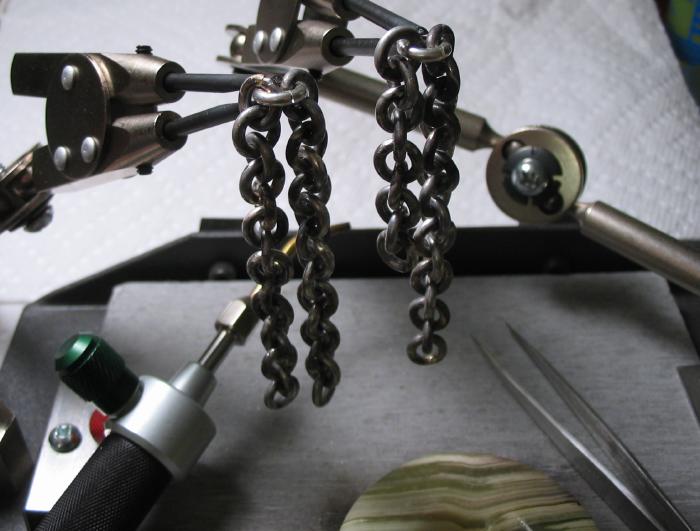 |
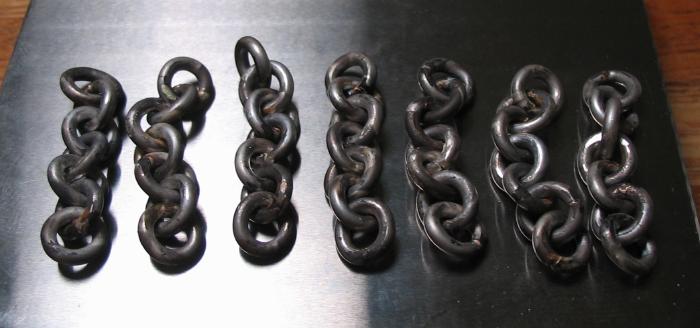
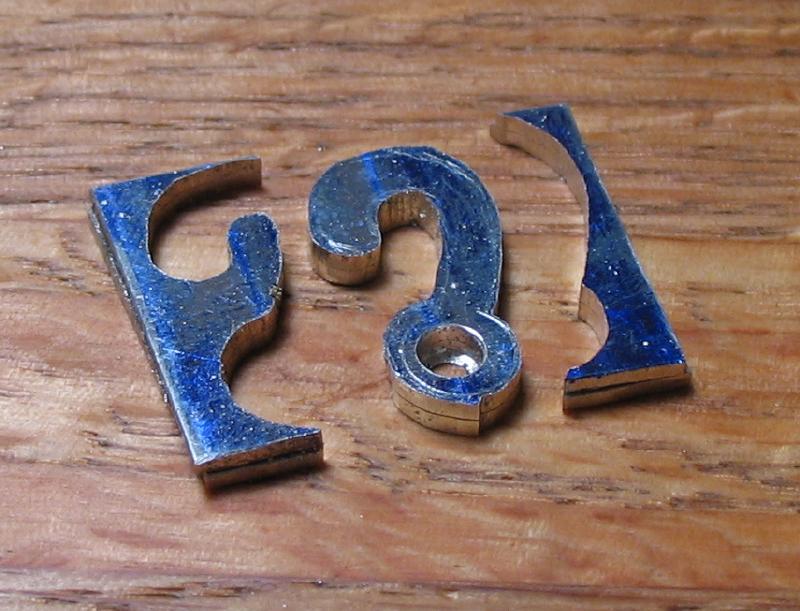
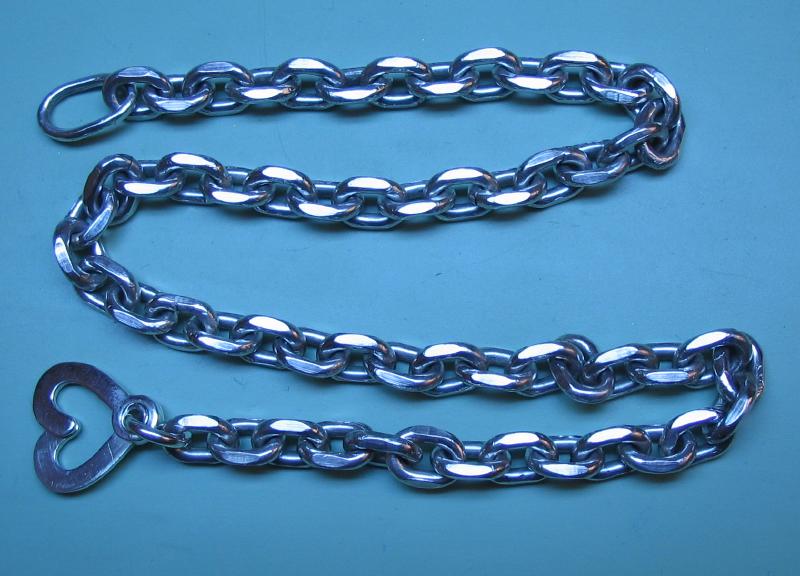
Ready for Drawing
The chain must now be drawn through a square drawplate. Successively smaller holes are used until the shape of each link is to the desired shape. If the soldering was not done satisfactorily it will present itself during the drawing process, as significant force is required to draw the chain through. This type of work is normally performed with a drawbench, but for one-off jobs such as these, it can be done by hand. It was drawn through hole #15 through #28.
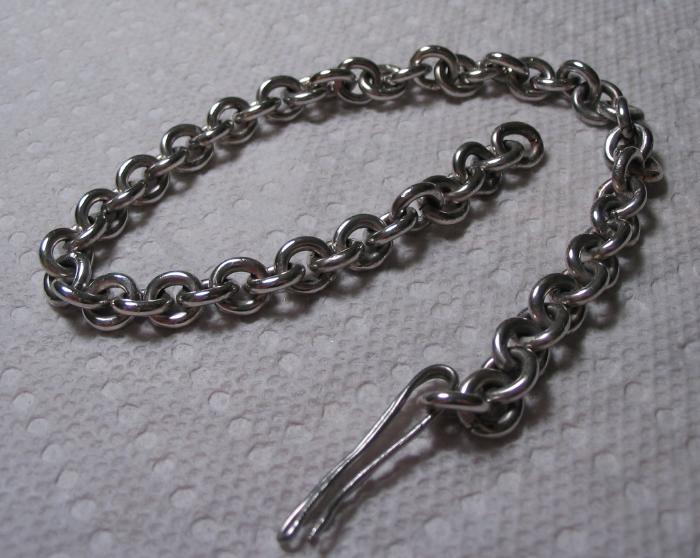
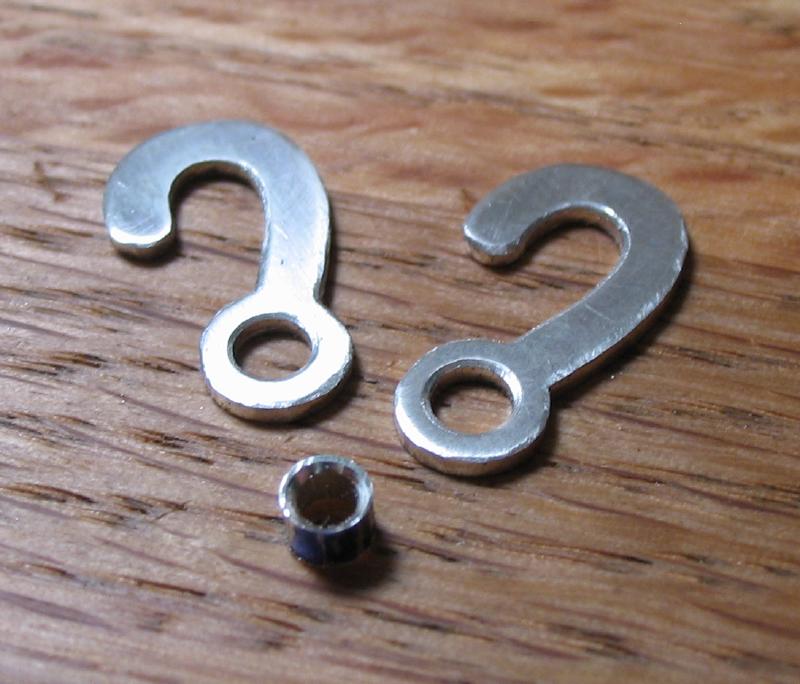
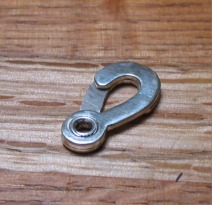
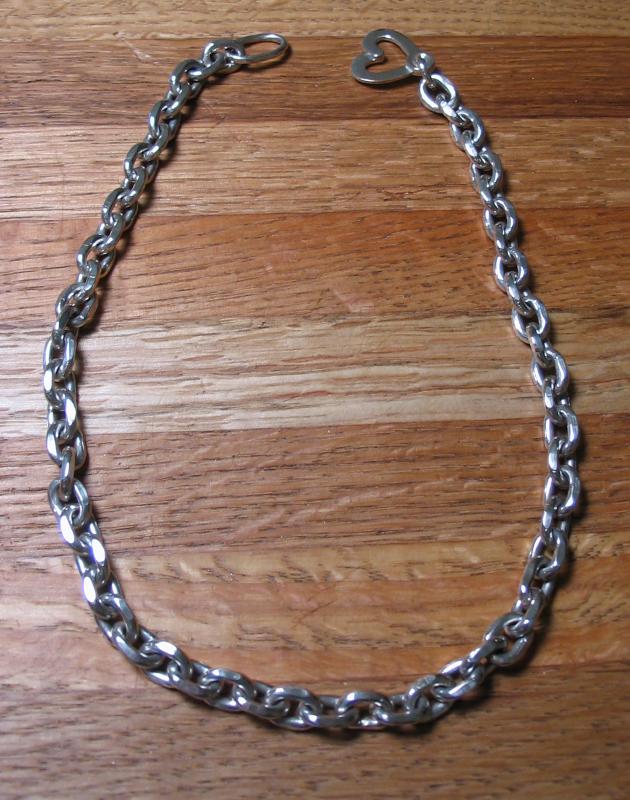
As with the watch chain, the clasp for the necklace will be a sister hook. It was simply saw from 18 gauge silver plate. Both hooks are formed together, then reversed. They are then riveted together with a small section of silver tubing.
Eastern Star Pendant
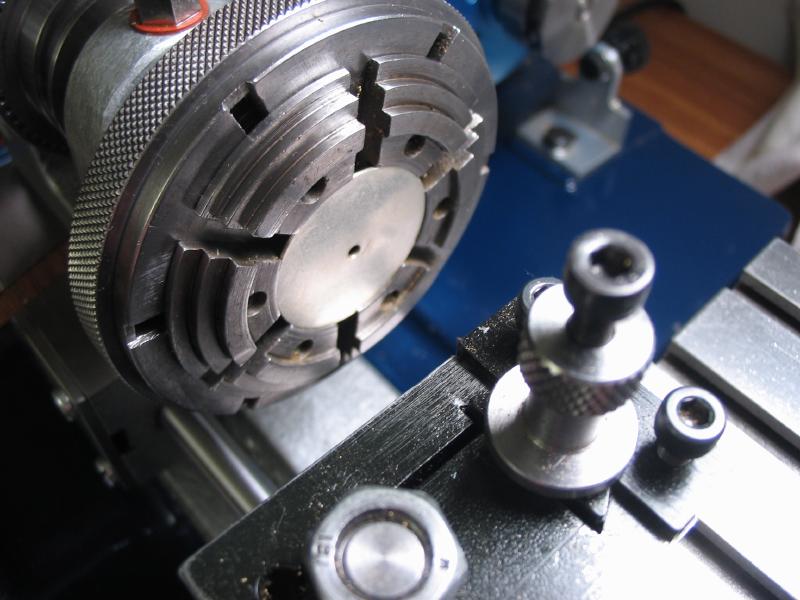
A pendant was made from a silver disc. To layout the design, it was mounted in the bezel chuck. The headstock was used to index to the correct positions and a center punch was mounted in the toolpost (originally made for scribing the carriage pillar positions).

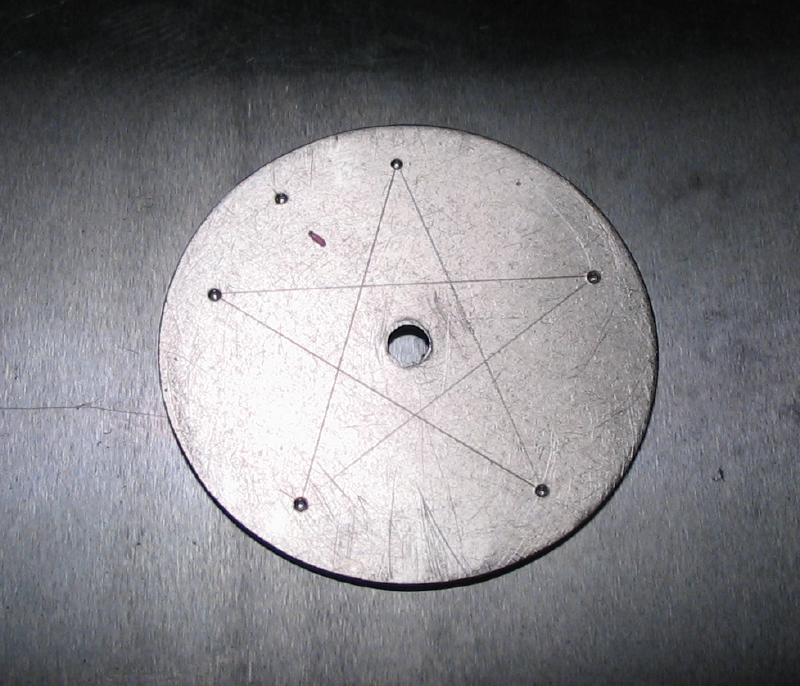
The center punched positions can then connected by scribing and then drilled. The drilling are then connected by sawing out with the piercing saw.

The crossing is cleaned up with a barrette needle file. All that remains is to make a jump ring for the bale, and polish until it radiates the light.
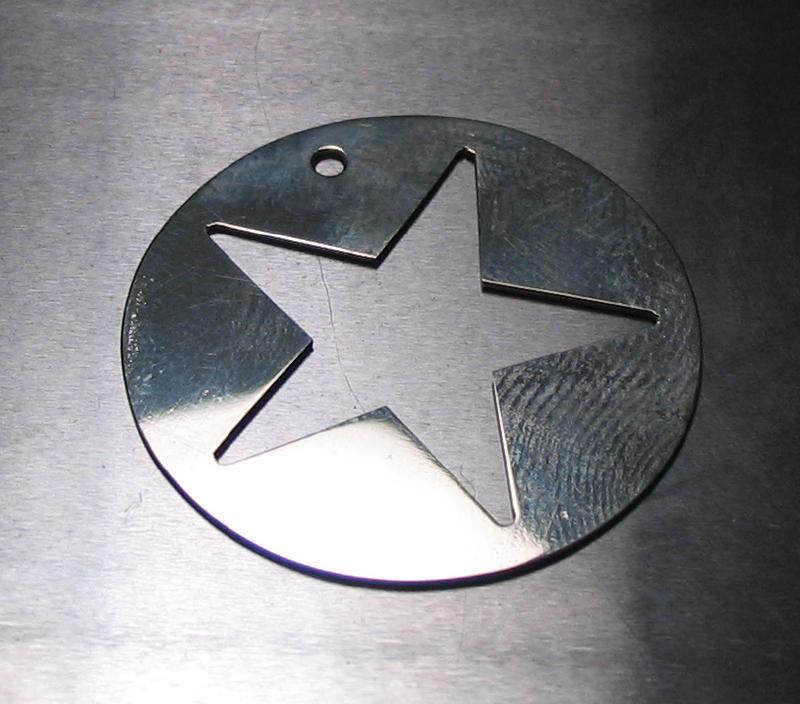
Filed
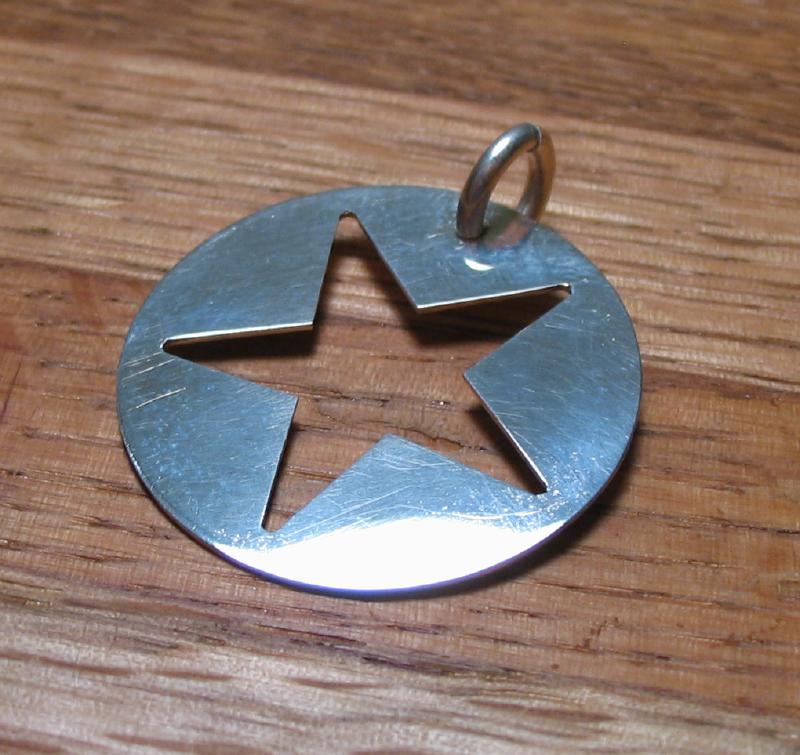
Bale attached
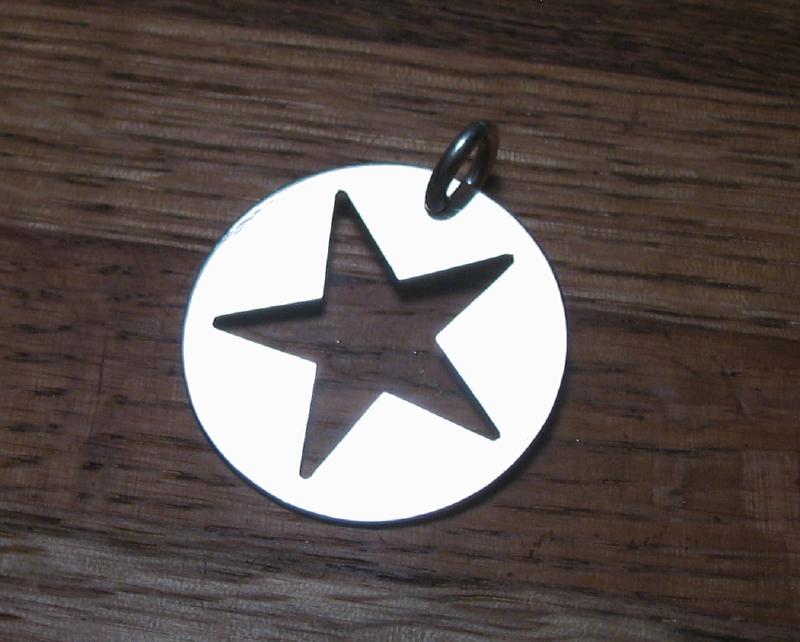
Polished
